8. Moulding and casting
Moulding and casting are essential techniques used in manufacturing and art to create objects with intricate shapes. Both involve using a mould to shape a material, but differ in how the material is introduced. Moulding involves creating a mould from materials like metal, rubber, or plastic and shaping a material by pouring or compressing it. It is typically used in mass production for items such as plastic parts, automotive components, and packaging. Casting, on the other hand, involves pouring a liquid material (e.g., molten metal, resin) into a mould and allowing it to solidify, creating objects from sculptures to engine blocks. Moulding is ideal for producing identical items in large quantities, while casting is suited for custom or complex pieces. Both techniques are vital across various industries, enabling the creation of precise, detailed, and reproducible objects.
This week, our group worked with the Roland SRM-20 Compact Milling Machine, a tool designed for high-precision cutting. It is particularly effective for creating detailed molds. The machine utilizes various drill sizes to carve intricate designs from wax blocks, which are then used for mold-making in casting processes.
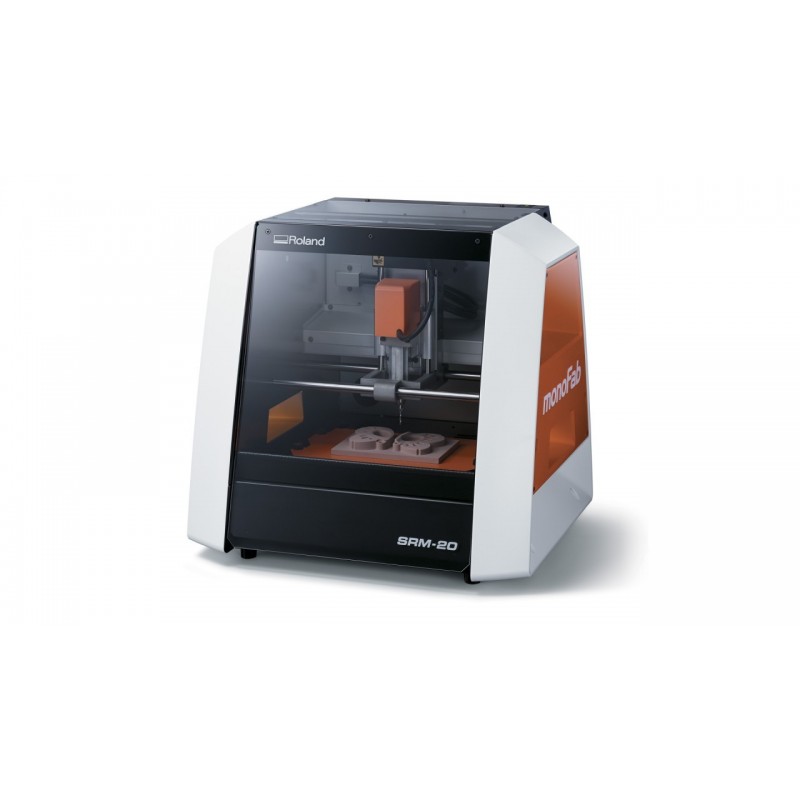 The Roland SRM-20 is a compact desktop milling machine known for its precision and versatility. It can machine a wide range of materials, including plastics, metals, and resins. Commonly used for prototyping, product design, and small-scale production, the SRM-20 features a high-speed spindle, accurate stepper motors, and a rigid build, ensuring detailed and precise cutting, engraving, and milling. Its compact size makes it well-suited for small workspaces, while its intuitive software and ease of operation cater to both beginners and professionals. The SRM-20 is valued for its reliability, versatility, and ability to produce high-quality parts in a small, accessible package.
Group Assignment
We were divided into smaller teams of two. Our objective was to research different casting materials, examining their properties, safety guidelines, and best practices for use. The aim was to assess and compare test casts of these materials. My group concentrated on Material Graffiti Resin Multi Use.
You can visit our website for more detailed information.
Individual Assignment
- Create a 3D design that meets specific design specifications.
- Utilize the Roland SRM-20 Compact Milling Machine to carve the design from a rectangular wax block, forming the positive mould.
- Pour a material into the wax mould to create the negative mould.
- Cast the negative mould with a different material to produce the final object.
Design 3D model
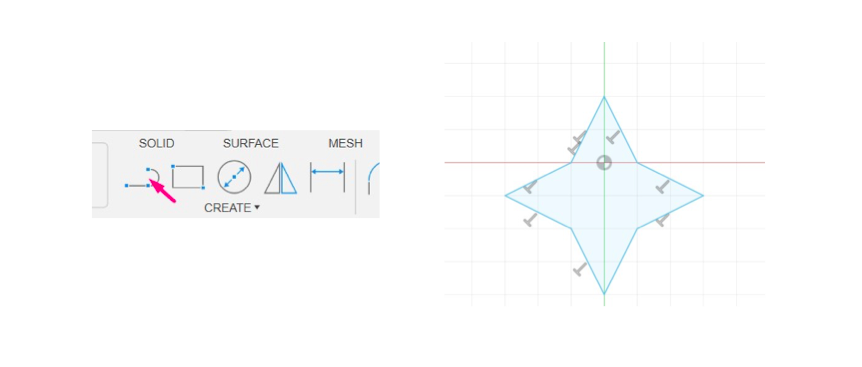
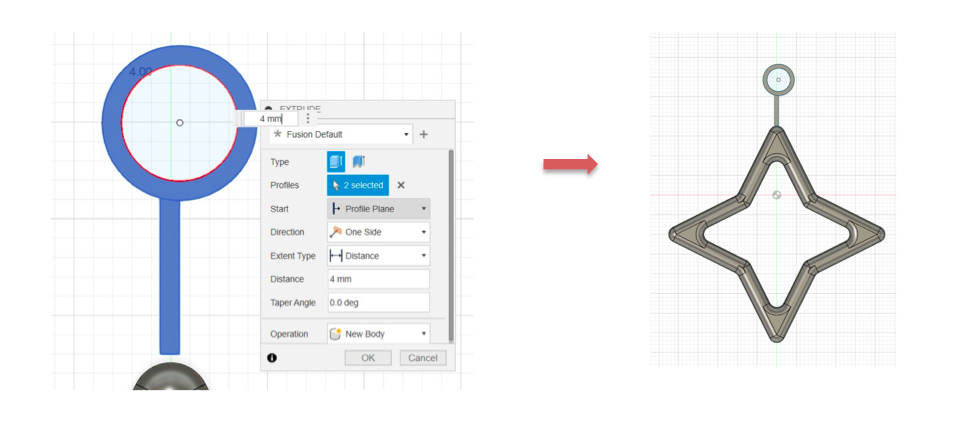
Using Fusion 360 software, I designed a star keychain by following these steps:
- Create a sketch and use the line tool to draw the desired design.
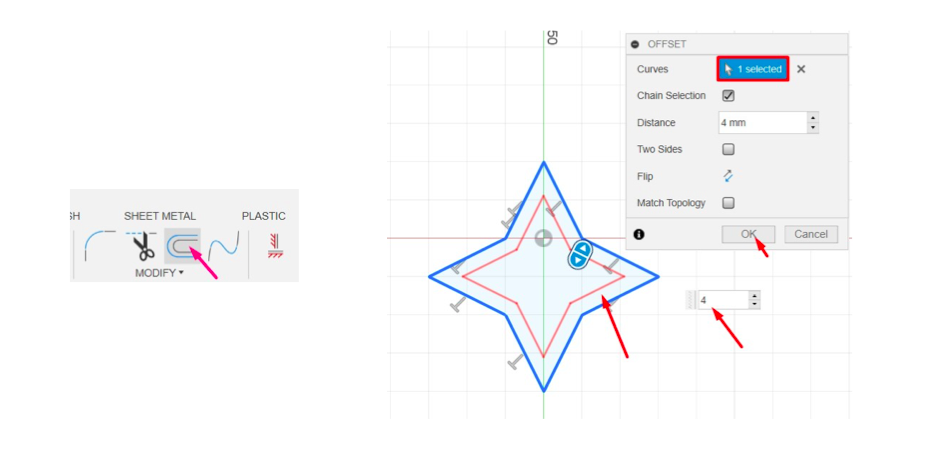
- Click on the Offset tool to create a parallel line, forming a double line.
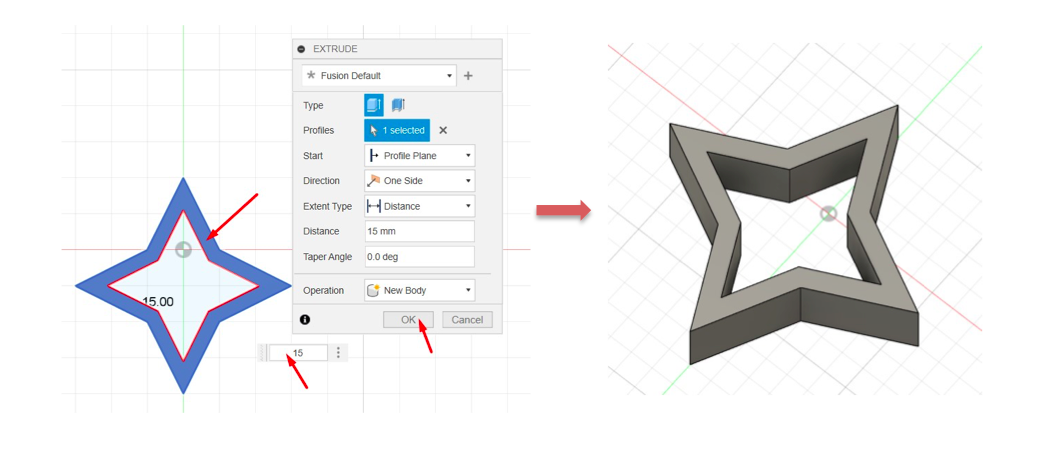
- Select this area and use the Extrude function, adjusting the extrusion to 15 mm.
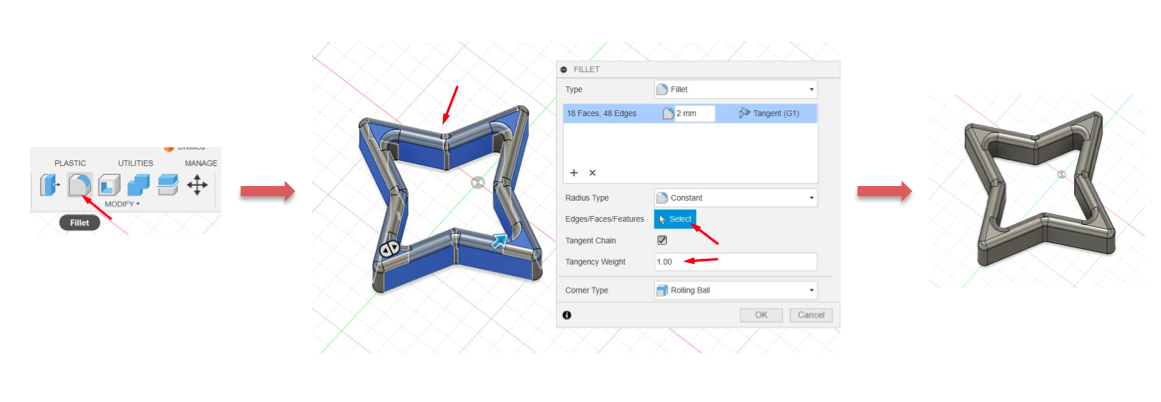
- Apply a chamfer to the edges to smooth them out.
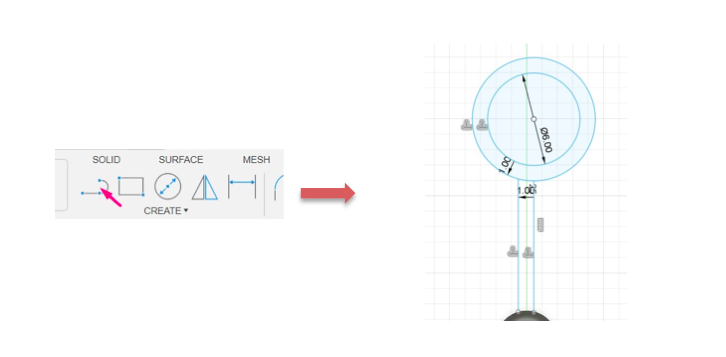
- Create a new sketch to design the circular hanger as shown.
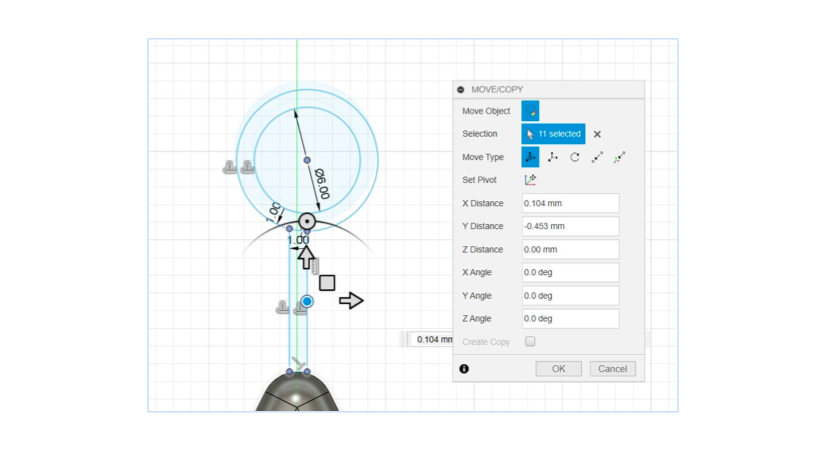
- Use the Move tool to reposition the circle toward the star shape.
- Extrude the circle to the desired shape and this is the final shape.
Create positive mould
Design Preparation and Milling Setup
- I started by combining my design with my partner’s into a single .stl file using TinkerCAD, which allowed us to mill both designs from one block of wax.
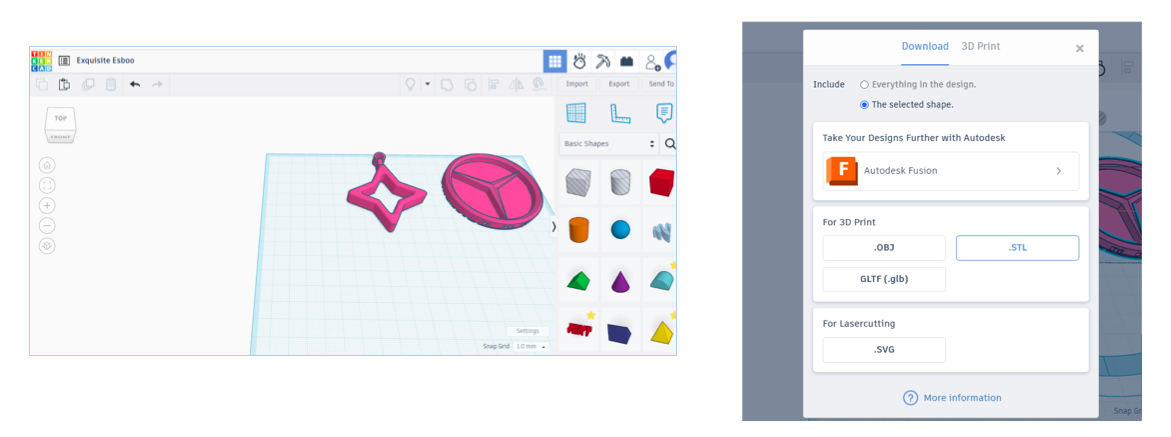
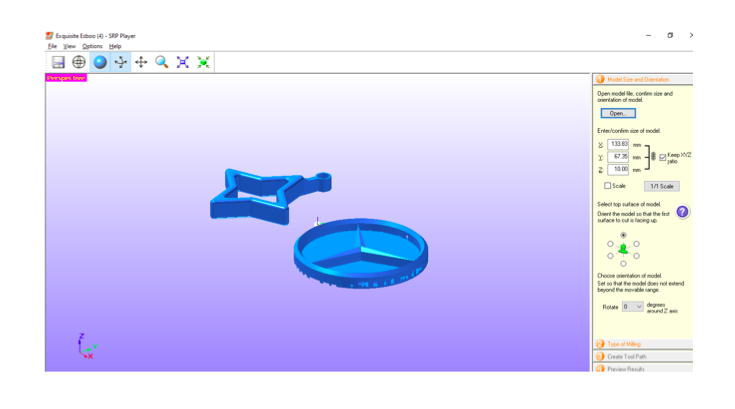
- We imported the combined file into the SRP Player software to control the Roland SRM-20 Compact Milling Machine, making sure to follow the machine’s limitations, such as a minimum detail size of 1.6mm and a maximum design height of 8mm.
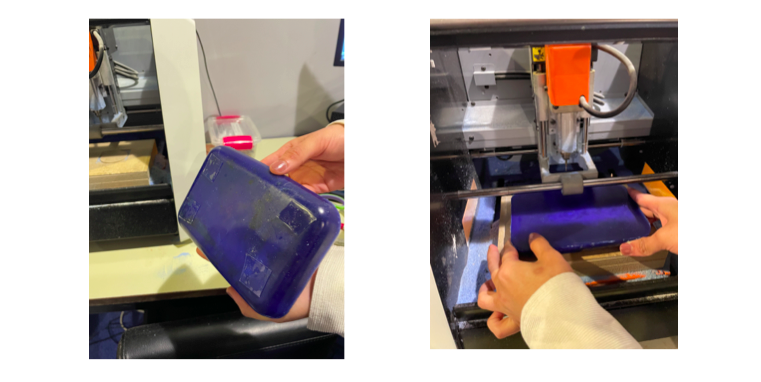
- We applied a sticker to the piece to secure it in place on the milling machine.
- In the software, we selected the appropriate type of milling based on our design, as shown below.
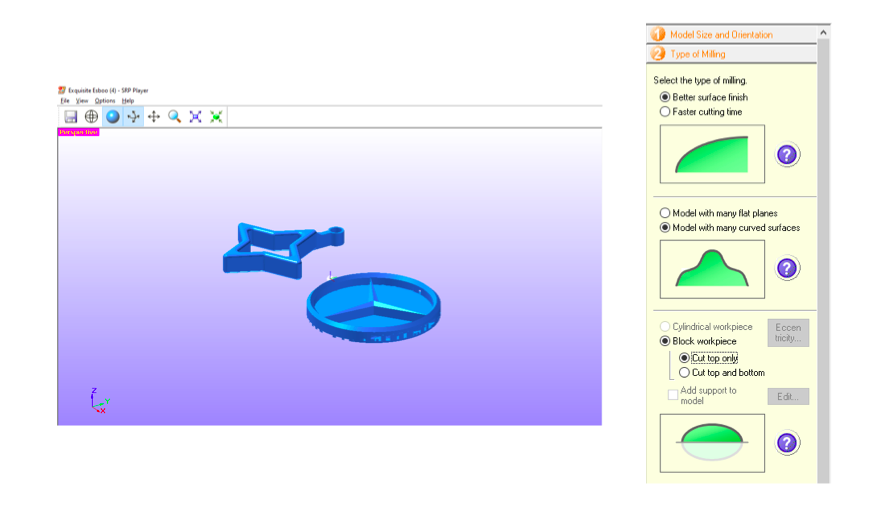
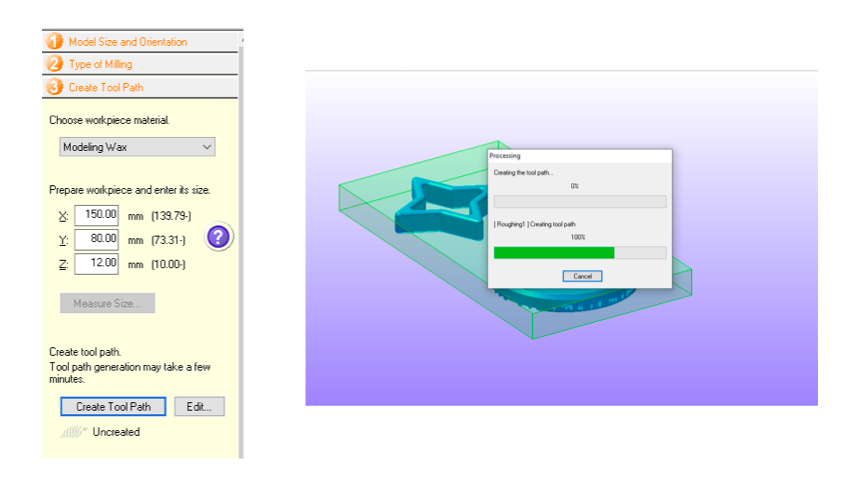
- We clicked on “Create Tool Path” to preview the cutting process and ensure the roughing pass was suitable for cutting. If the preview results were not as expected, we could adjust the settings under “Type of Milling” and regenerate the toolpath, but since the preview looked good, we proceeded without making changes.

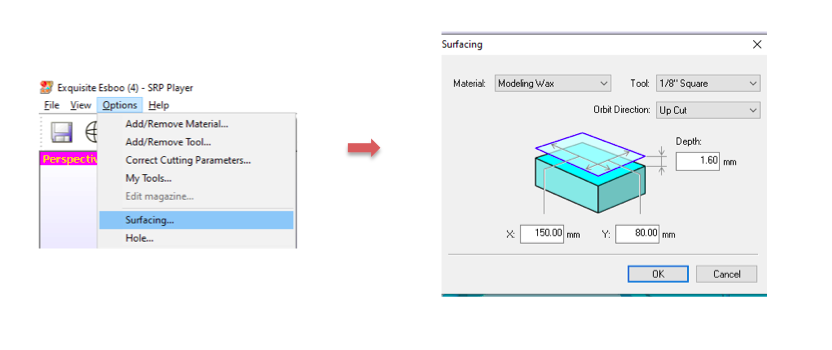
- Before starting the cut, we clicked on “Options,” then selected “Surfacing” to prepare the piece.
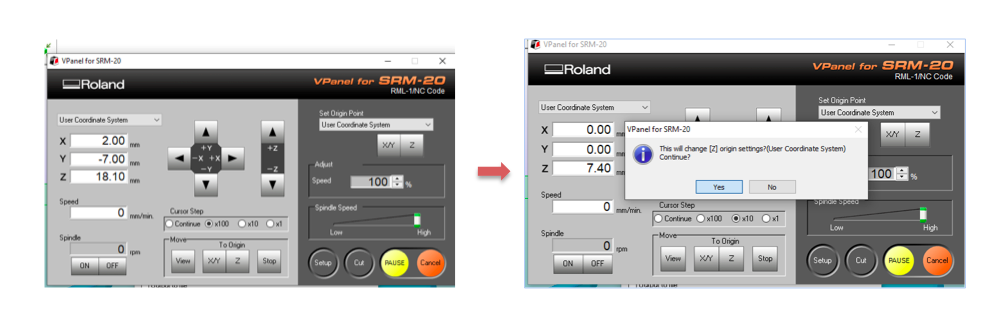
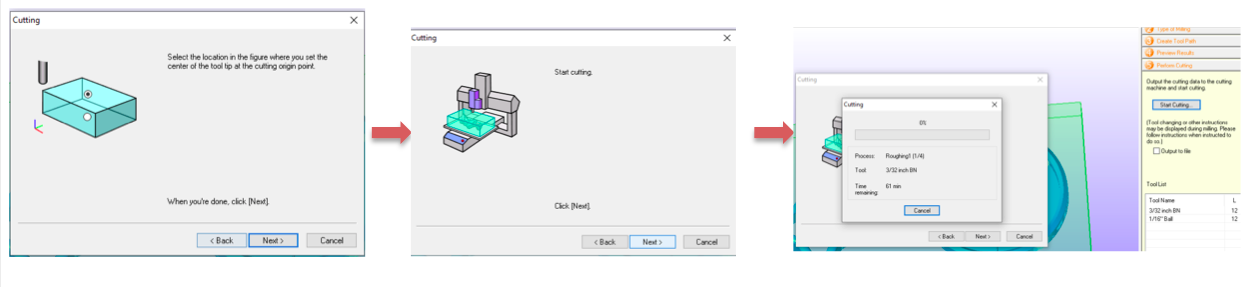
- We adjusted the cutting origin point to the center of the workpiece by selecting the X/Y axis and positioning it using the buttons and we set the Z origin.
- We switched the spindle tool to a 1/8 SE 4FL BN long Altin bit and securely mounted it on the machine for precise surfacing.
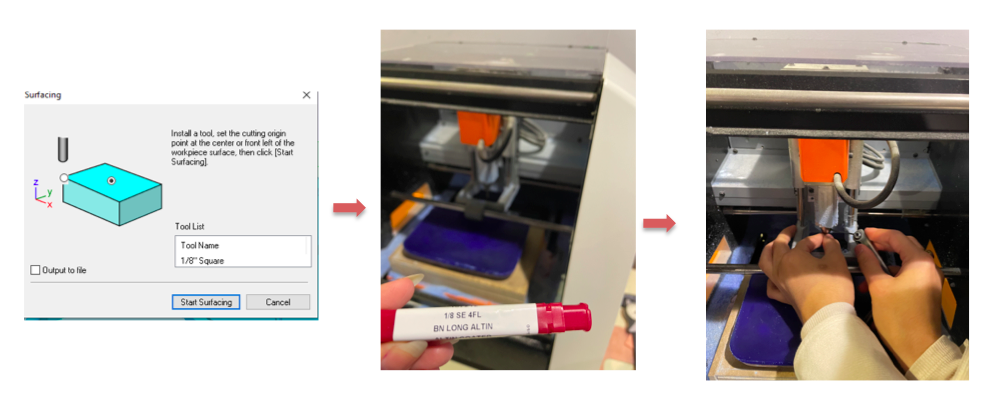
-
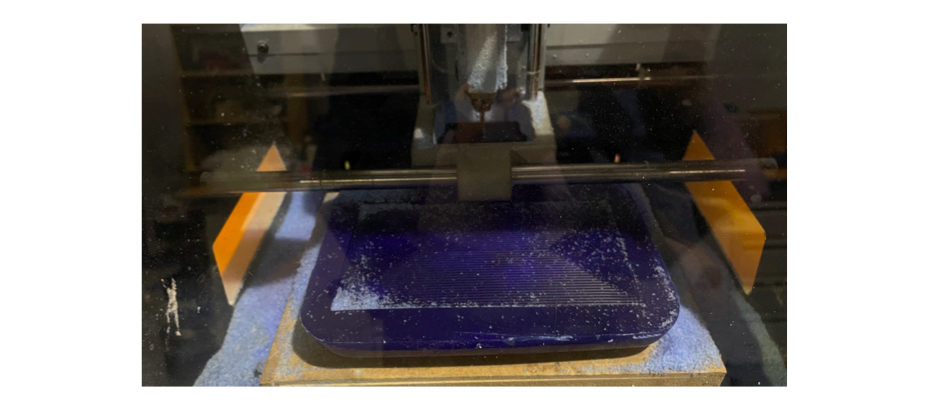
In the software, we clicked “Start Surfacing” to begin the surfacing process, as shown below.
-
Once the surfacing was complete, we cleans the workpiece.
- we changed the spindle tool again, replacing it with a 3/32 inch BN bit to begin cutting the design.
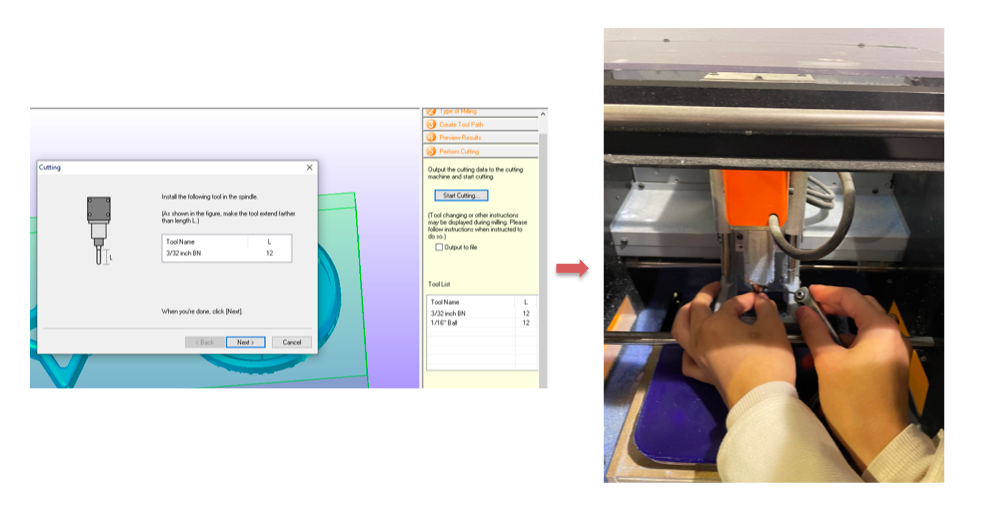
- Finally, we clicked “Start Cutting,” and the milling machine began cutting the design.
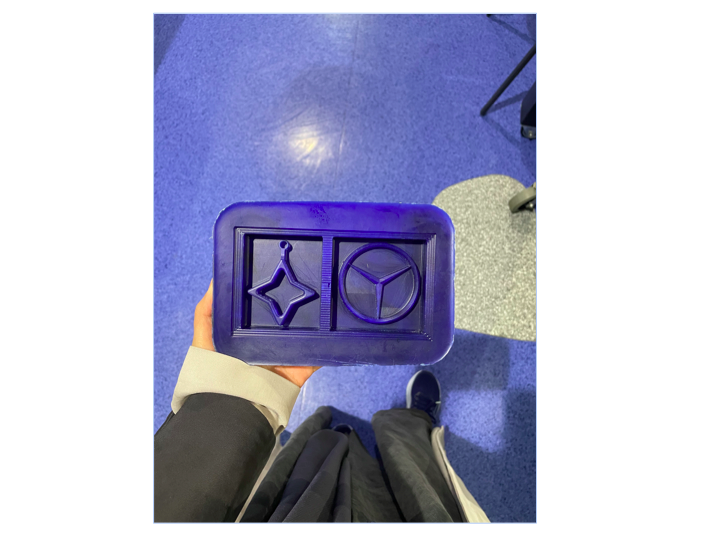
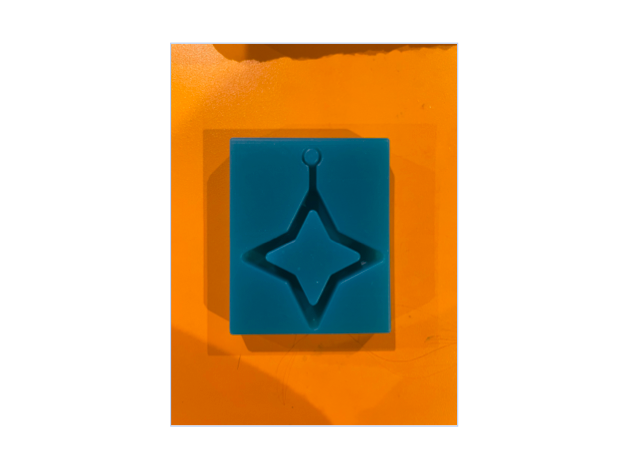
- This is the final design after removing it from the milling machine.
Create Negative mould
Silicone Preparation
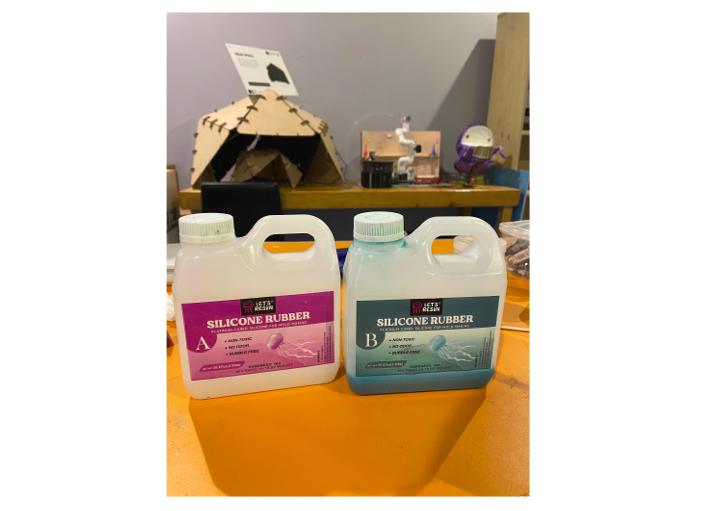
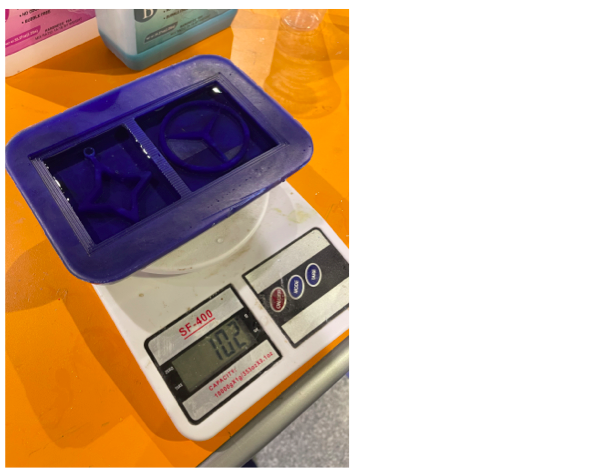
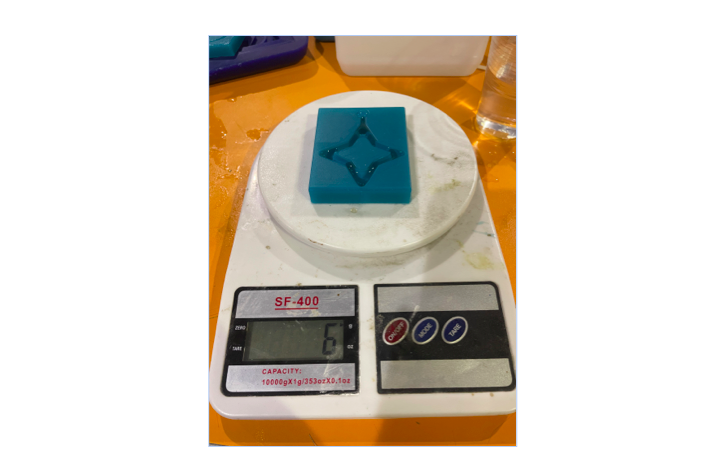
- To determine the precise amount of silicone required, we filled the positive mold with water and measured its volume, which totaled 102g. Using this measurement, I will pour 50% of material A and 50% of material B, following a 1:1 ratio.
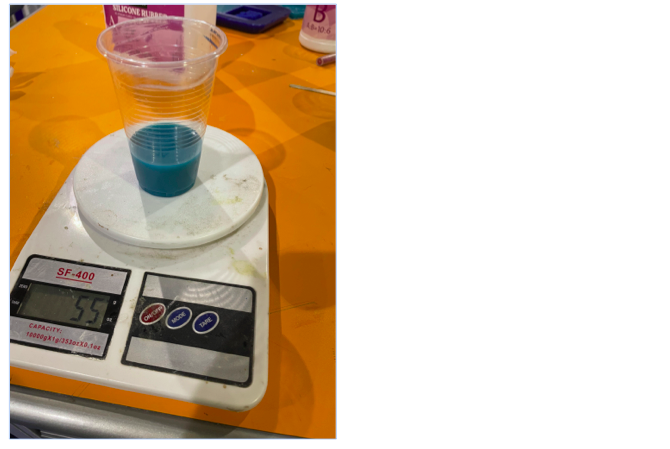
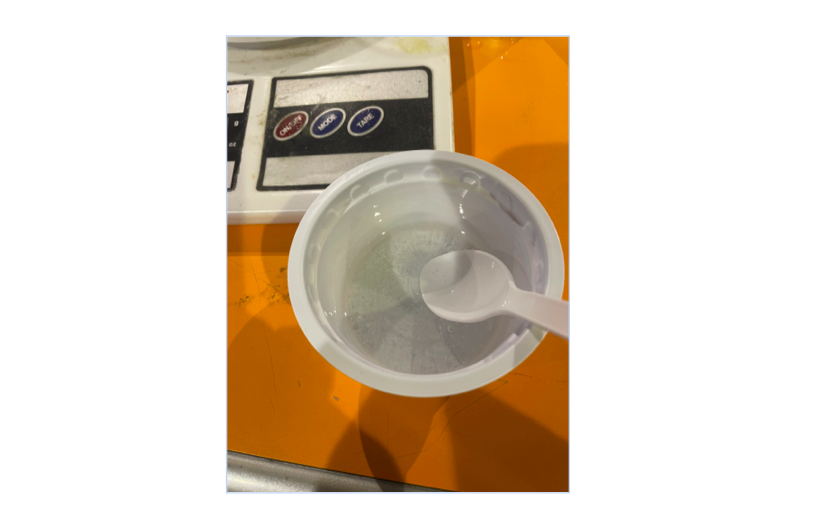
- I poured 55g of material A into a cup, as shown below.
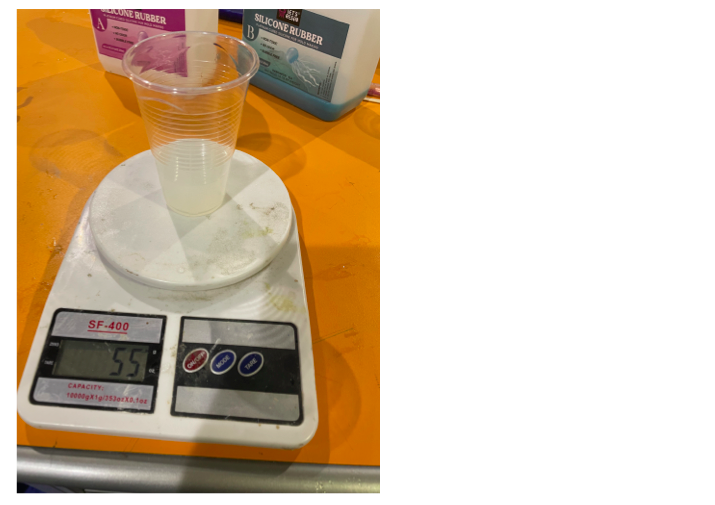
- I then poured 55g of material B into a separate cup, as indicated.

- I mixed the two types of silicone, A and B, following the specified ratio.
- I carefully poured the silicone mixture into the wax mold, making sure it filled all gaps and covered the entire surface.
Pouring and Curing
-
After pouring, we allowed the silicone to cure.
-
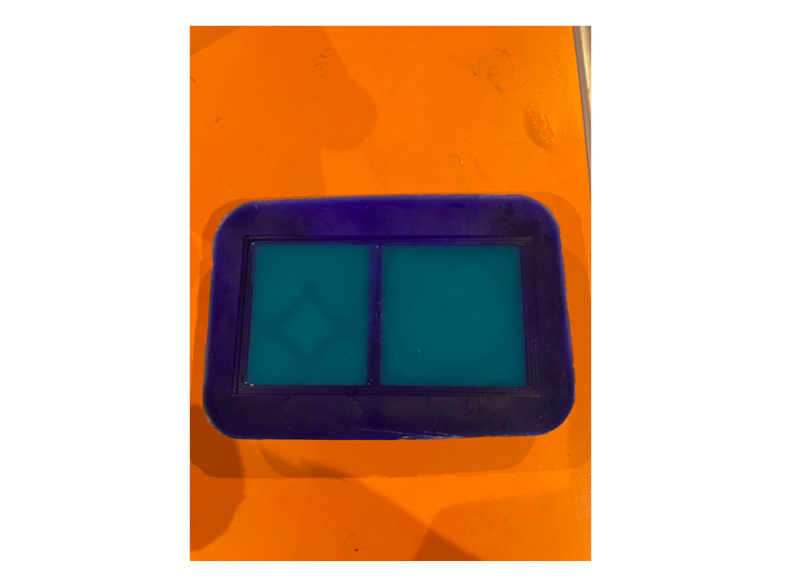
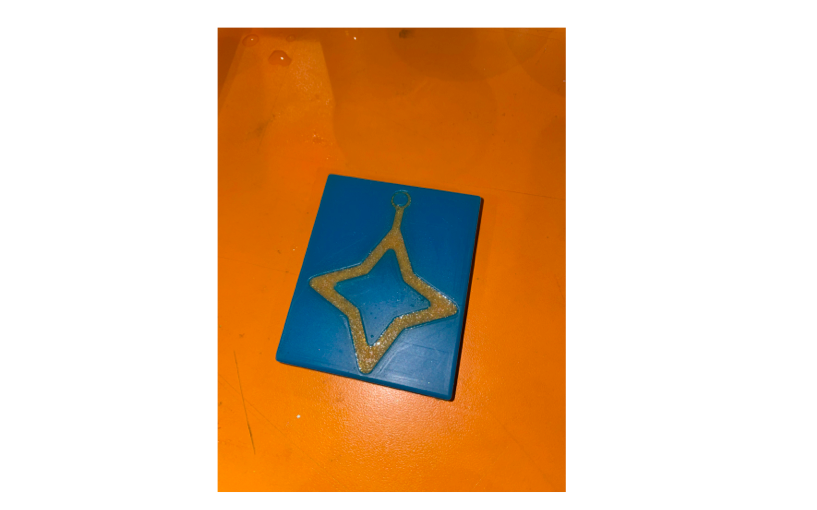
After curing, the negative mold was removed from the wax block, and the flexible silicone mold allowed for easy, damage-free extraction of the final cast.
Final casting
Casting Material Selection
- I selected Graffiti Resin Multi-Use for the final casting, the same material used in our group assignment. This resin was durable and provided a glossy finish, making it perfect for my project.
Casting Process
- I filled the silicone mold with water and measured its volume to determine the precise amount of resin needed.
- I mixed the resin and hardener together in a 10:6 ratio.
- I added a small amount of color to the mixture for a unique touch.

- I poured the resin mixture carefully into the silicone mold.
- I allowed the resin to cure for 24 hours.
- After curing, I removed the resin from the mold, but noticed some parts were underfilled and broken, with areas not fully solidified (as shown below).
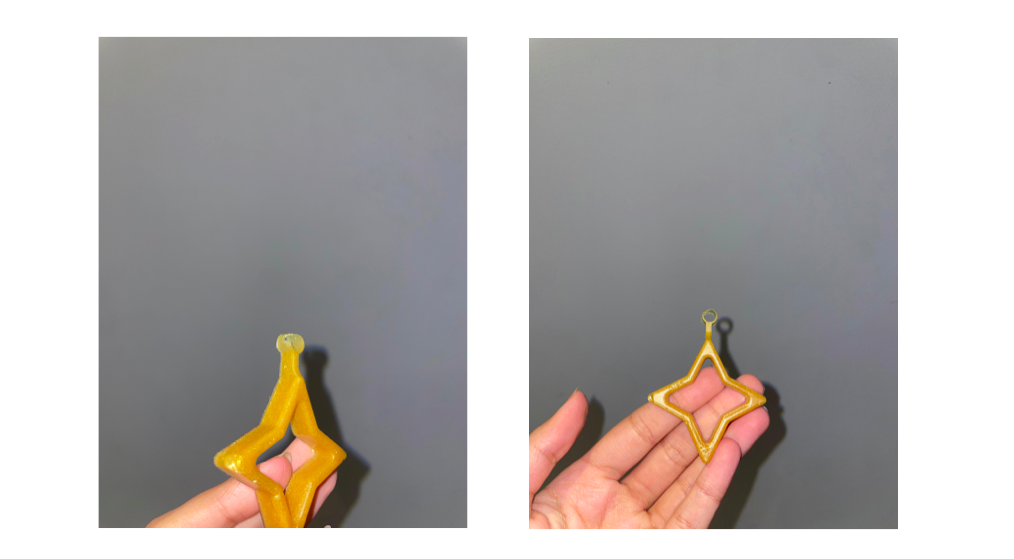
- I recreated the resin mixture, added color, and refilled the silicone mold and let it cure for 24 hours.
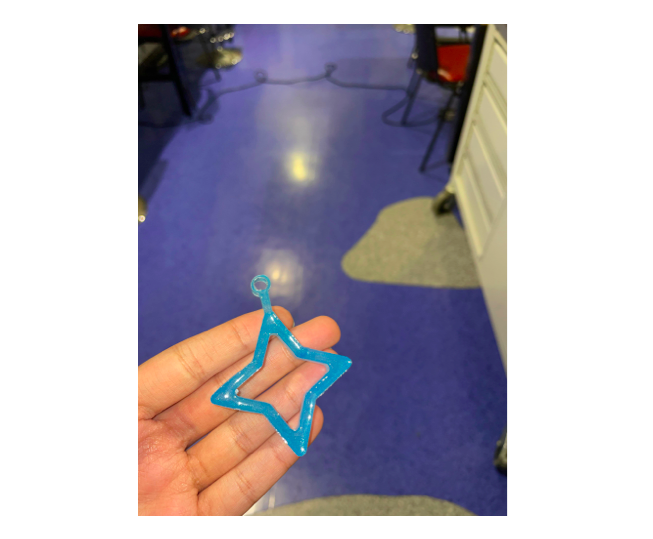
- The final product turned out great.