2. Computer Aided design
Computer-Aided Design (CAD) is a technology used to create, modify, analyze, and optimize designs through computer software. CAD is widely employed in various fields, including engineering, architecture, product design, and manufacturing.
During the second week, I focused on computer-aided design, using various applications to create a project for 2D or 3D printing.
Cuttle.xyz
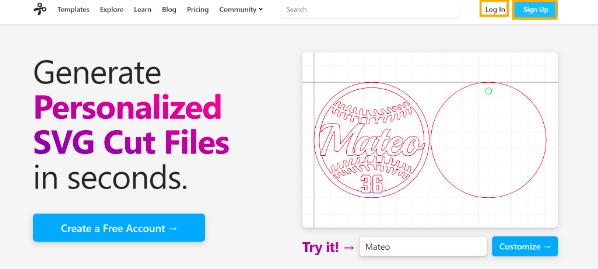
Cuttle.xyz is a platform designed for creating and managing 2D digital content, primarily for marketers and businesses. It offers a user-friendly interface with customizable templates, real-time editing, and integrated analytics, enabling seamless collaboration and efficient content production. This helps users enhance their online presence with high-quality materials.
I tried to create many designs though it following this steps:
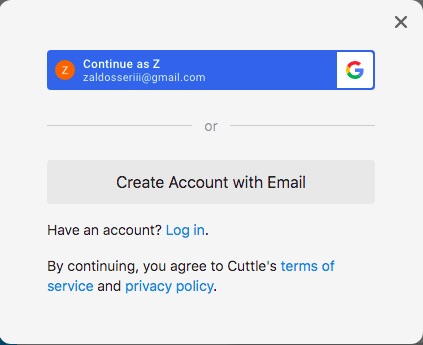
- I opened my web browser, navigated to Cuttle.xyz, and created a new account to sign up, as illustrated below:
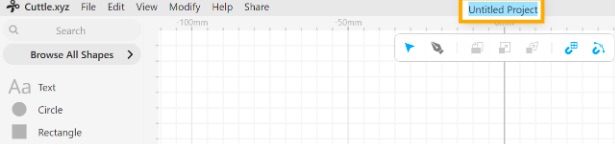
- Once logged in, i click on the “New Blank Project” to create a new project.
![]() - I enter a name for my project and click “Create.”
- I enter a name for my project and click “Create.”
-
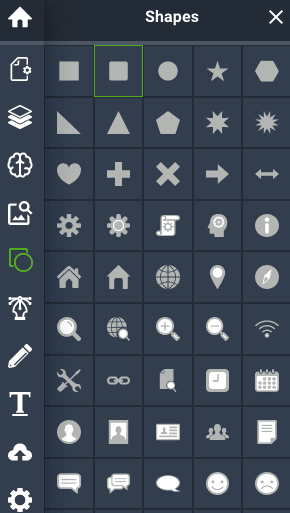
To explore the user interface, i click the toolbar on the left side of the screen which i find tools for drawing shapes, adding text, and more.
-
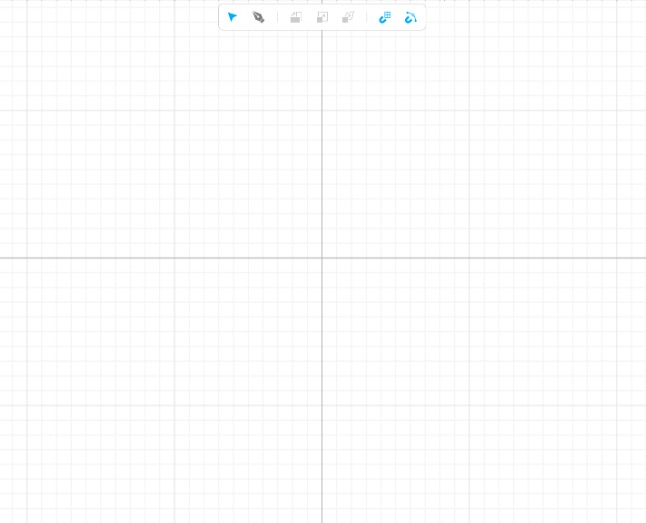
To draw, this is the main area where i’ll create my design.
- I click on the “Text” tool in the toolbar, then i drag it to the drawing area.
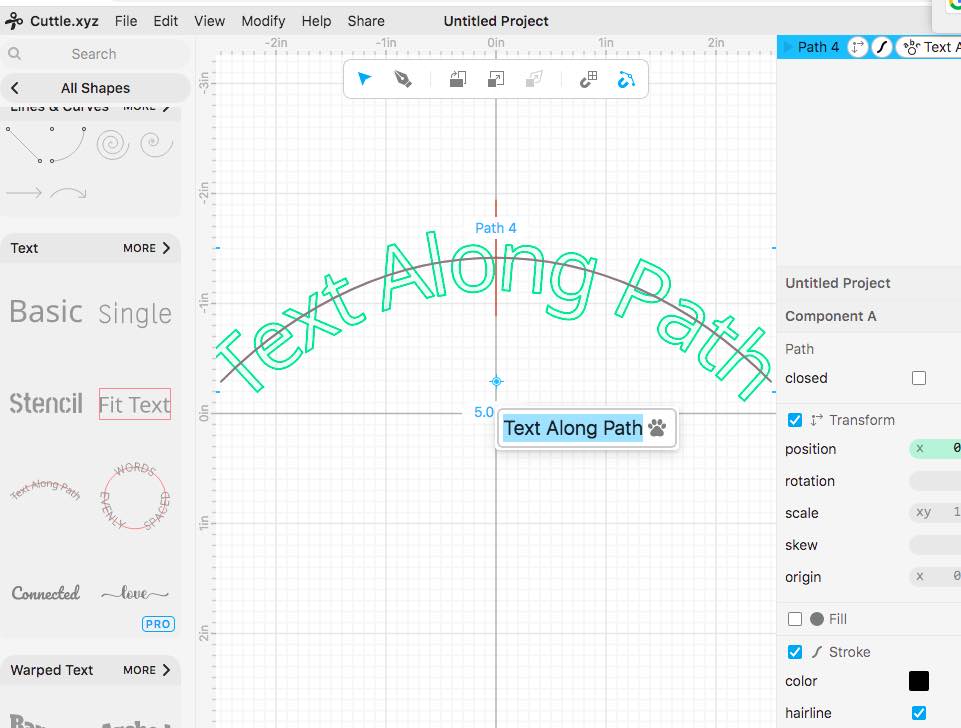
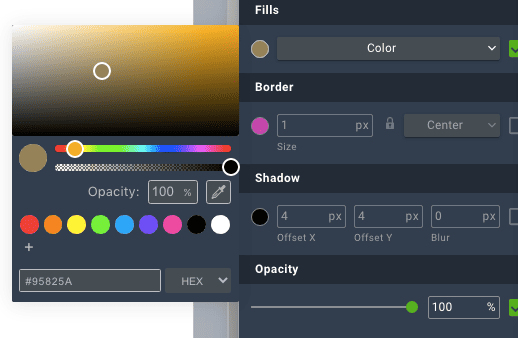
With the text selected, i changed the text name and color and adjust its width and height in the property panel.

- I click on the “Browse All Shapes” in the toolbar and i drag two emoji shapes to the drawing area and adjust them.
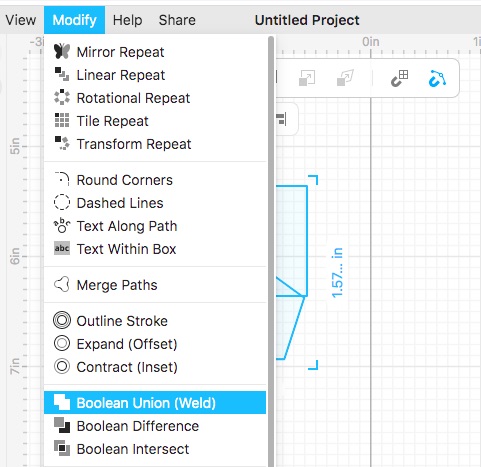
- I select a shape and i click on modify then “mirror repeat” in the toolbar.


The result is displayed in the image below:
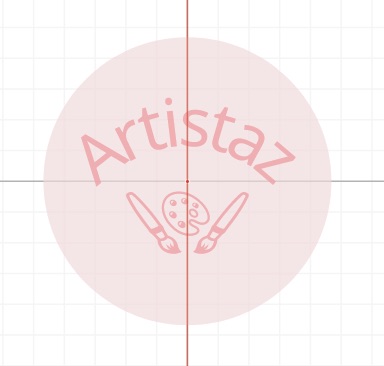
- I select all two shapes then i click on the “Boolean Union” button in the toolbar to combine the selected shapes into one as shown below:

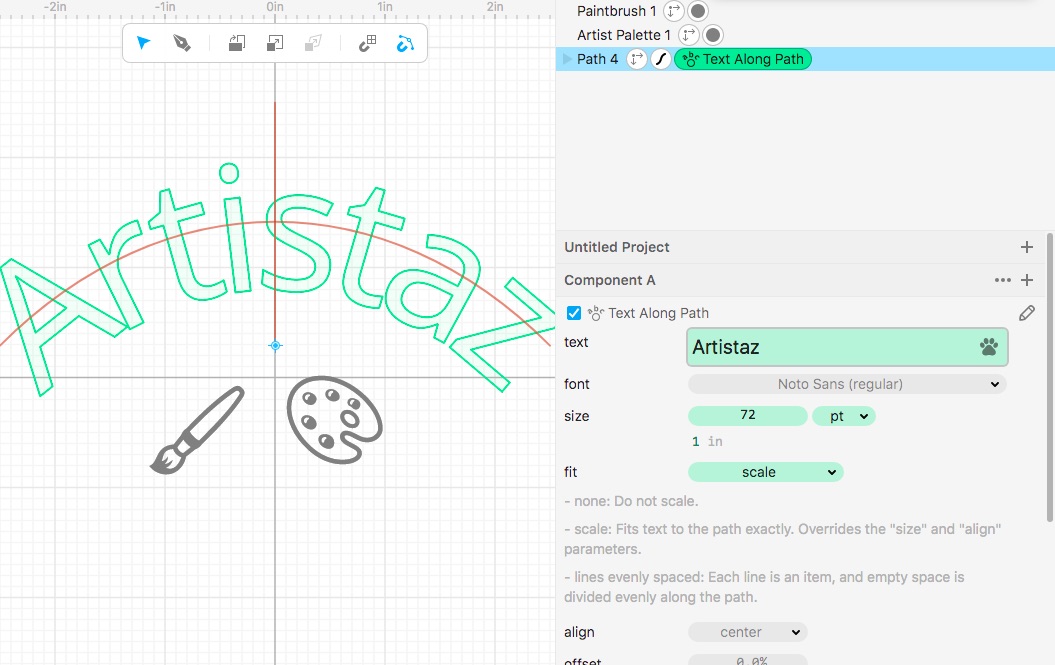
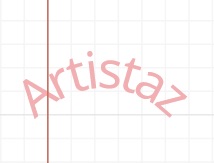
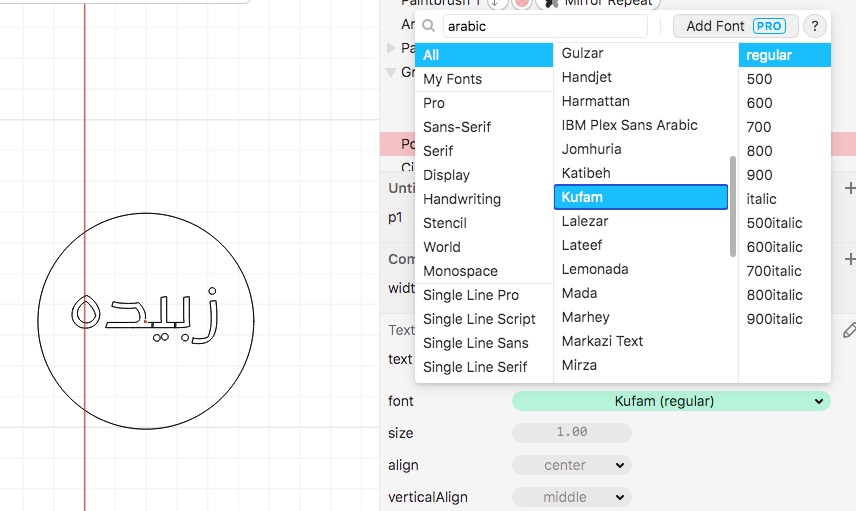
- Additionally, I drag a name and i choose a font that shows below:

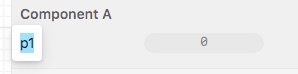
I clicked on the component name, then the plus sign, changed the name to “width,”

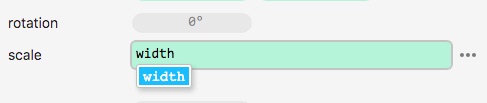
I clicked on “scale,” adjusted it to “width,” and modified the name size.

I selected “rotational repeat” button in the toolbar, and adjusted the name.
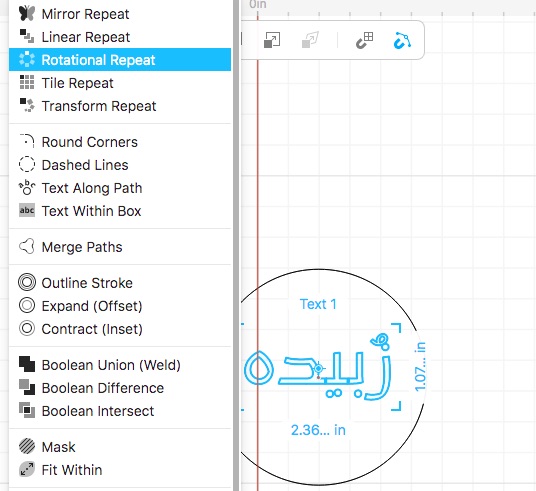
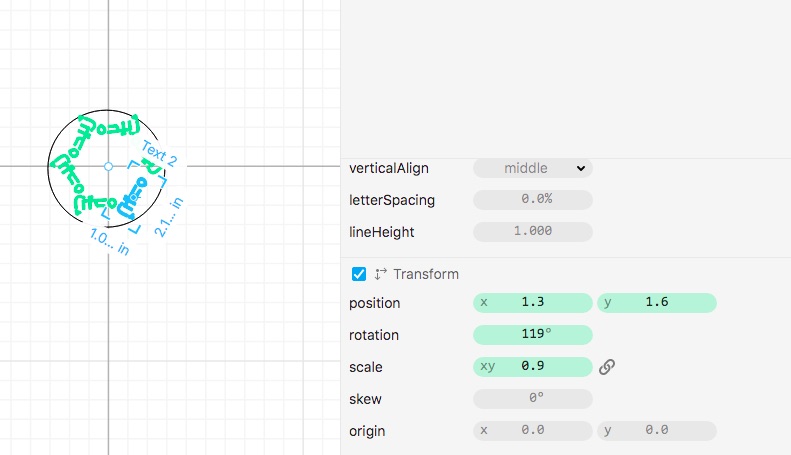
And this is the final result:

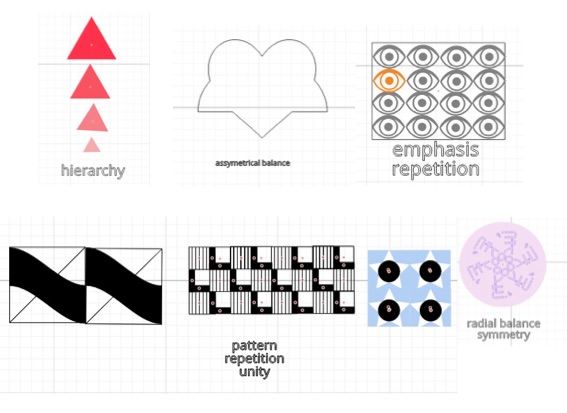
Principles of design The principles of design are essential guidelines that help artists and designers create visually appealing and effective compositions. Understanding these principles can enhance the clarity, impact, and aesthetic quality of any design work.
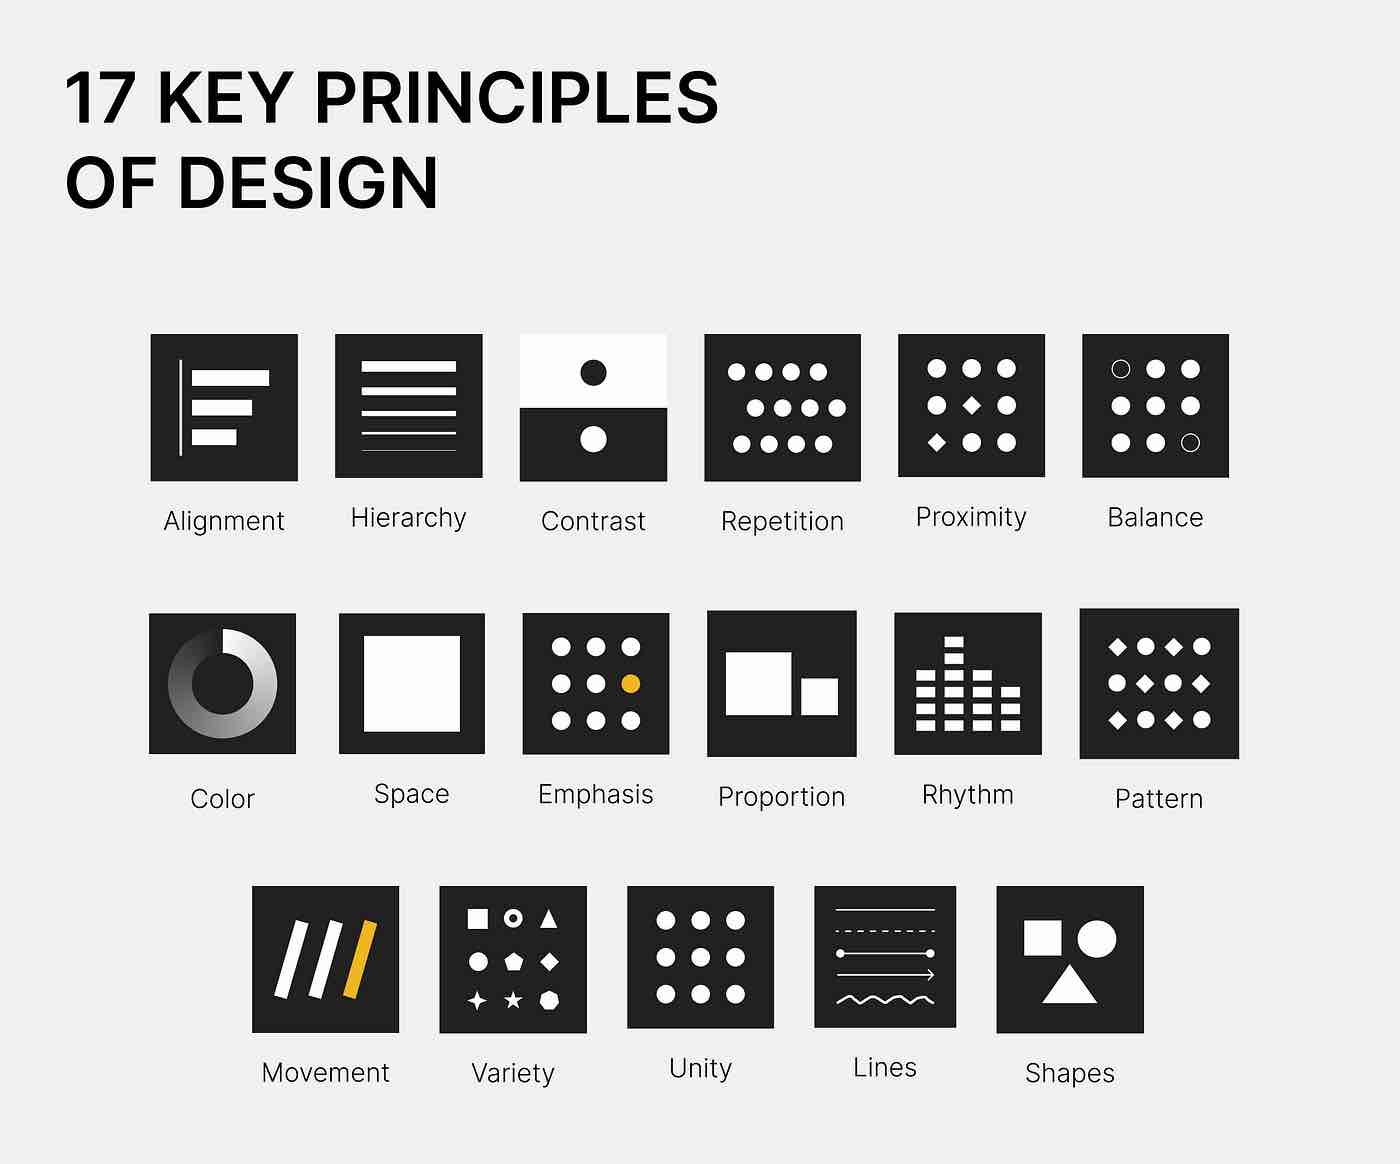
Here are some examples of principles that i designed in cuttle.xyz :
Vectr
Vectr is a great choice for anyone seeking a free and user-friendly vector design tool, especially for 2D design. Its collaborative features and intuitive interface make it particularly attractive for both teams and individuals who are new to graphic design.
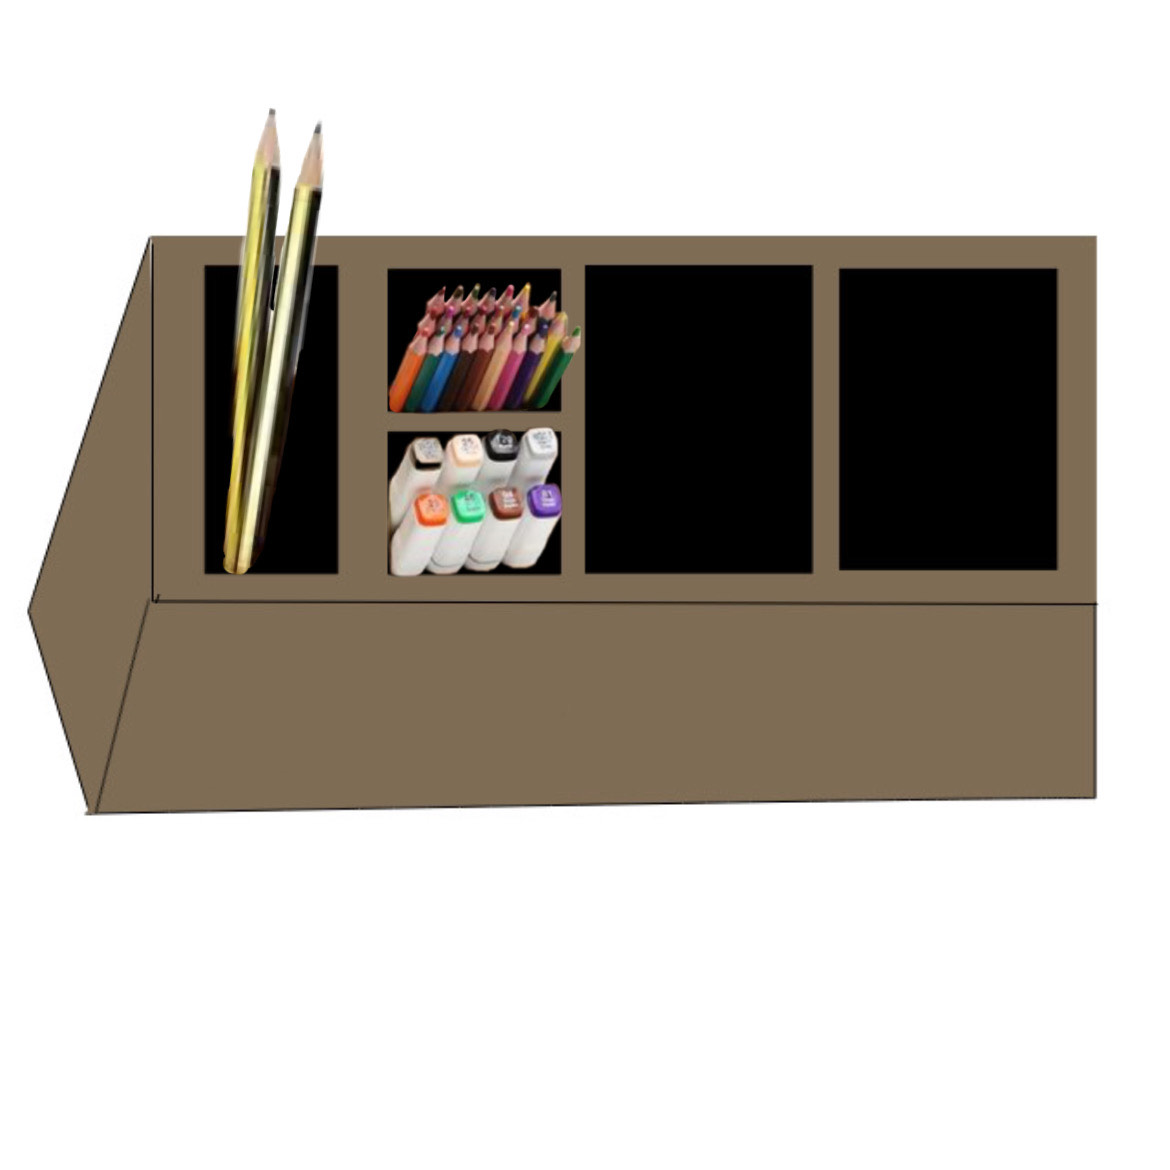
I chose to a 2D design of pens organizer with Vectr:
Following the steps outlined below:
- I create an account and start new project.

 - I press “shapes” button on the toolbar and i chose a rectangle.
 - I select all the rectangle and i changed its color.
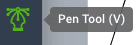
 - I added other squares and i adjust their size then i choose “pen tool” button and i add lines on the edges and colored them.
 - At the end, i choose “export” and i download it.
Tinkercad
Tinkercad is an online 3D design and modeling tool developed by Autodesk, primarily aimed at beginners and educators. It offers a user-friendly interface that allows users to create 3D models, circuits, and code in a straightforward manner. I tried to make a 3D model on it, and it was a great experience.
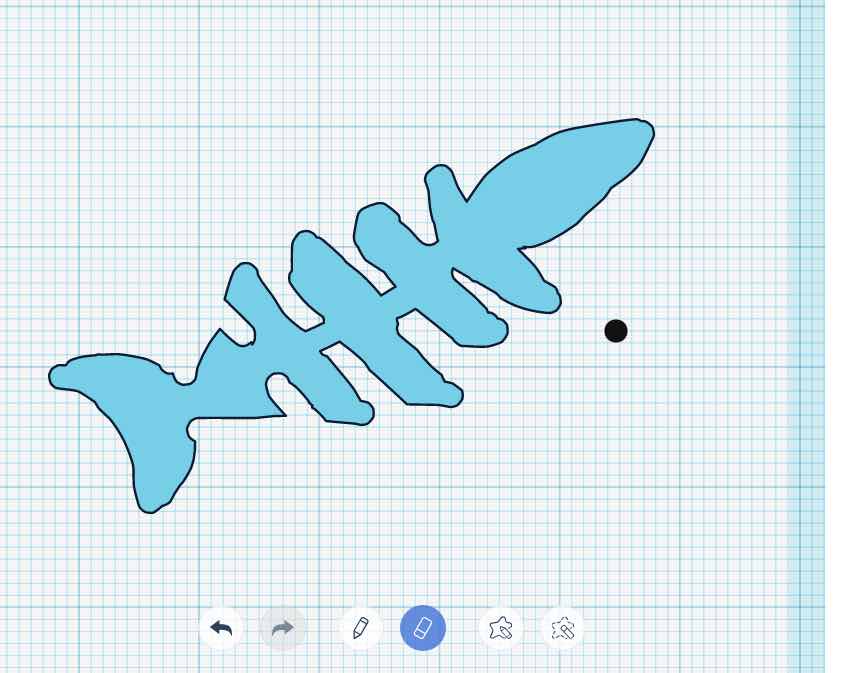
Fish bone design model
Following these steps: - I create an account. Then i press on “home” button:
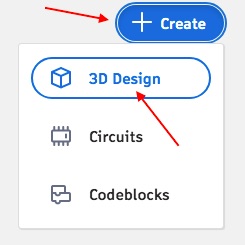
- To start a new project i press on “create” then i choose “3D design” as shown in the image:
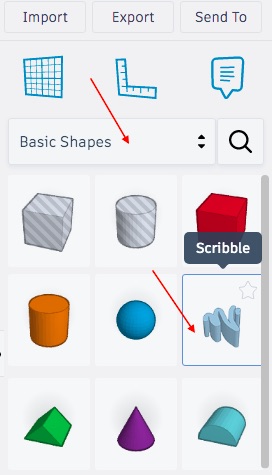
- I press on “basic shapes” then i dragged and dropped this drawing shape from the toolbar onto the workplane as shown below:
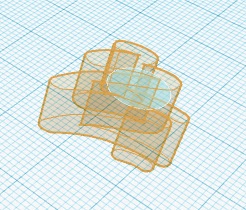
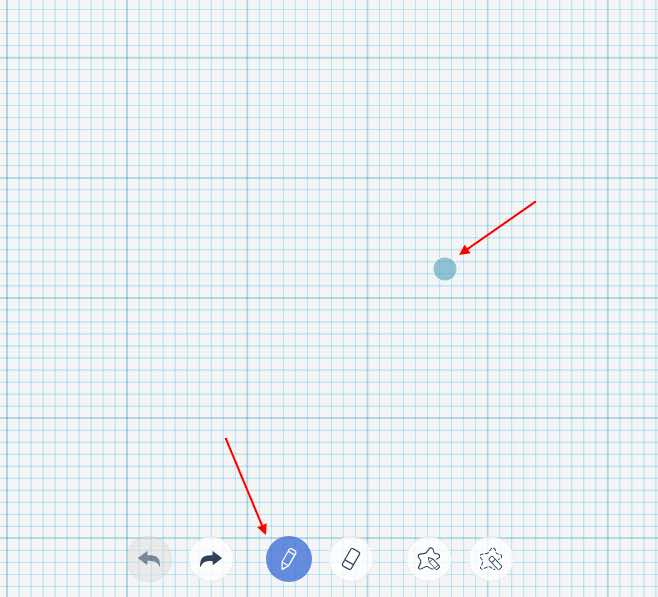
- I started to draw a fish bone shape then i press “done” as shown:
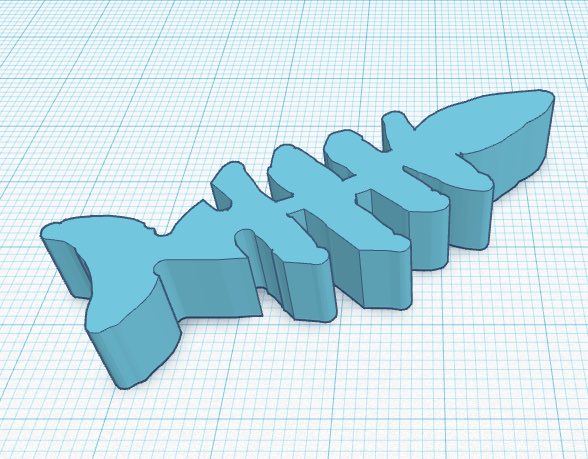
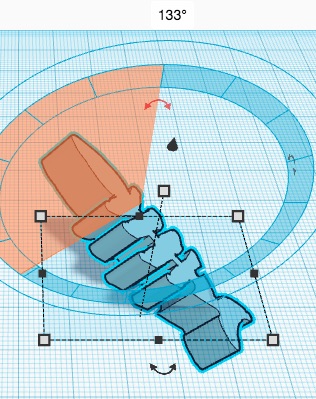
- I changed the angle to add it on open box shape that i dragged on the workplane.
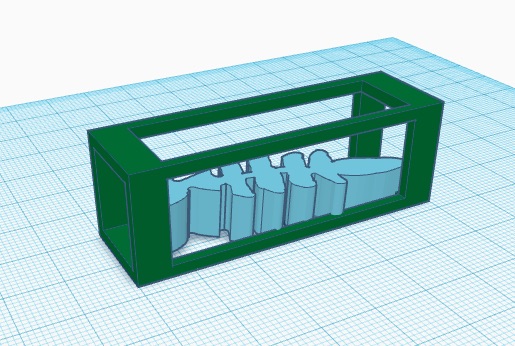
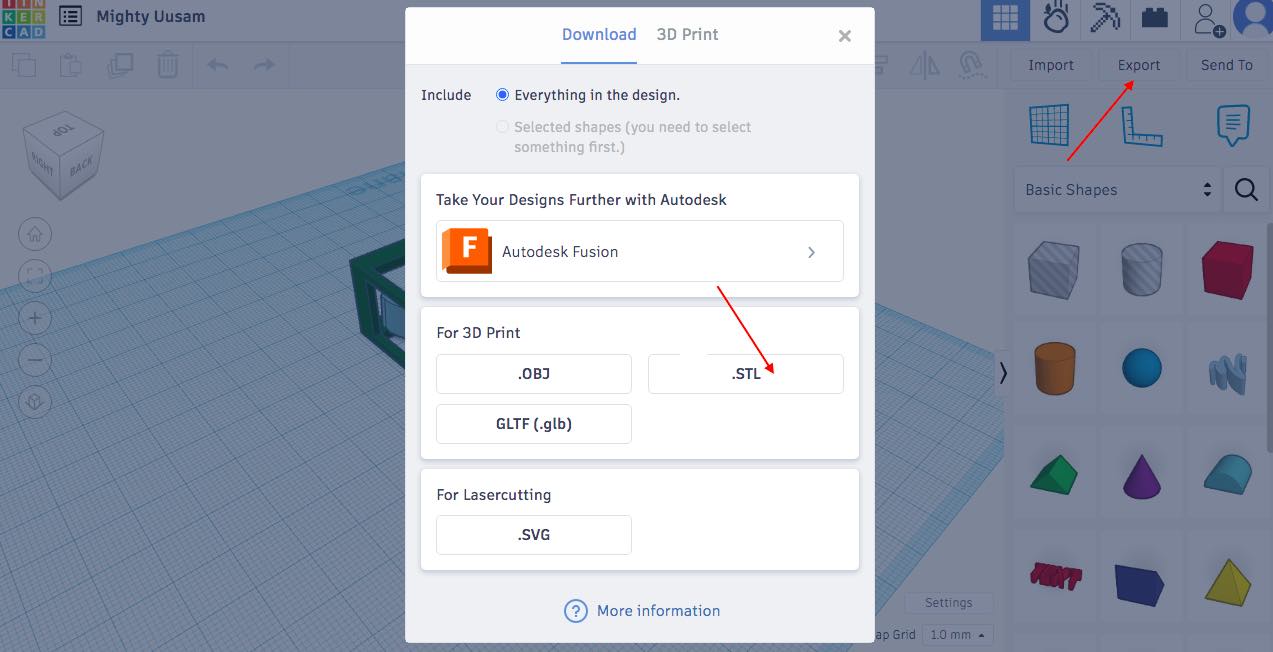
- At the end, i press “explore” then i choose the “stl” format and download it.
Fusion 360
Fusion 360 is a cloud-based 3D CAD, CAM, and CAE tool by Autodesk that streamlines product development through features like 3D modeling, simulation for stress and thermal analysis, CNC tool path generation, real-time collaboration, and integration with other Autodesk products. It offers accessibility from any internet-connected device, a cost-effective subscription model, extensive learning resources, and support for innovation across various industries and educational settings, making it a valuable tool for designers, engineers, and educators.
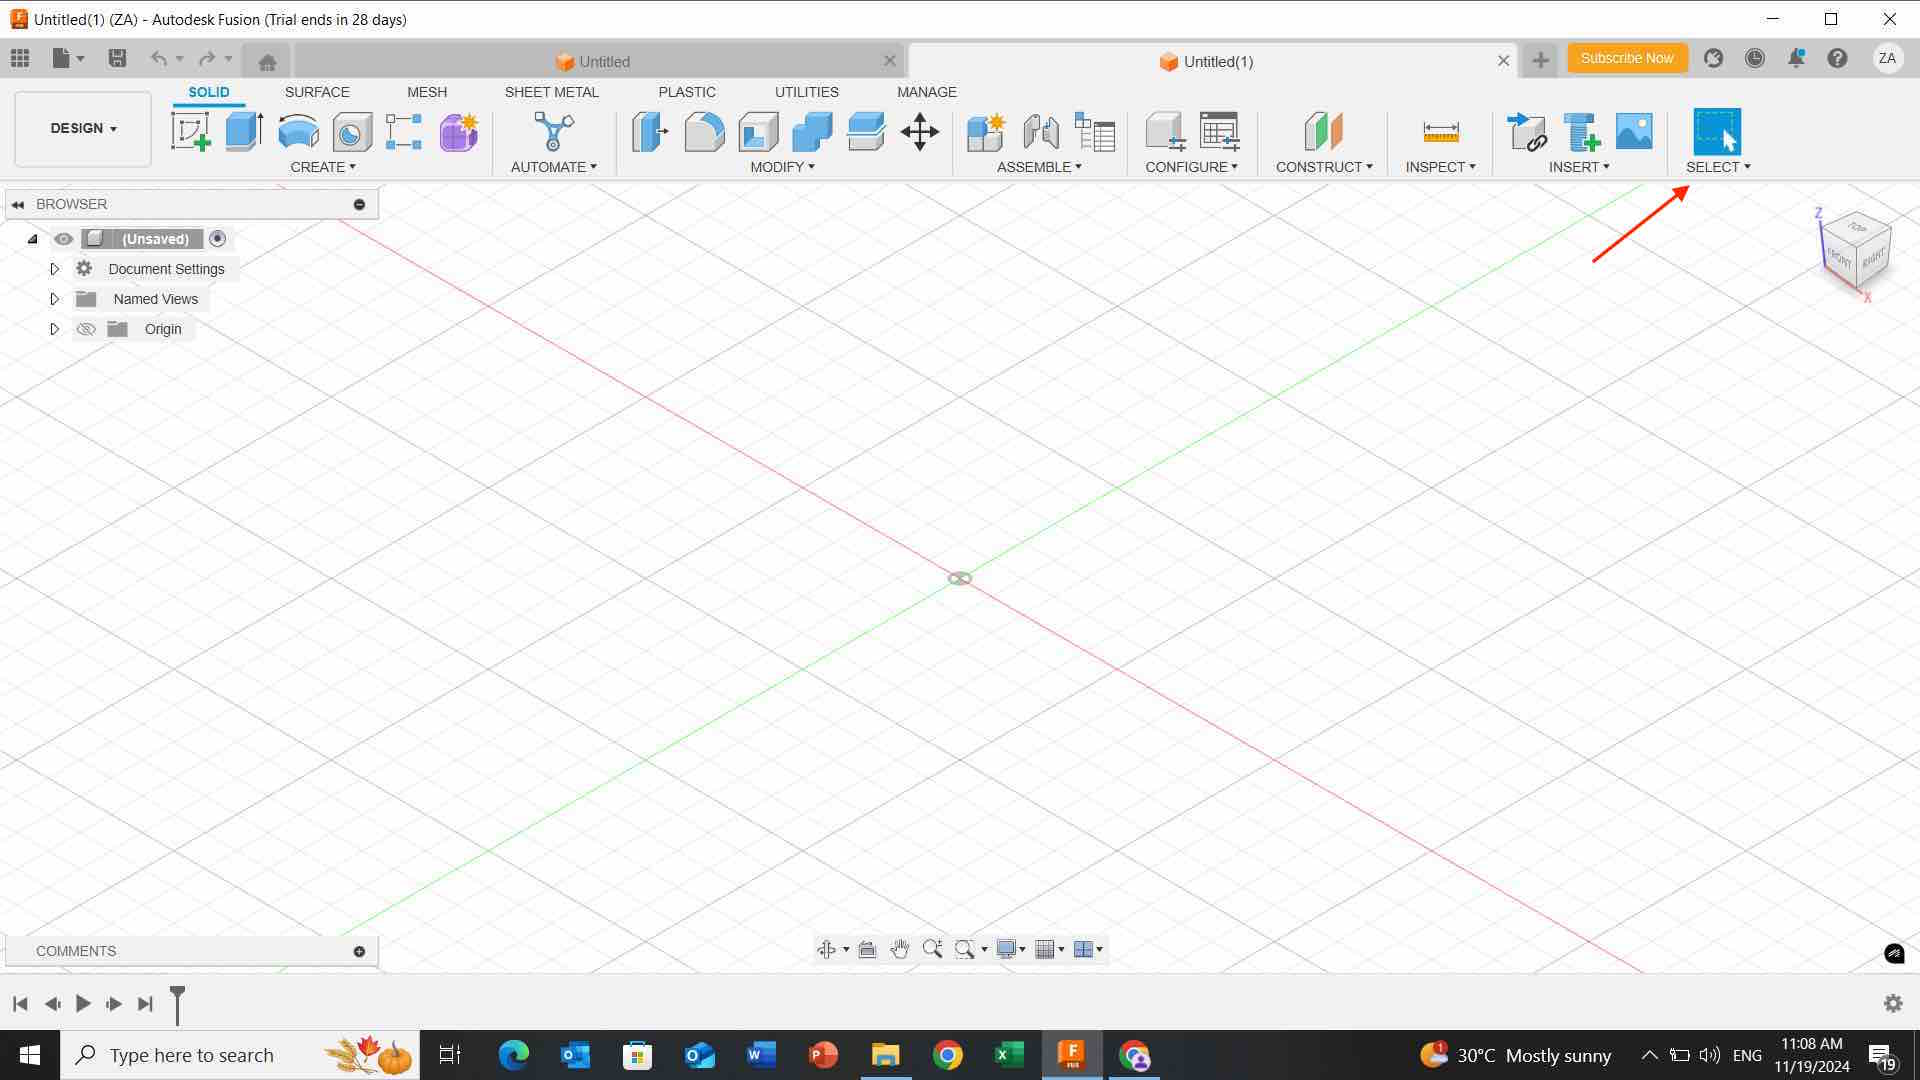
- I download and install fusion from website and created an account and i started designing.
Table design model
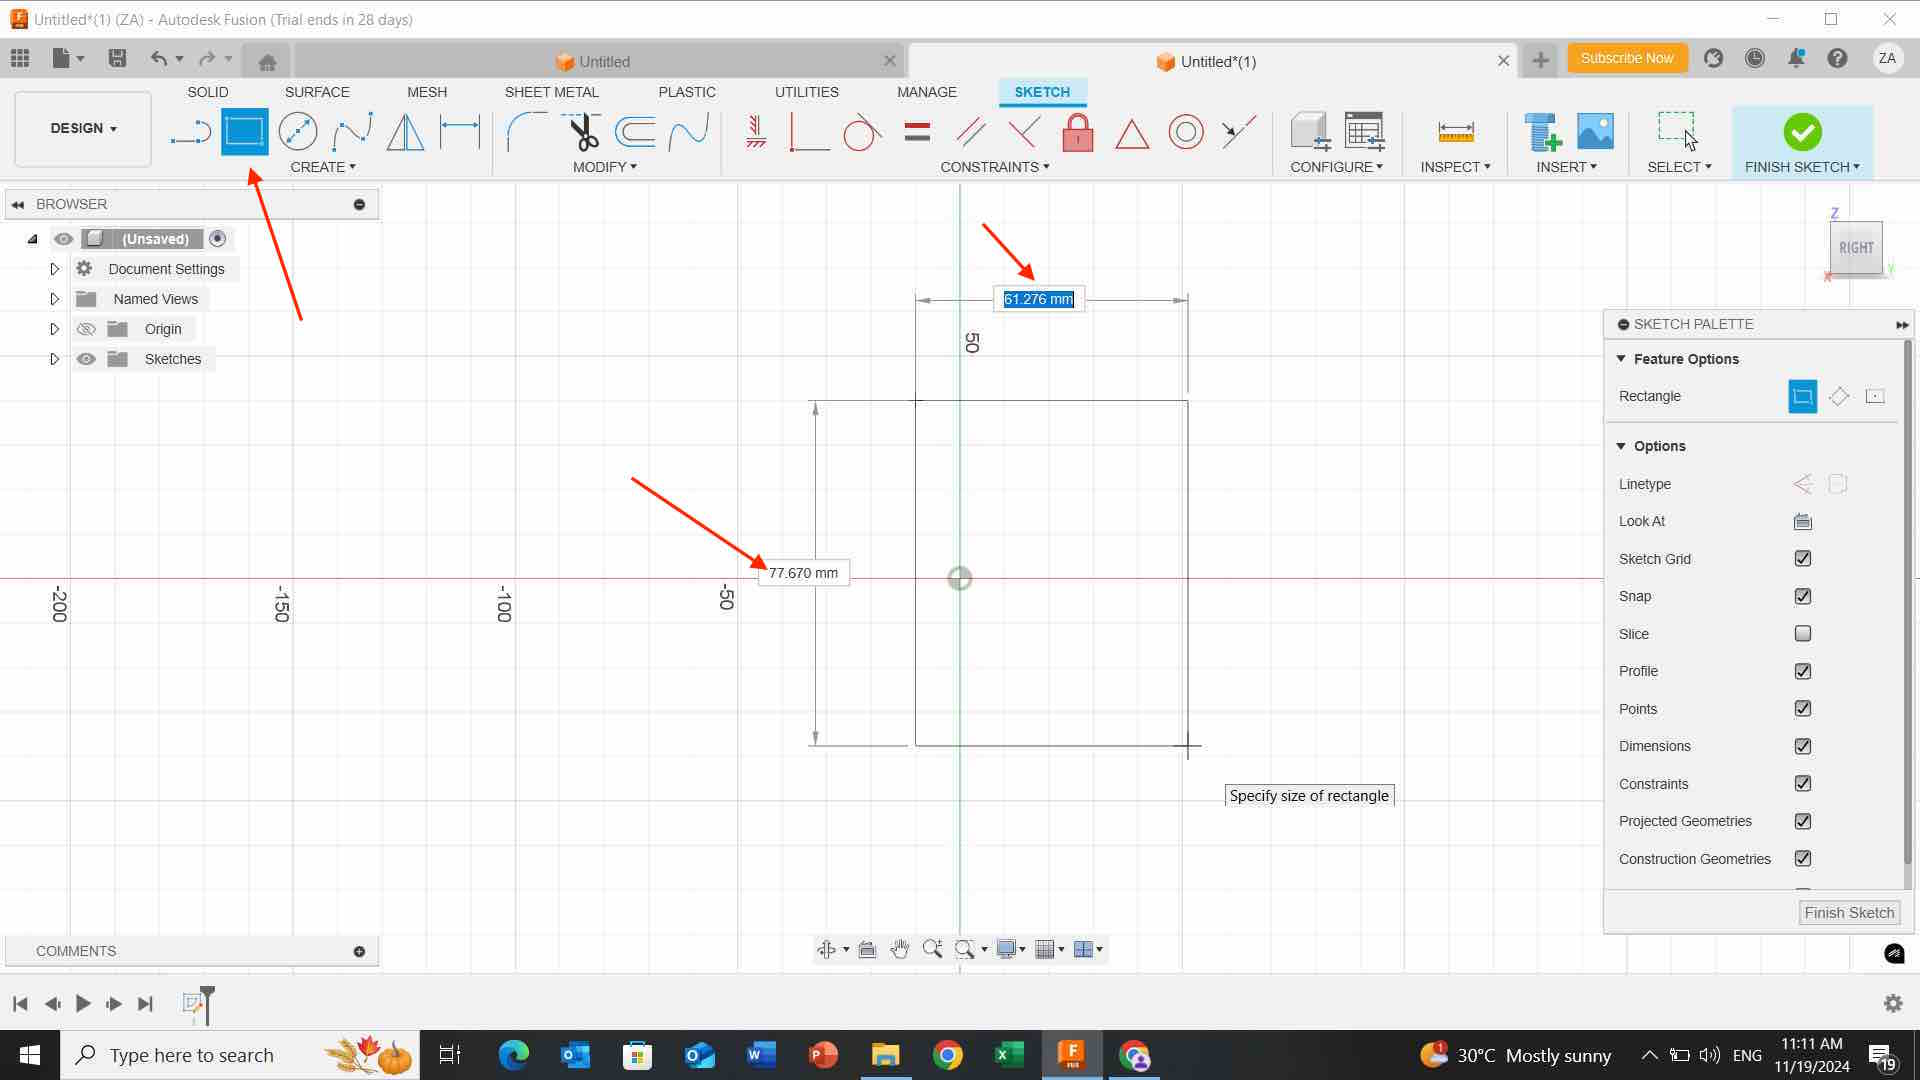
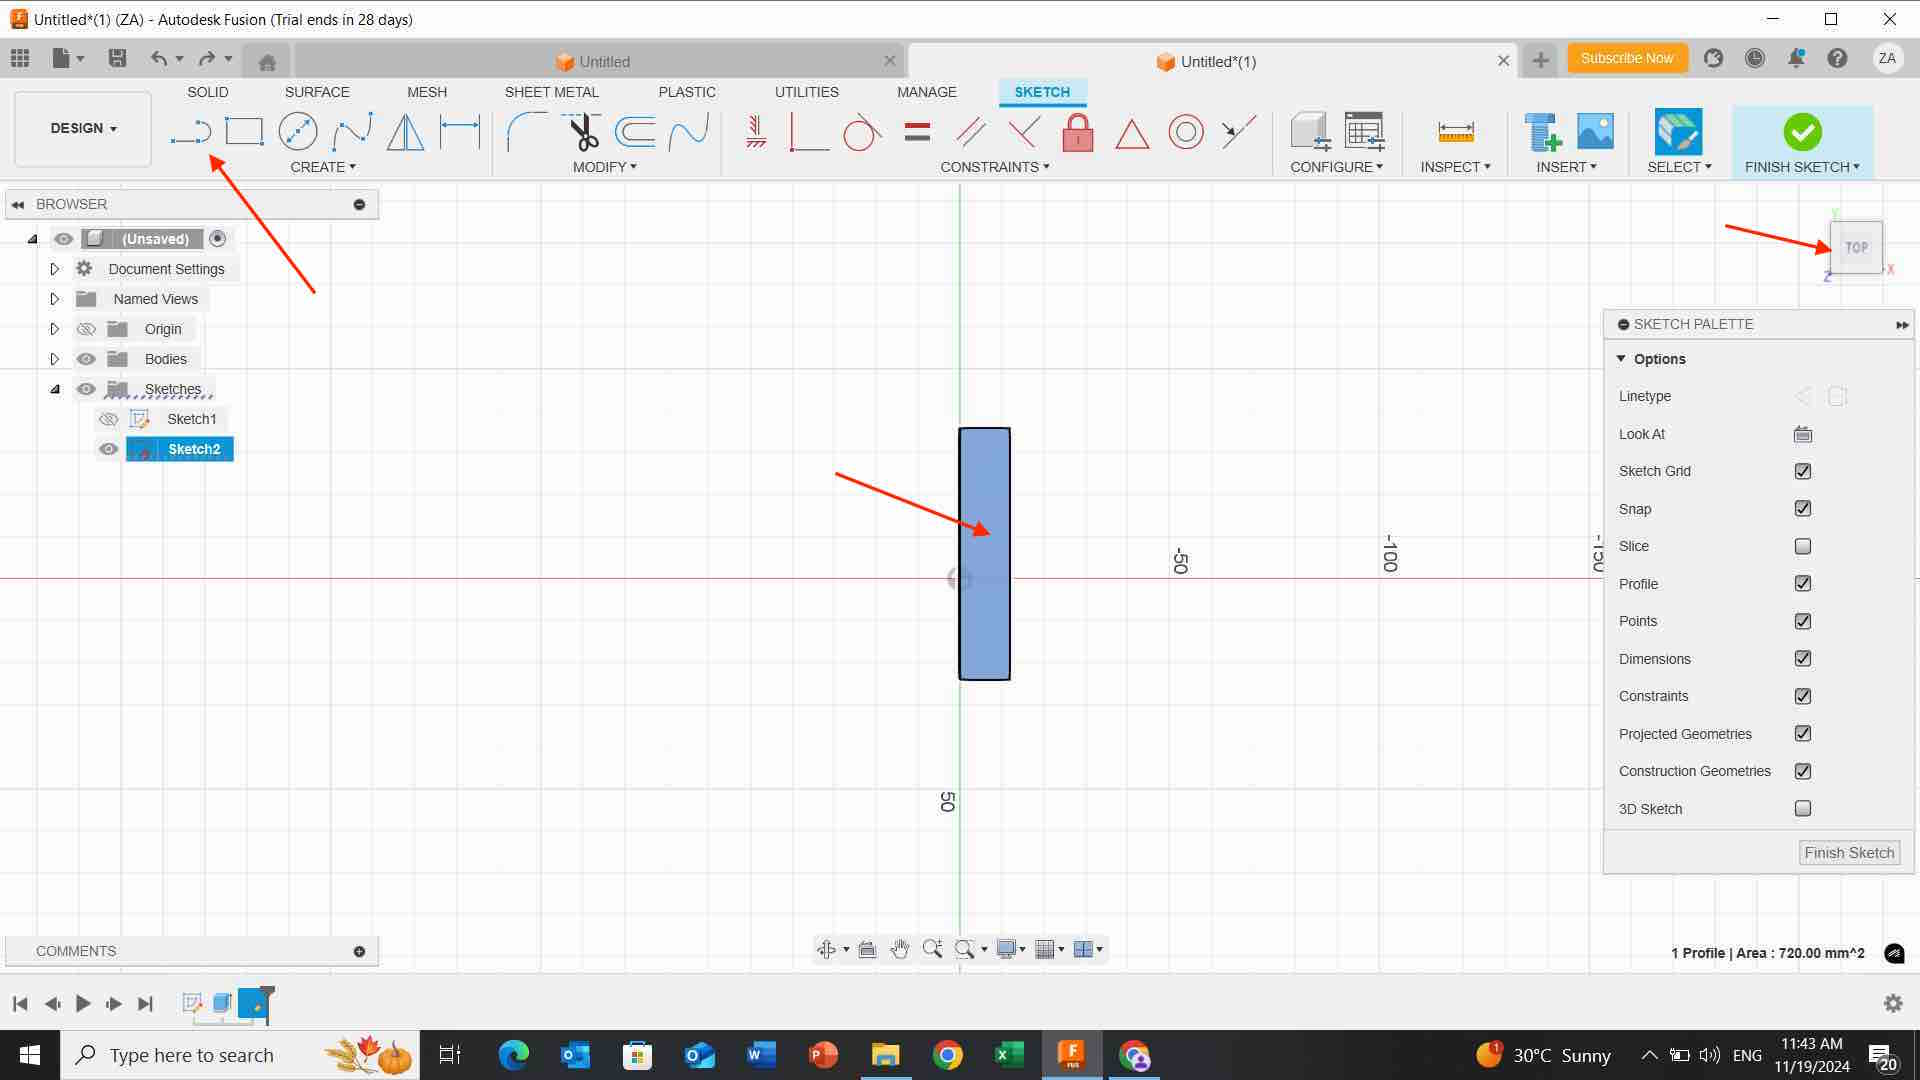
Steps: - I opened the Fusion application and i create and named a project. - I select and choose a plane to start my sketch.

- I Click on the “Create Sketch” button in the toolbar and i choose square and i adjust its size.
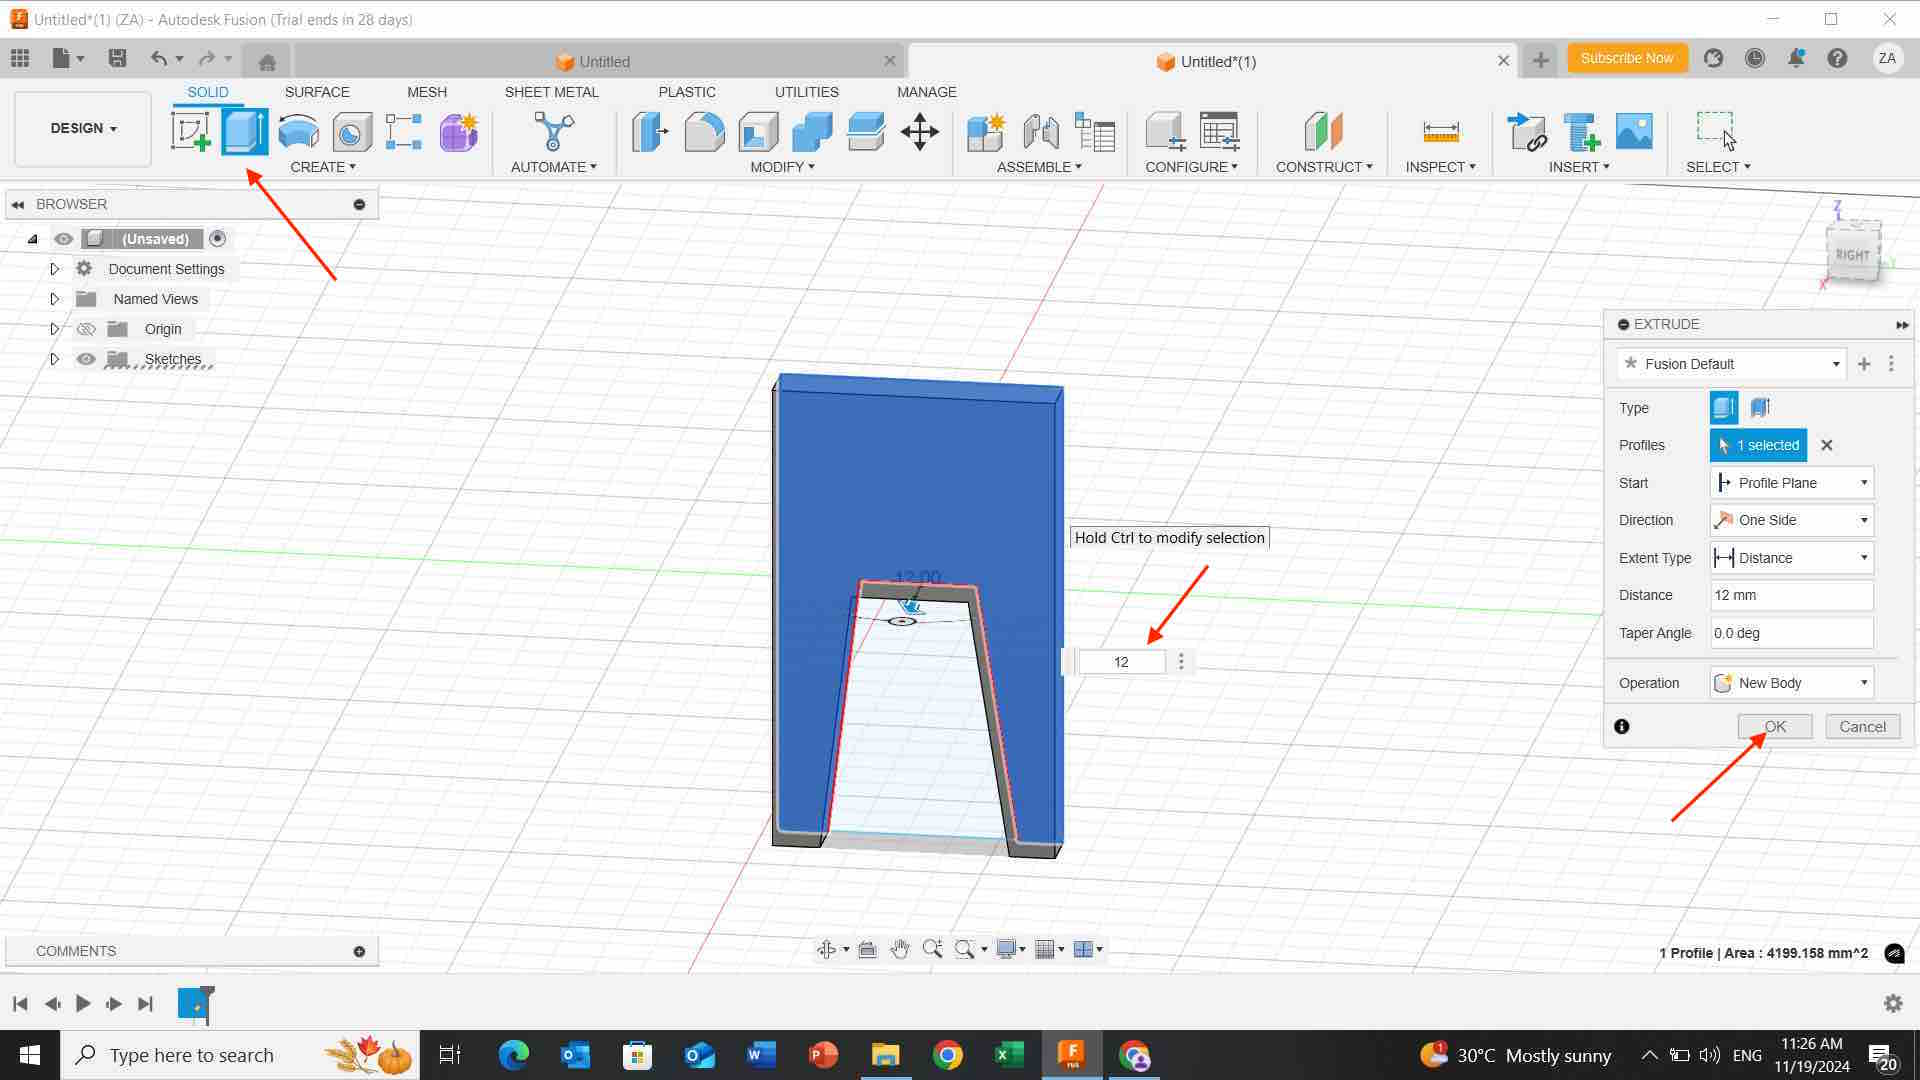
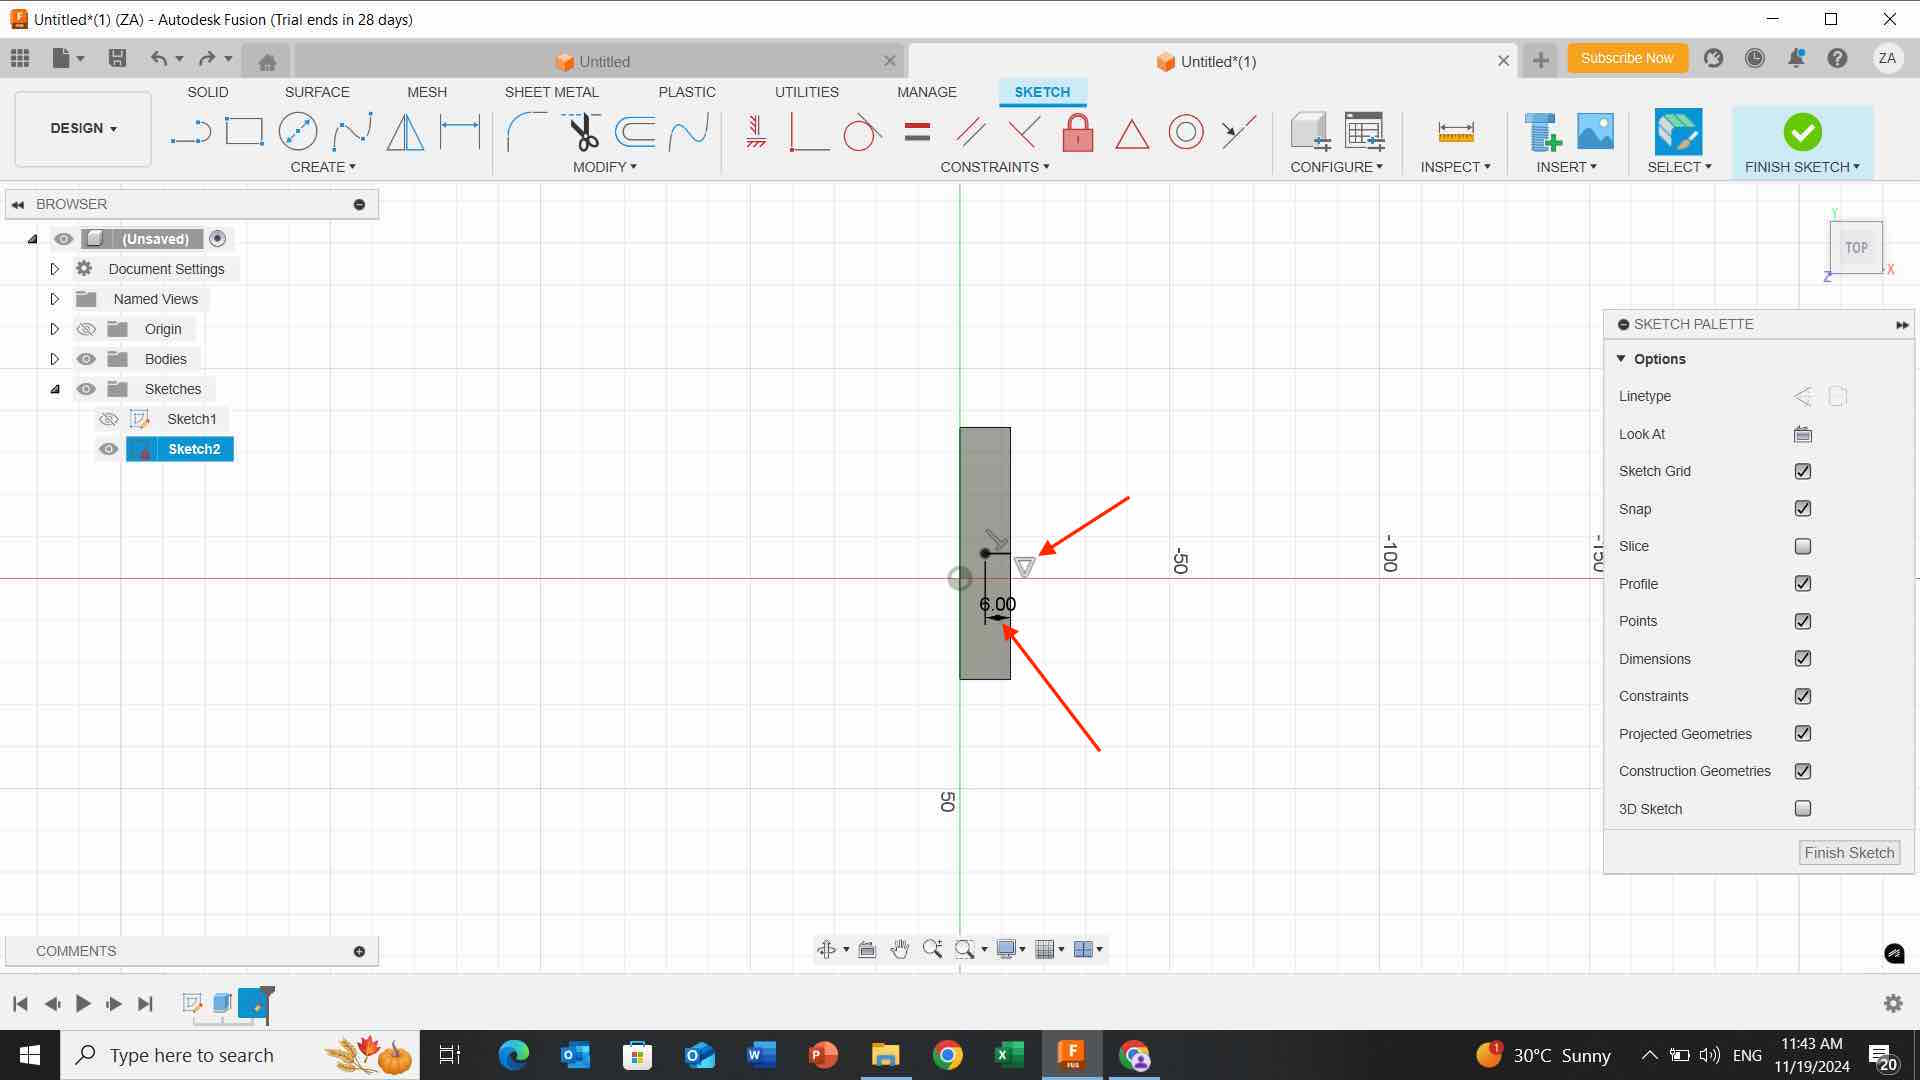
- I click on the solid line and i started to adjust my shape then i click on the “rectangle” solid to make it 3D shape as shown below:

 - I click on the top of my shape then i click on the solid line and i directed to the center of the rectangle top as shown:
- I choose the “rectangle” on the toolbar and i draw a small square on the top adjusting its size.

- I click on “move” button and i moved the shape from the arrow below and i make sure to click on “create copy” that makes for me two identical copies.

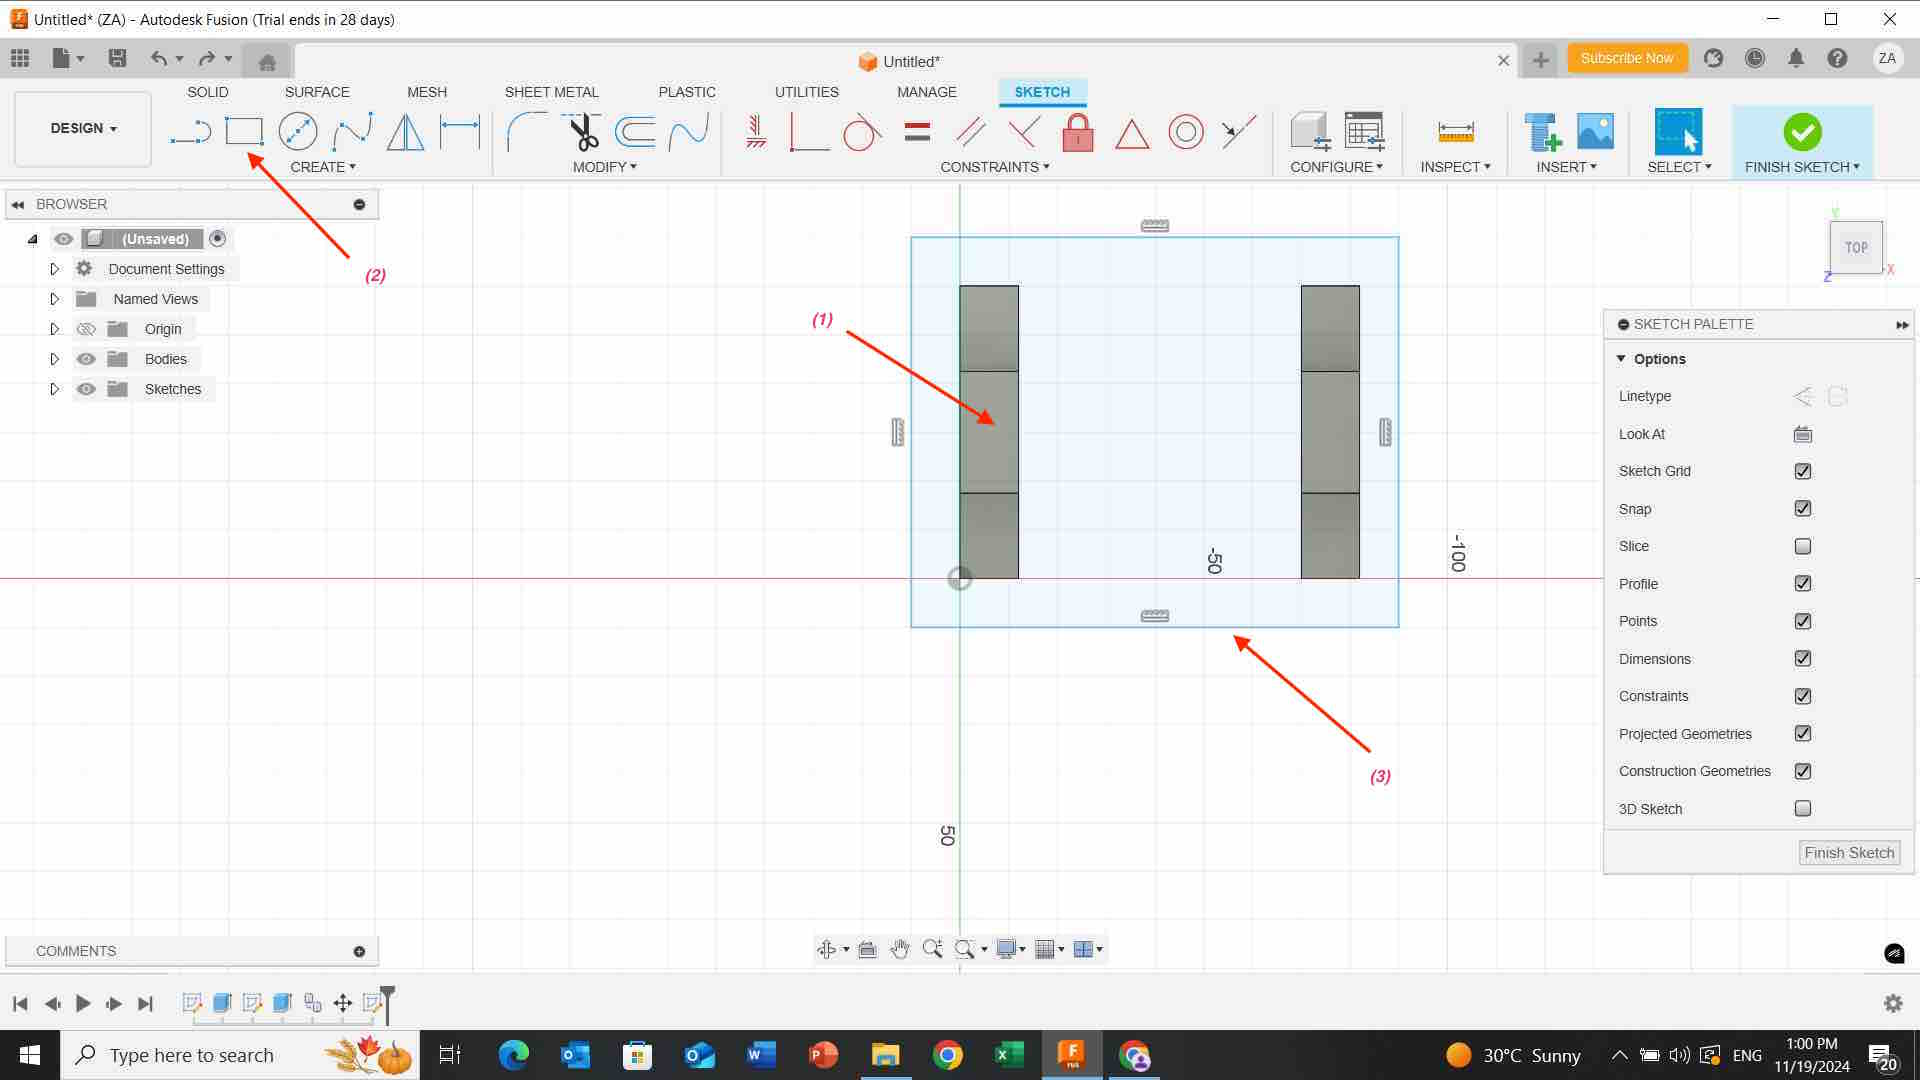
 - I go to the top and I add a new rectangle shape adjusting its size.

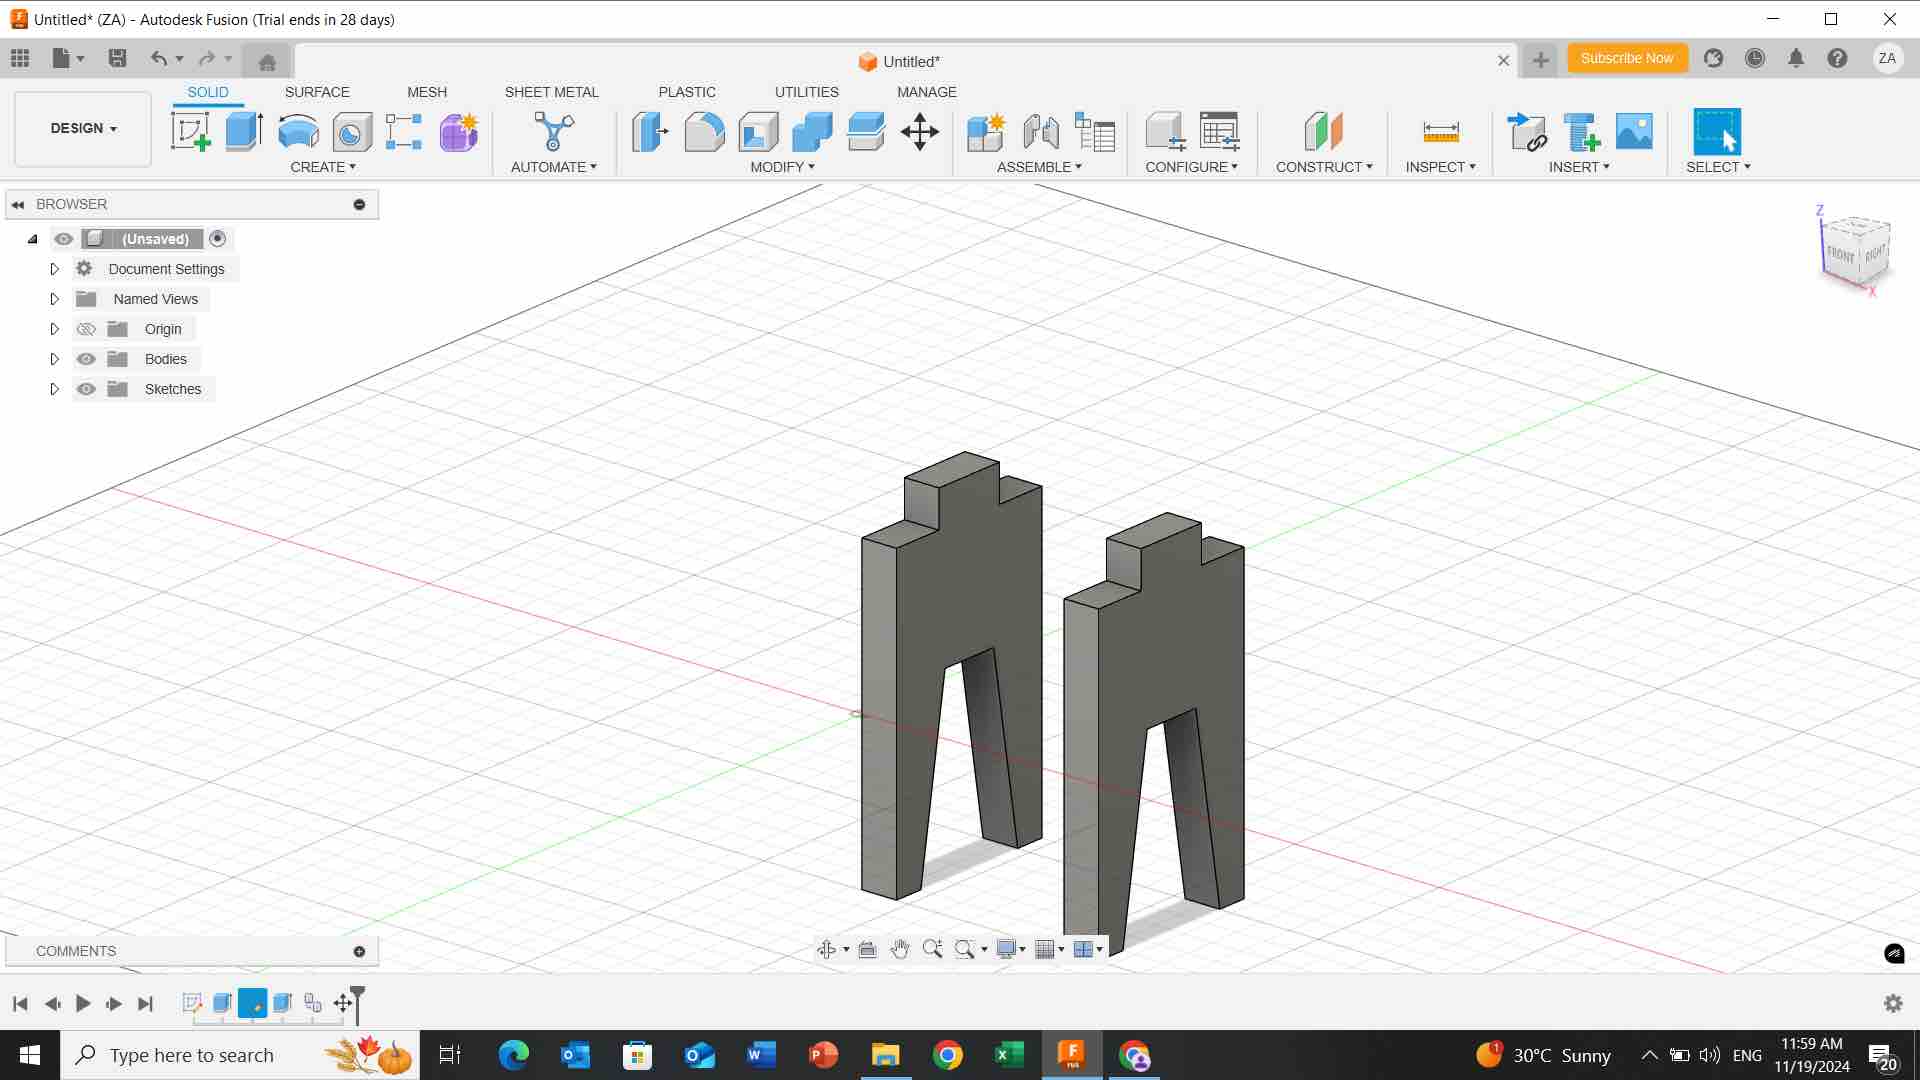
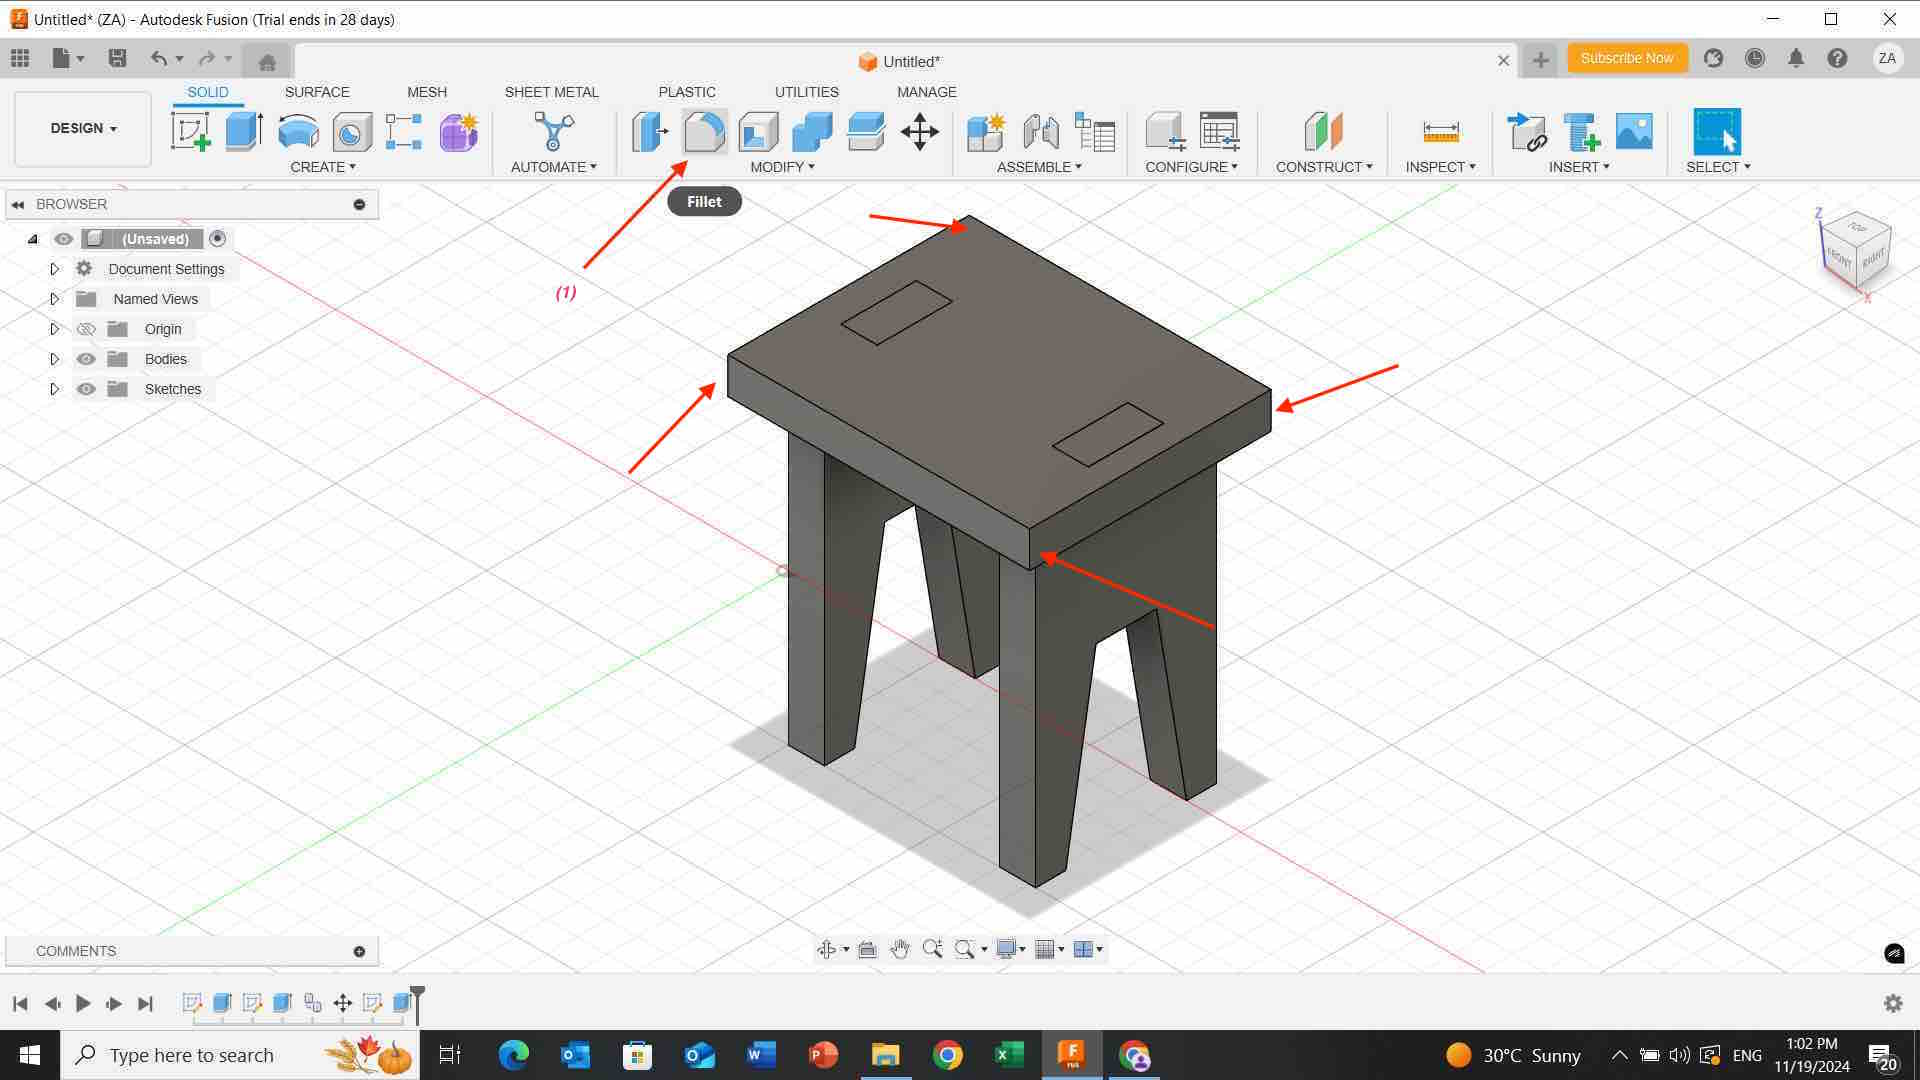
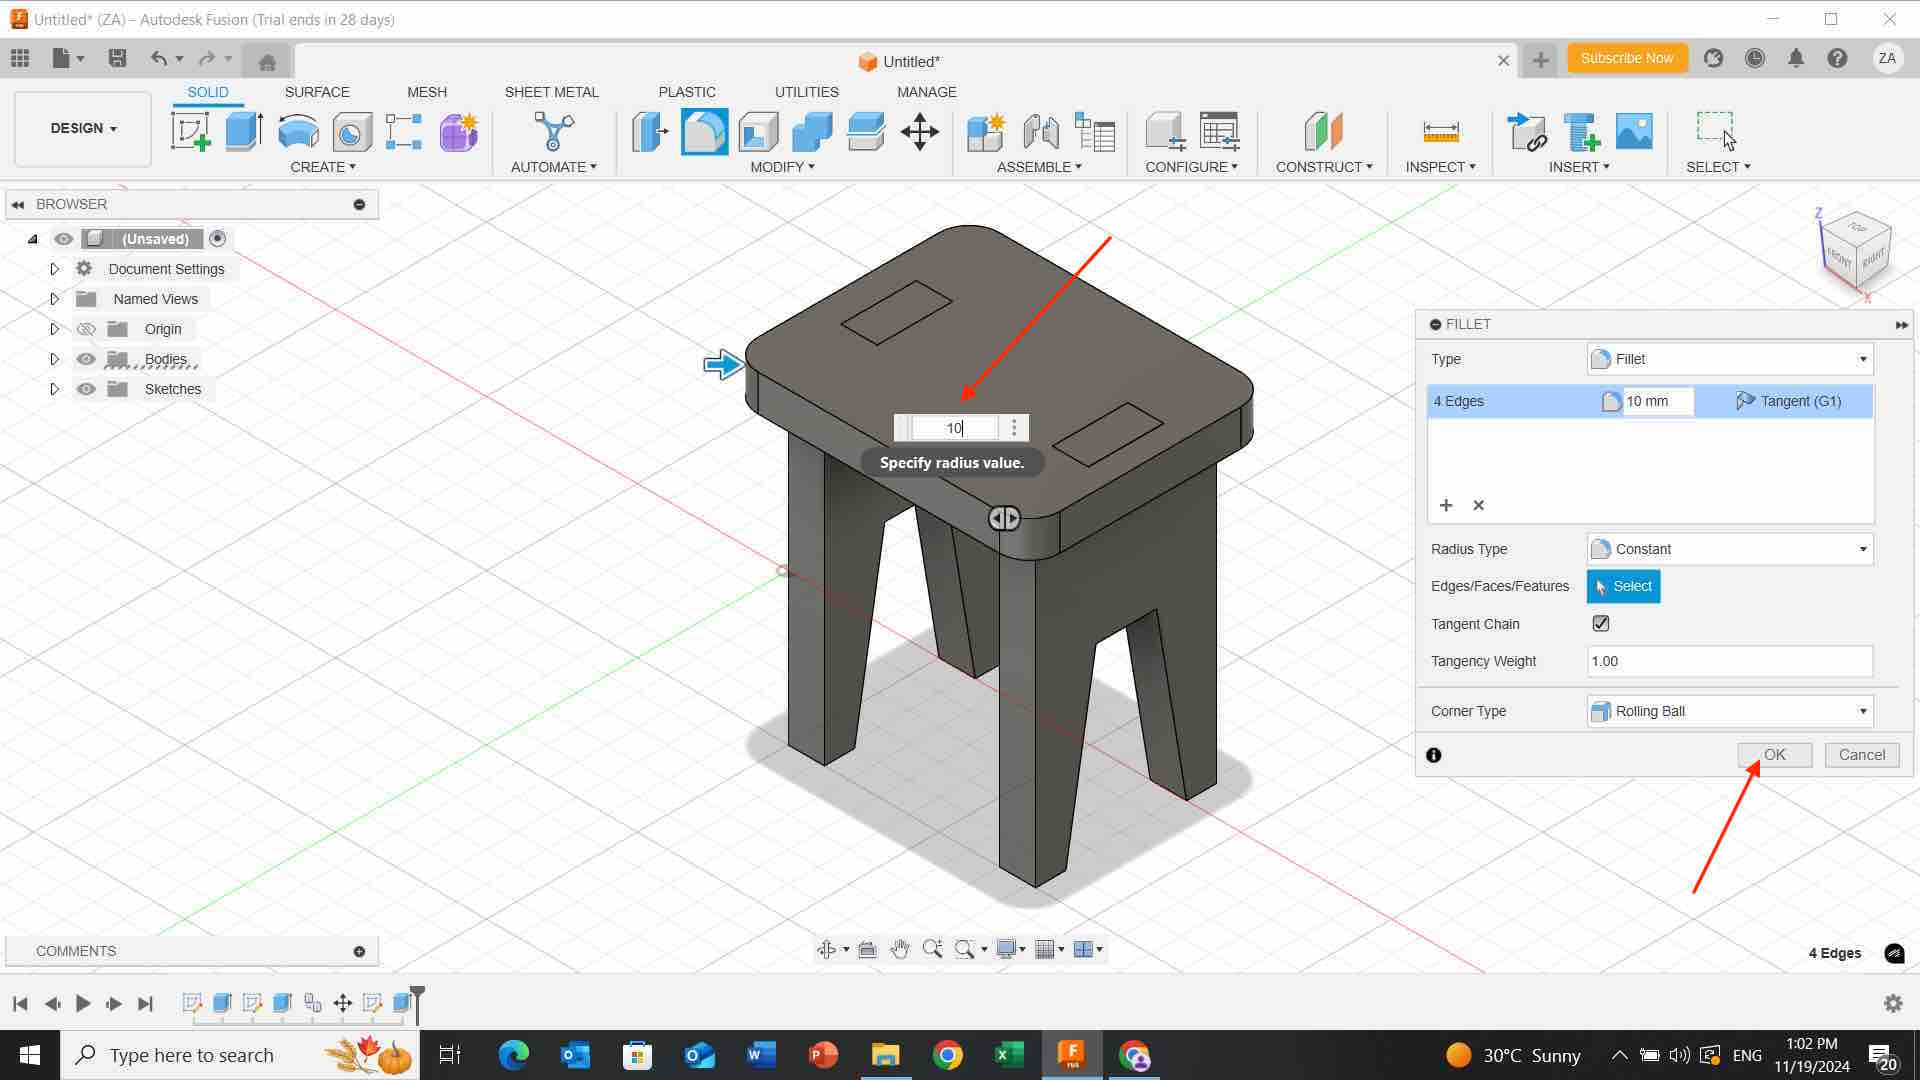
- I click on “fillet” button to round the edges by clicking on each one and adjusting the radius as shown below :
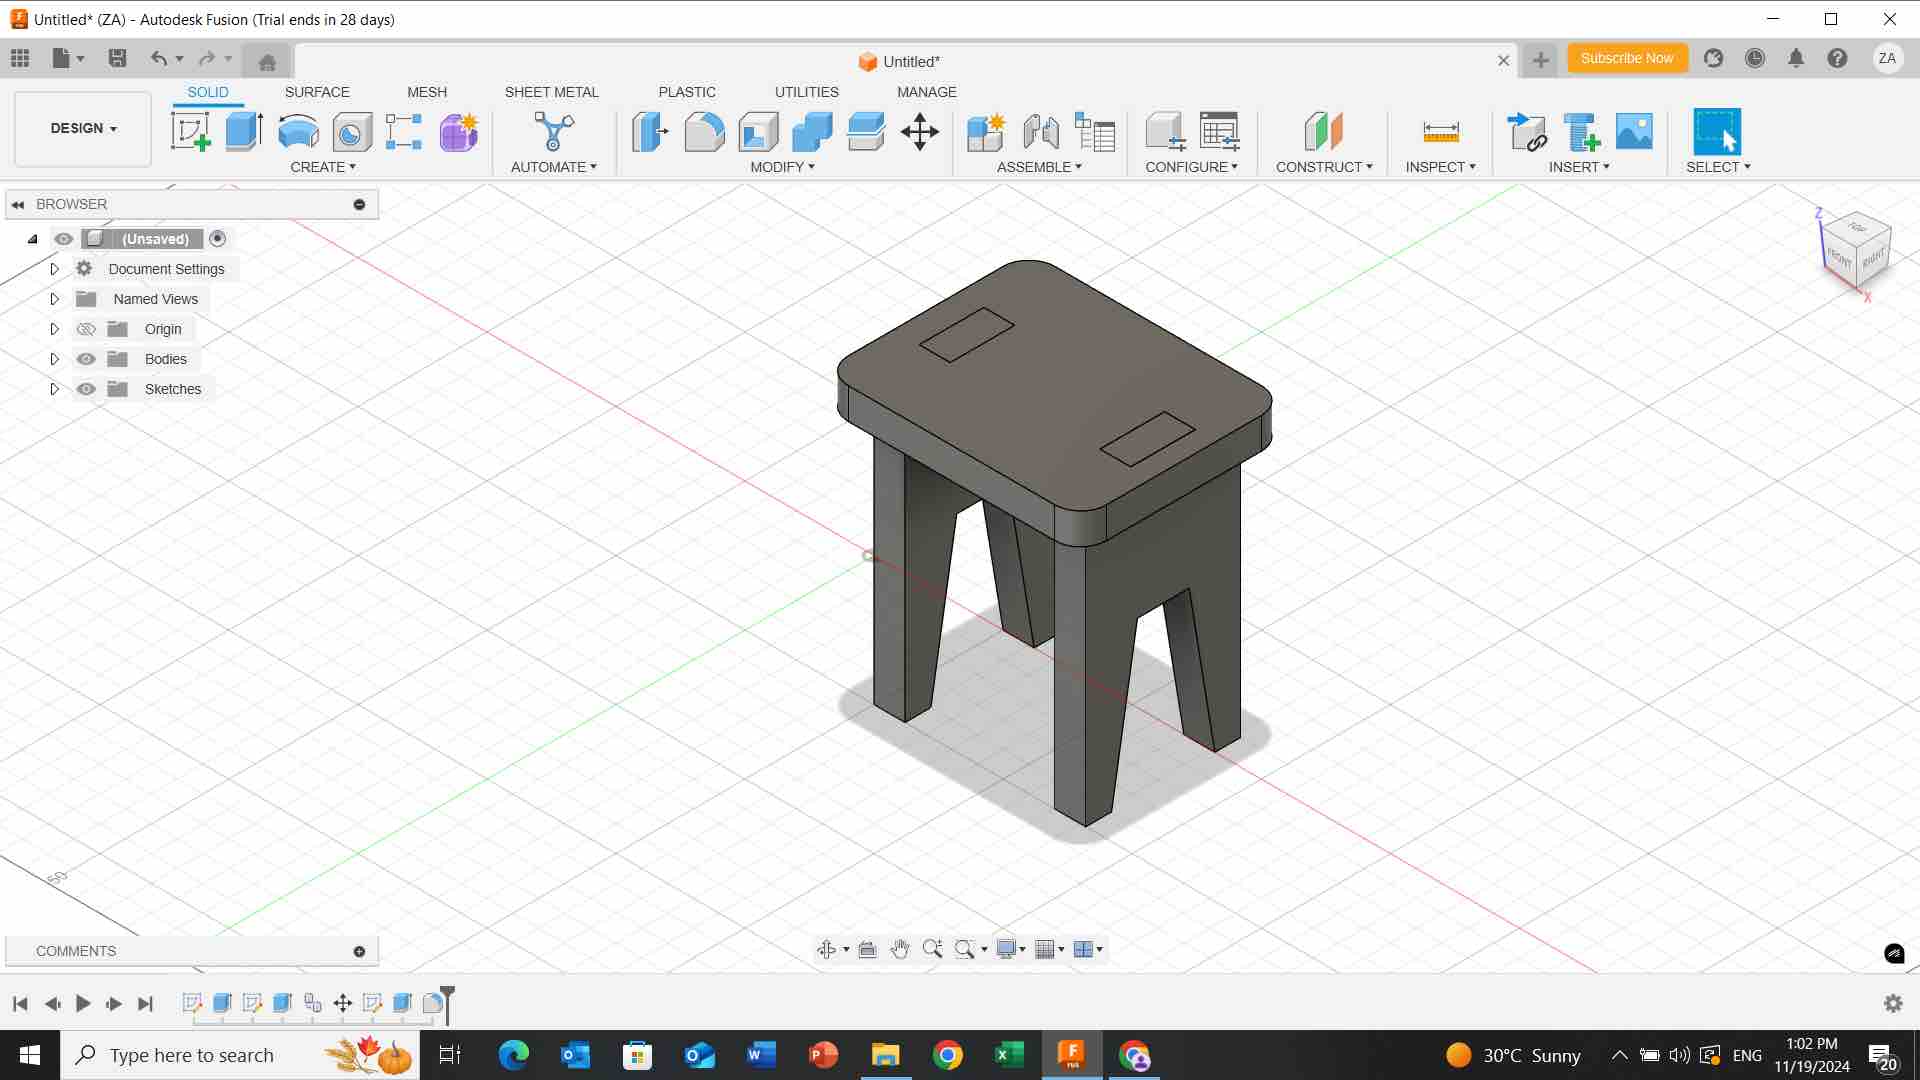
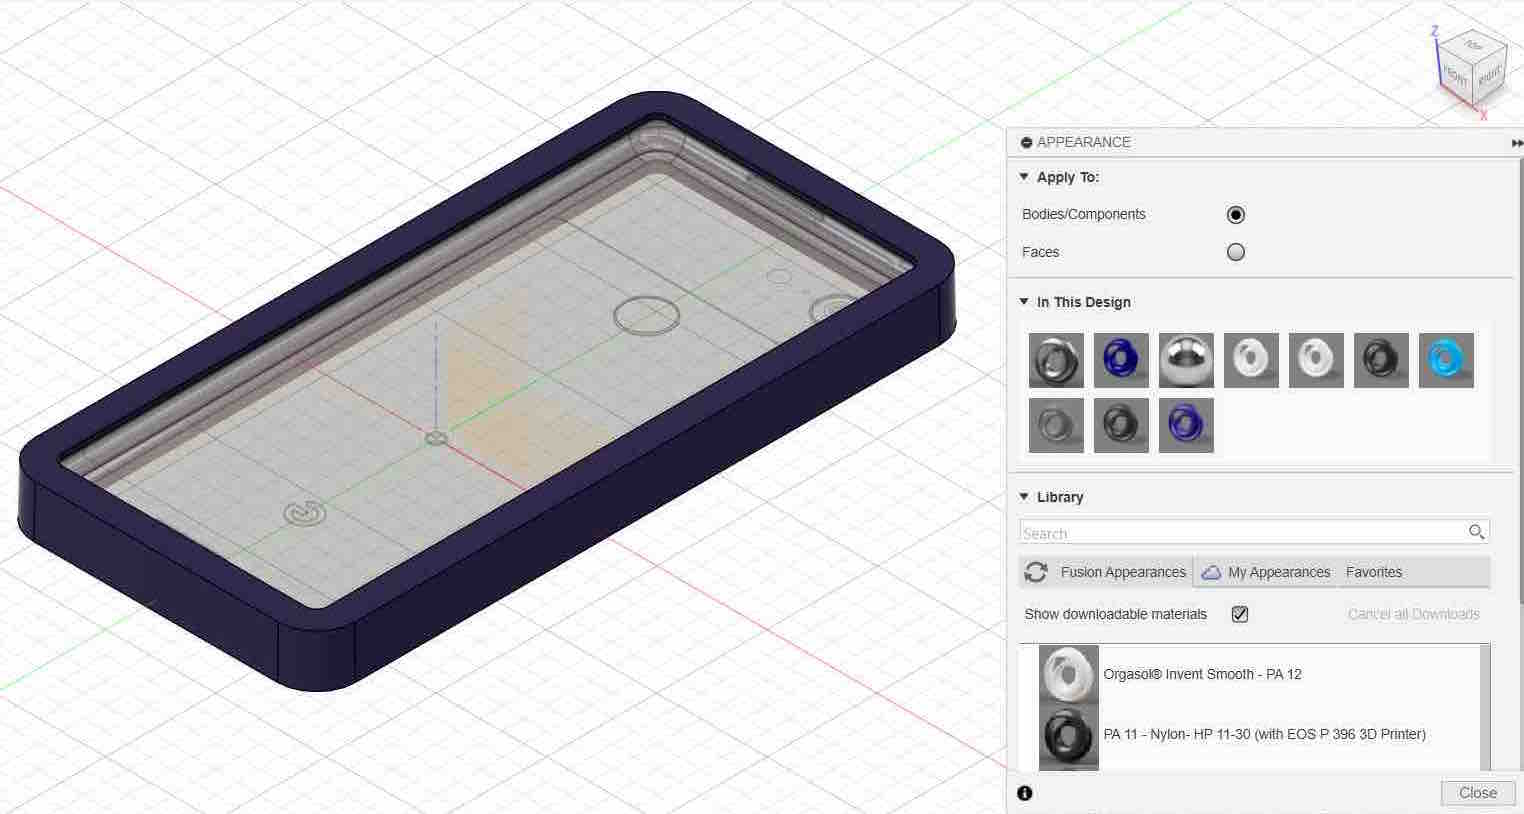
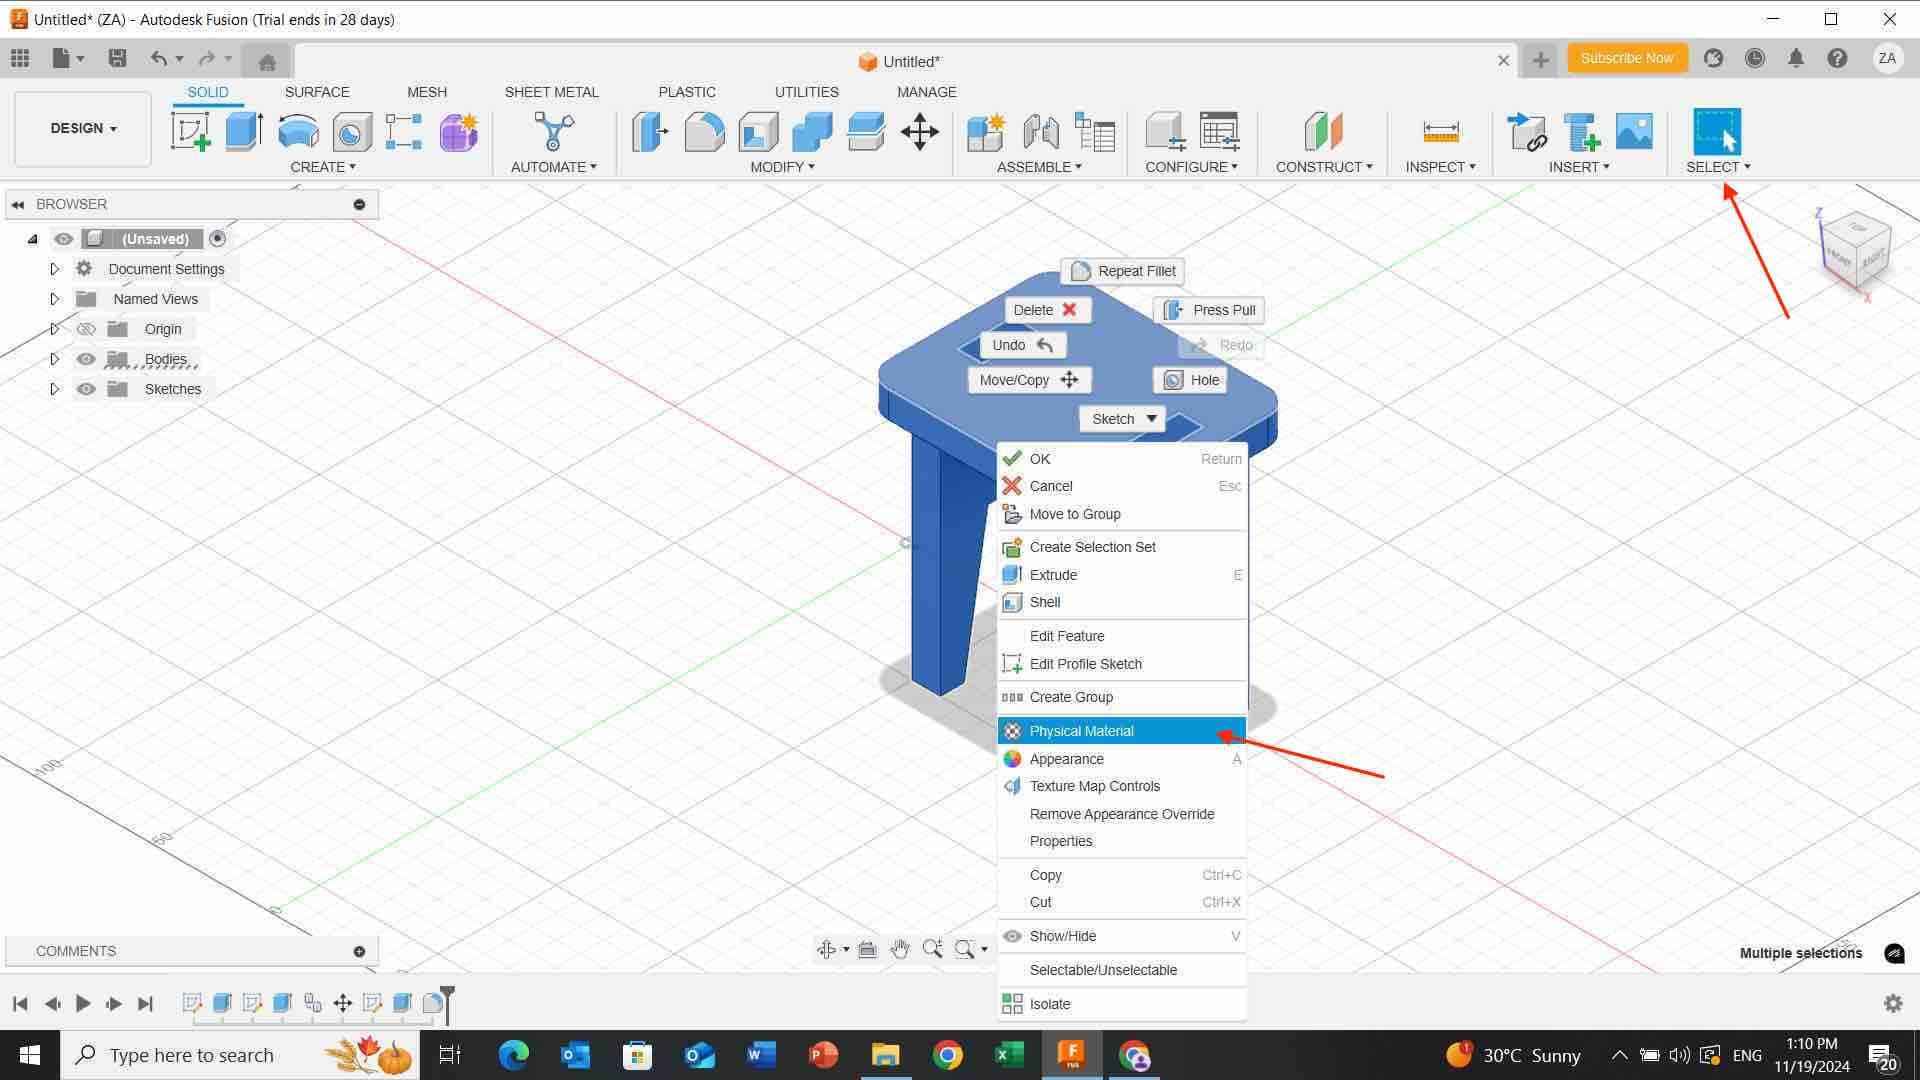
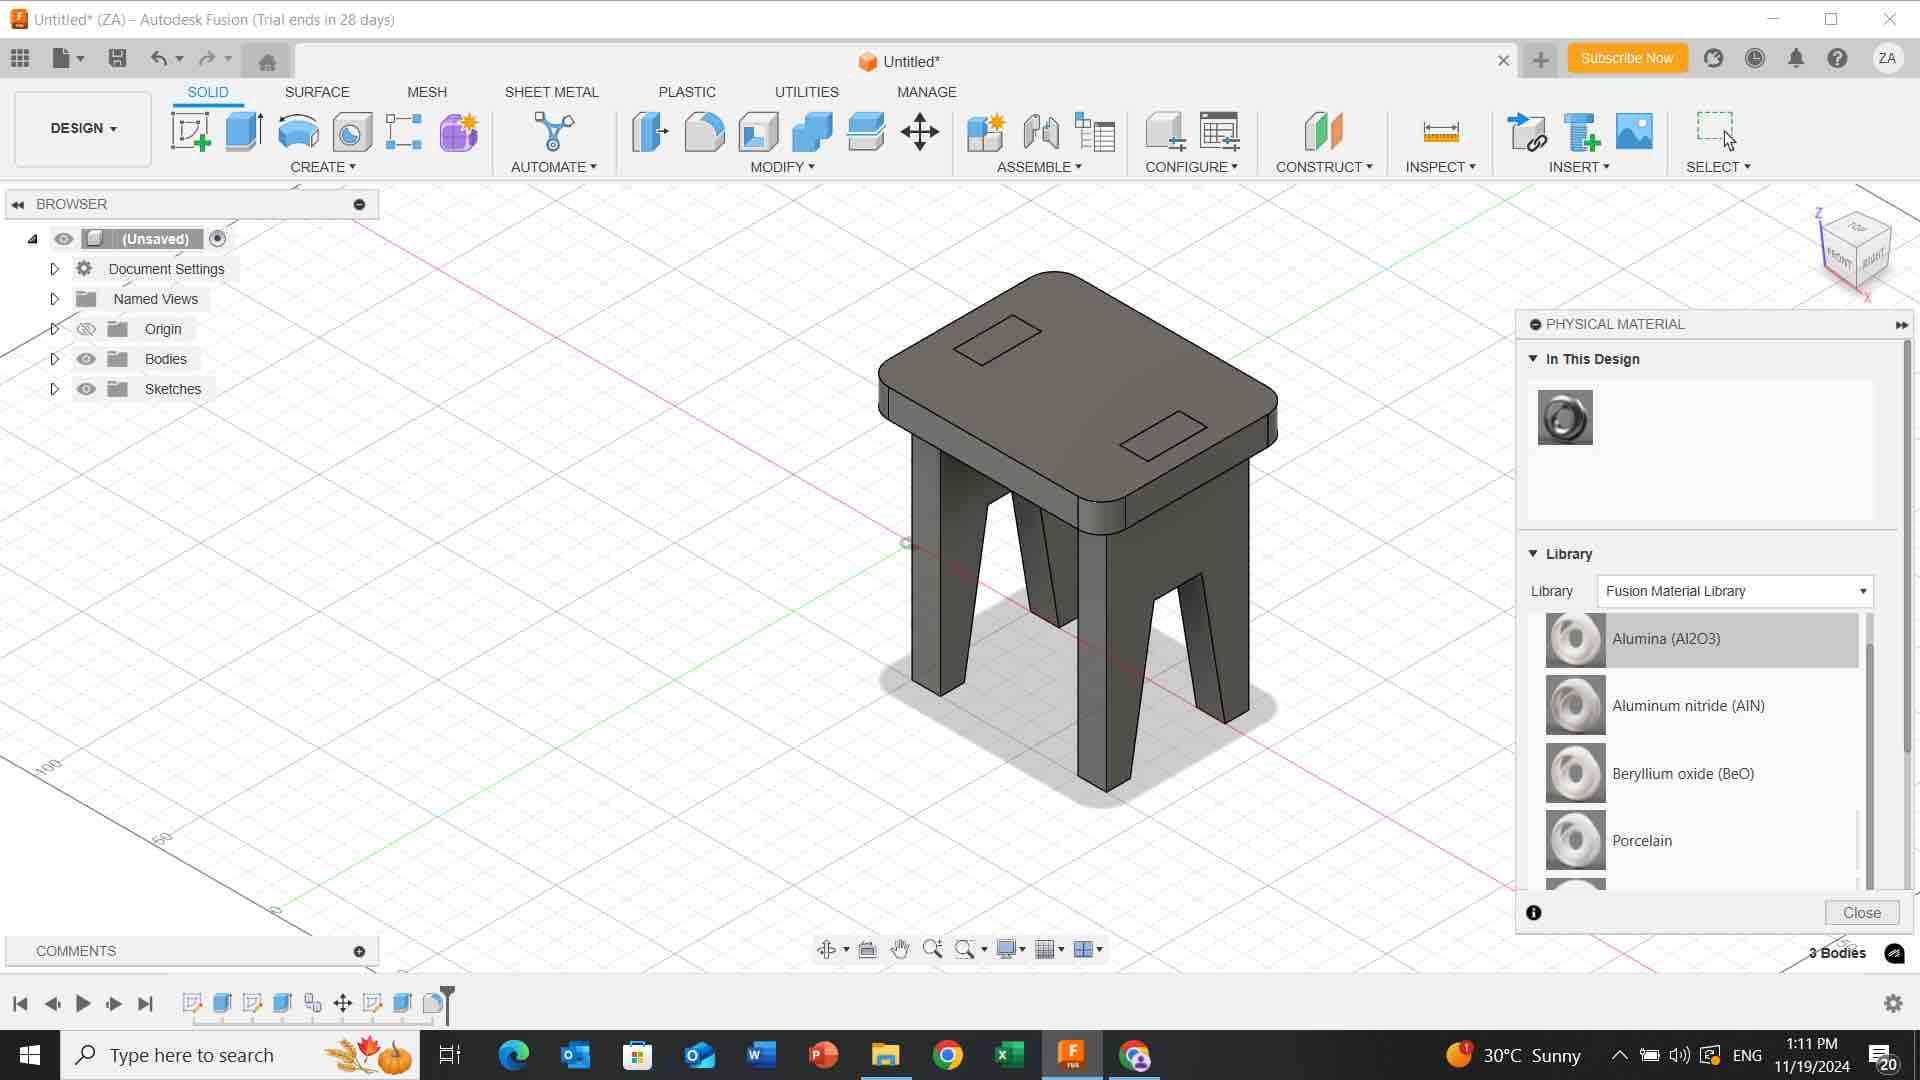
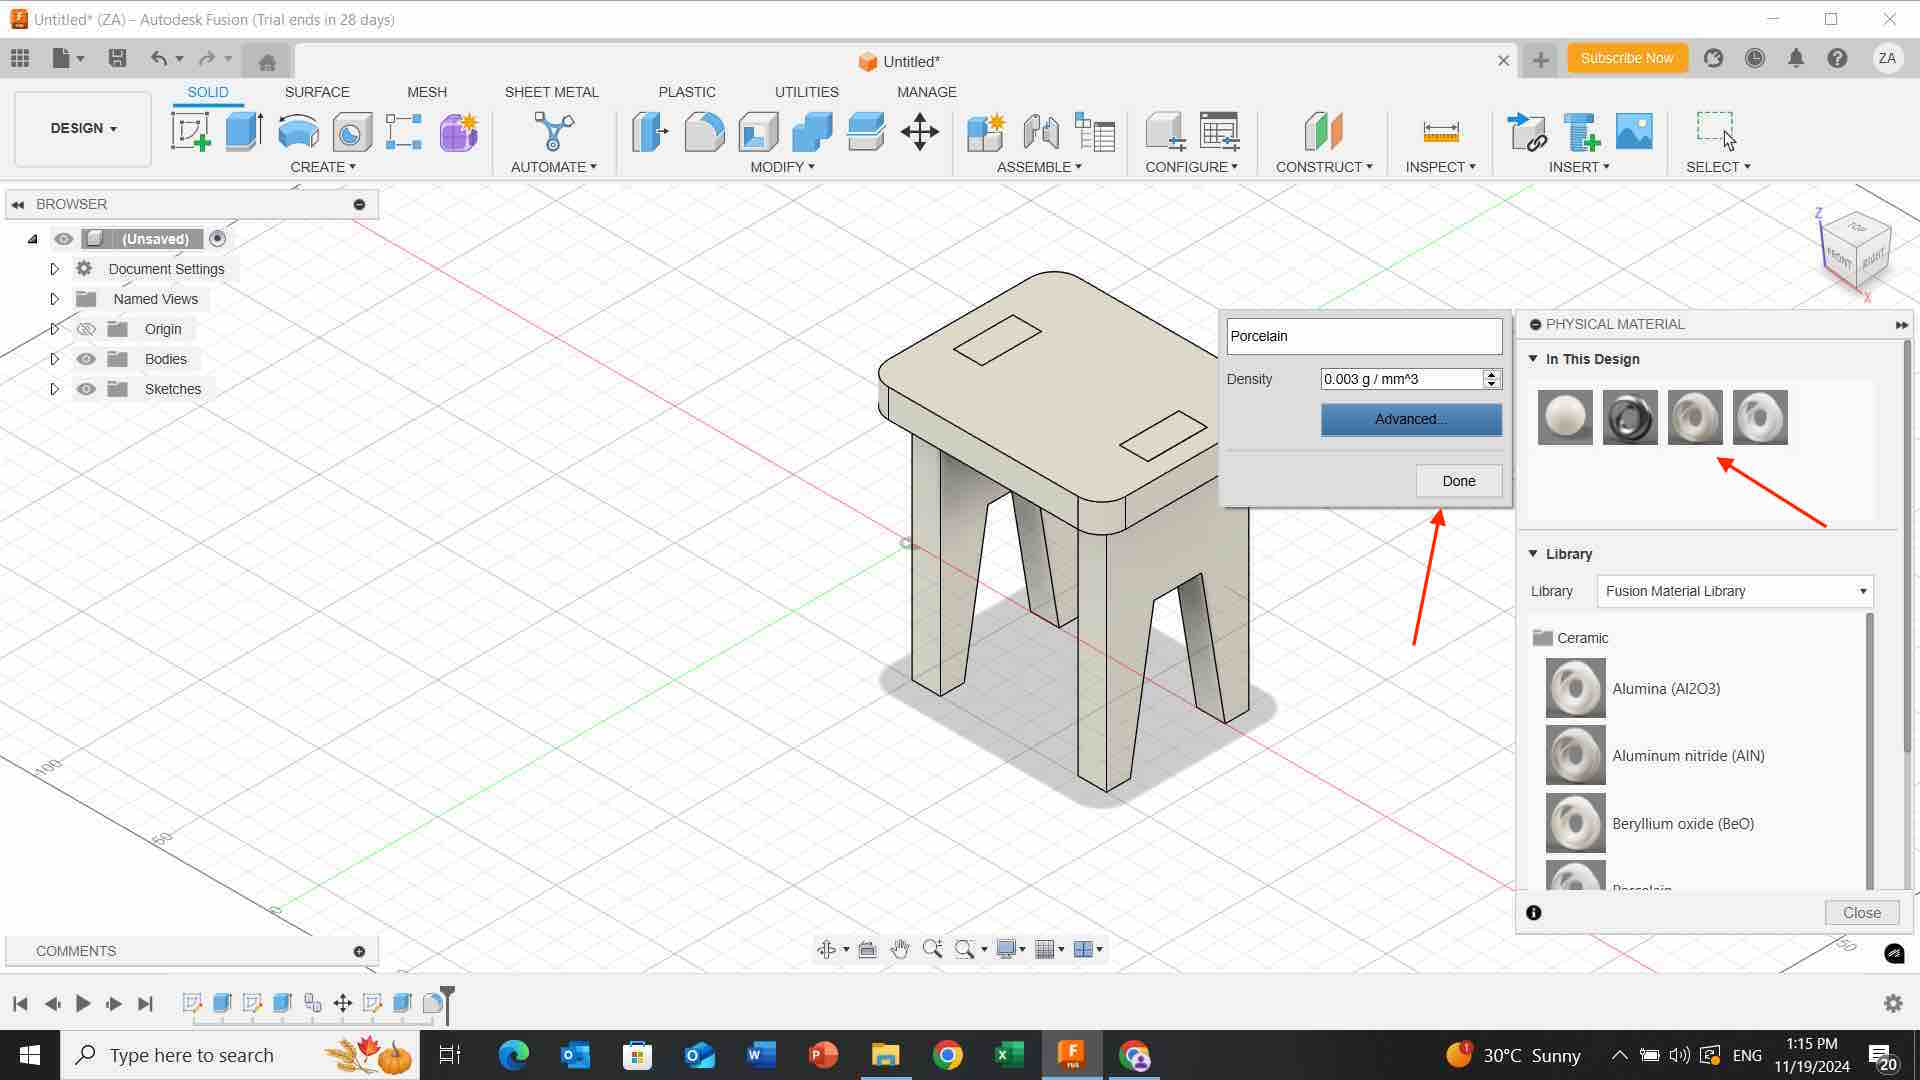
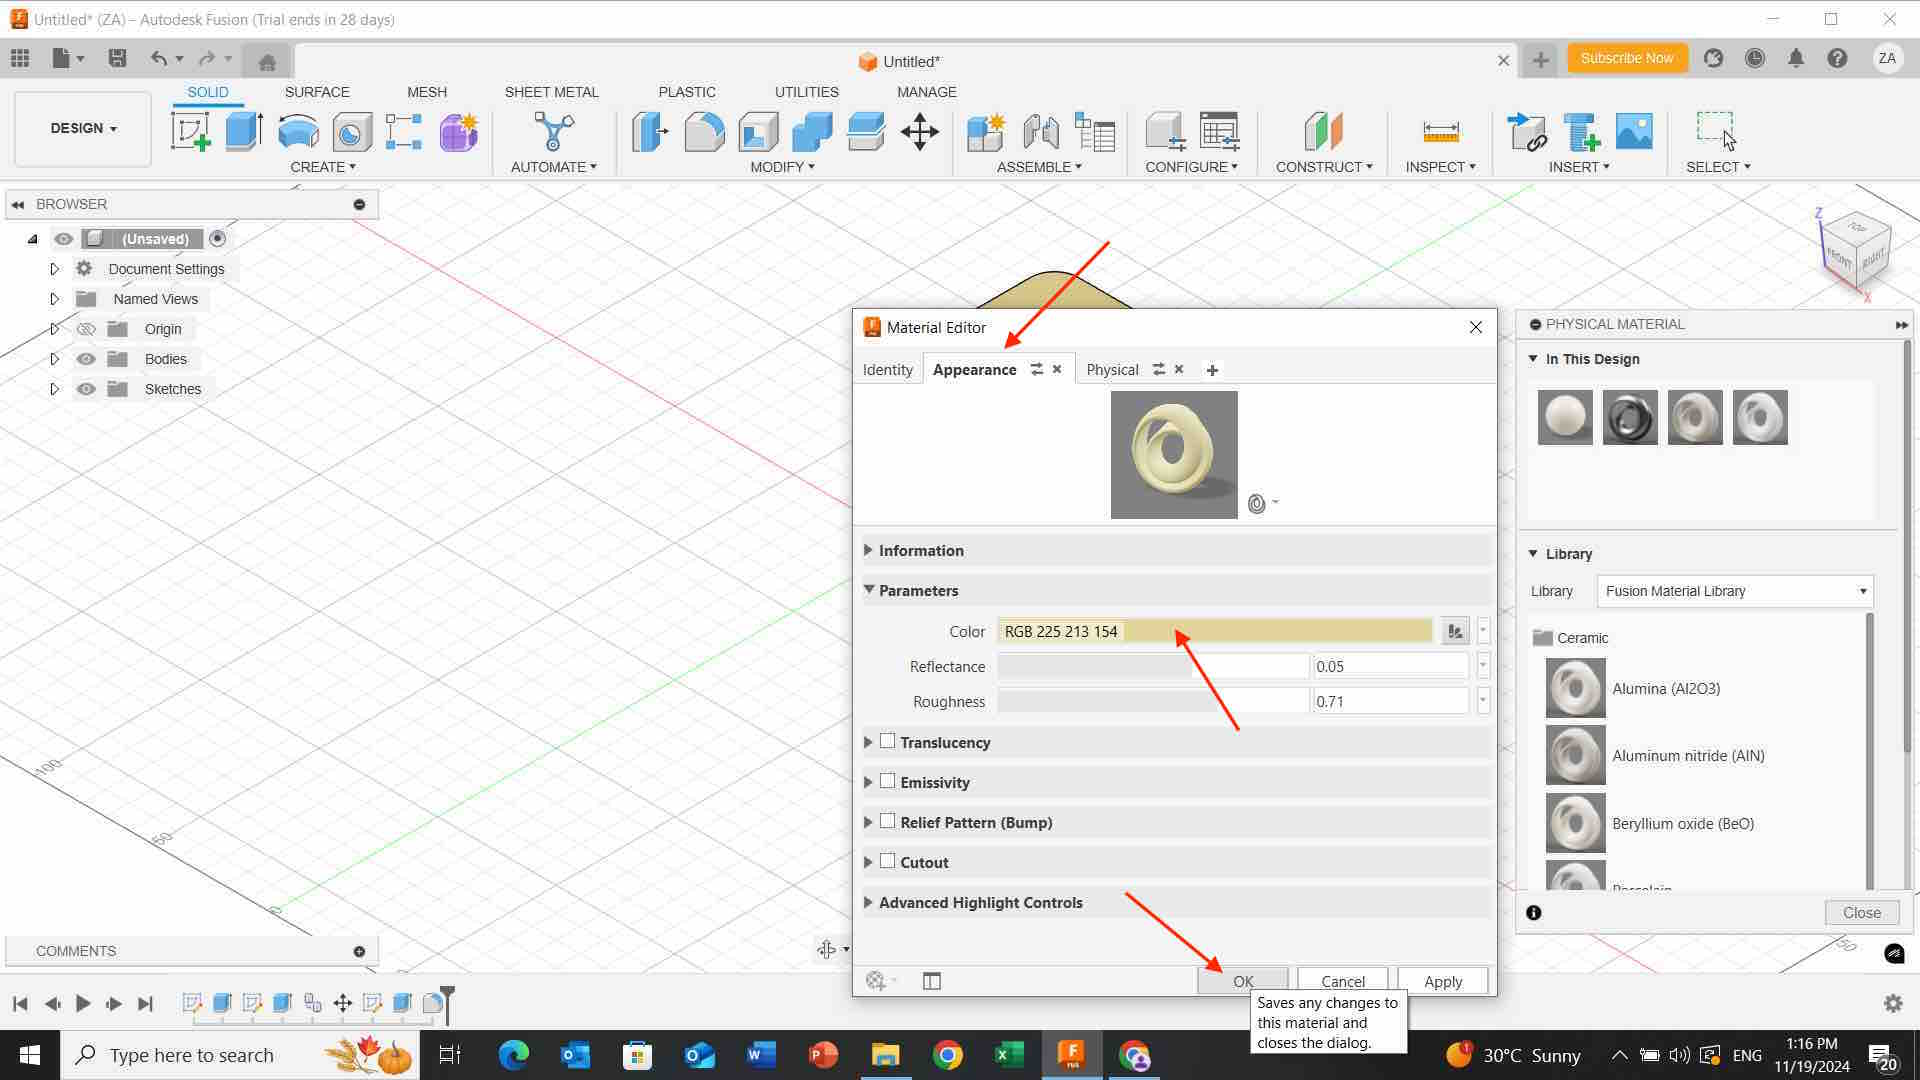
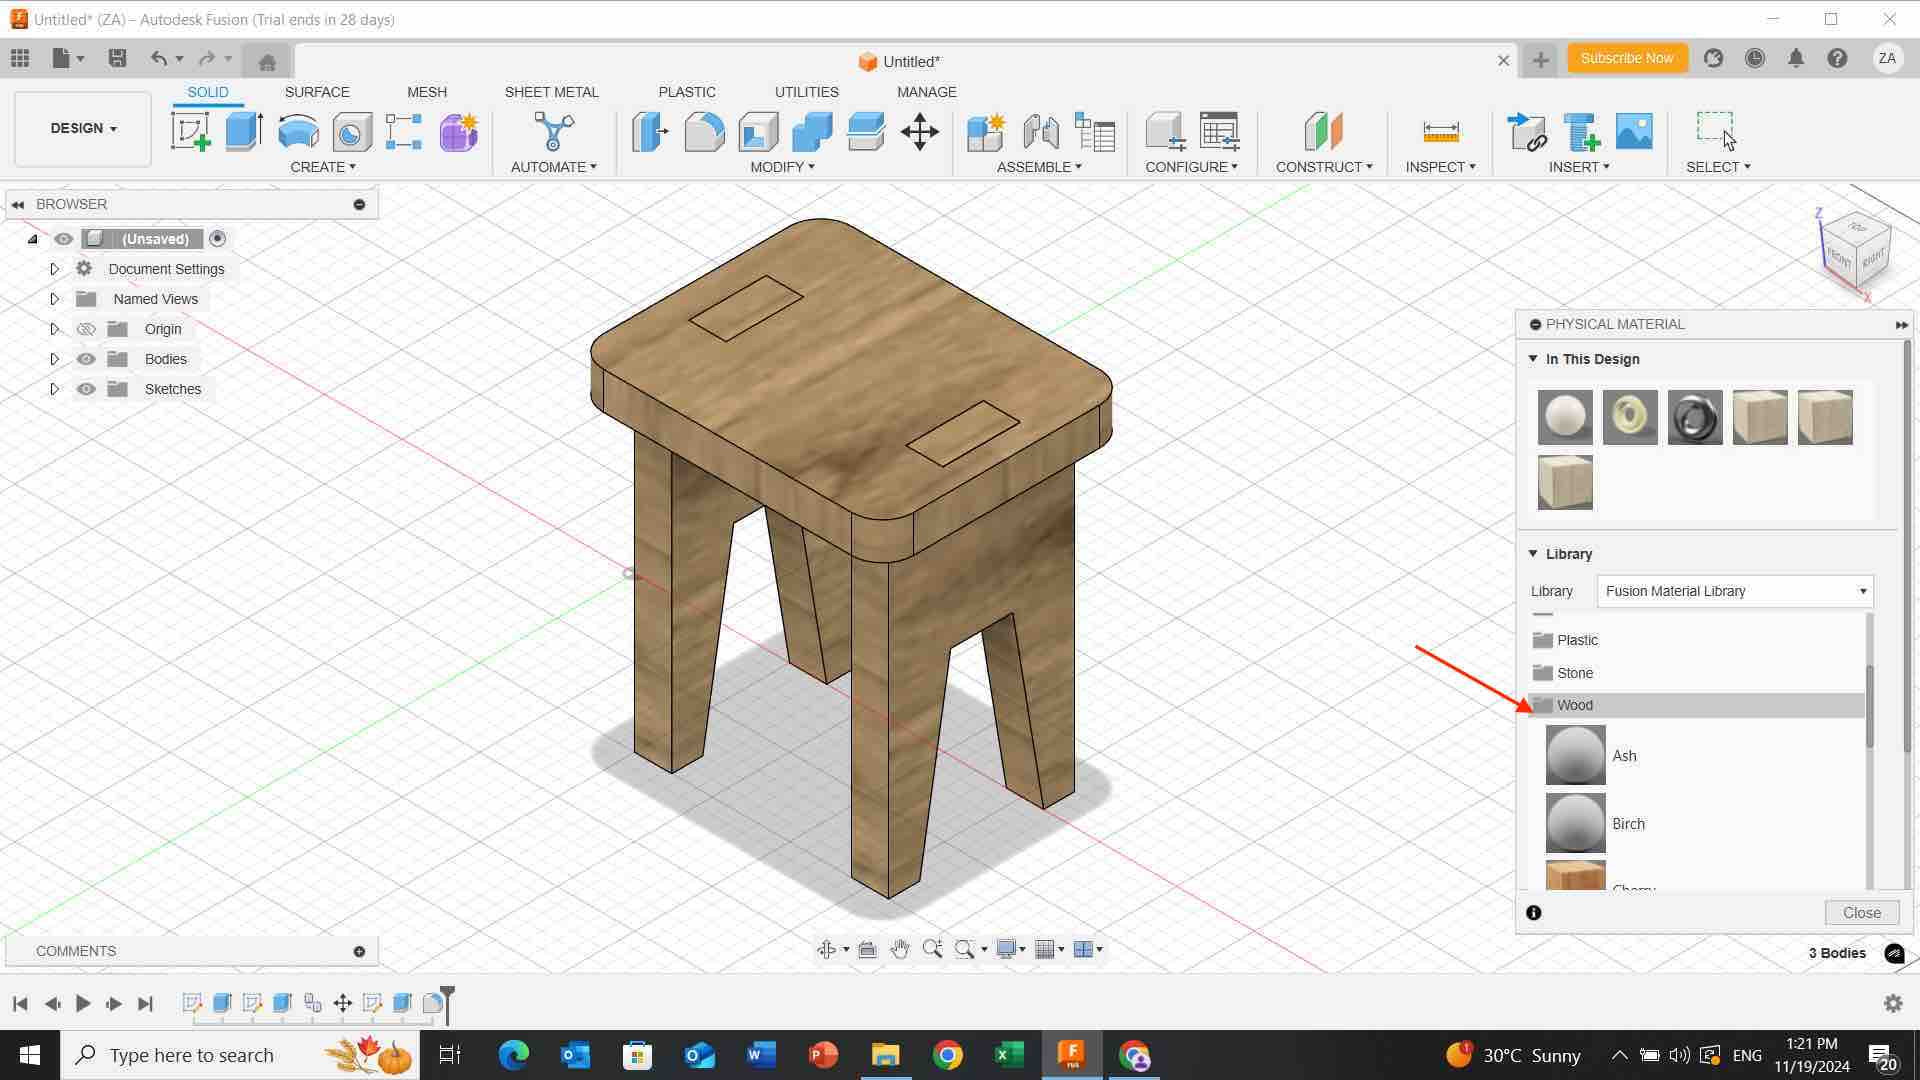
- I select all the shape then i click on right click then i choose ” physical materials” to change the material and color as shown below:
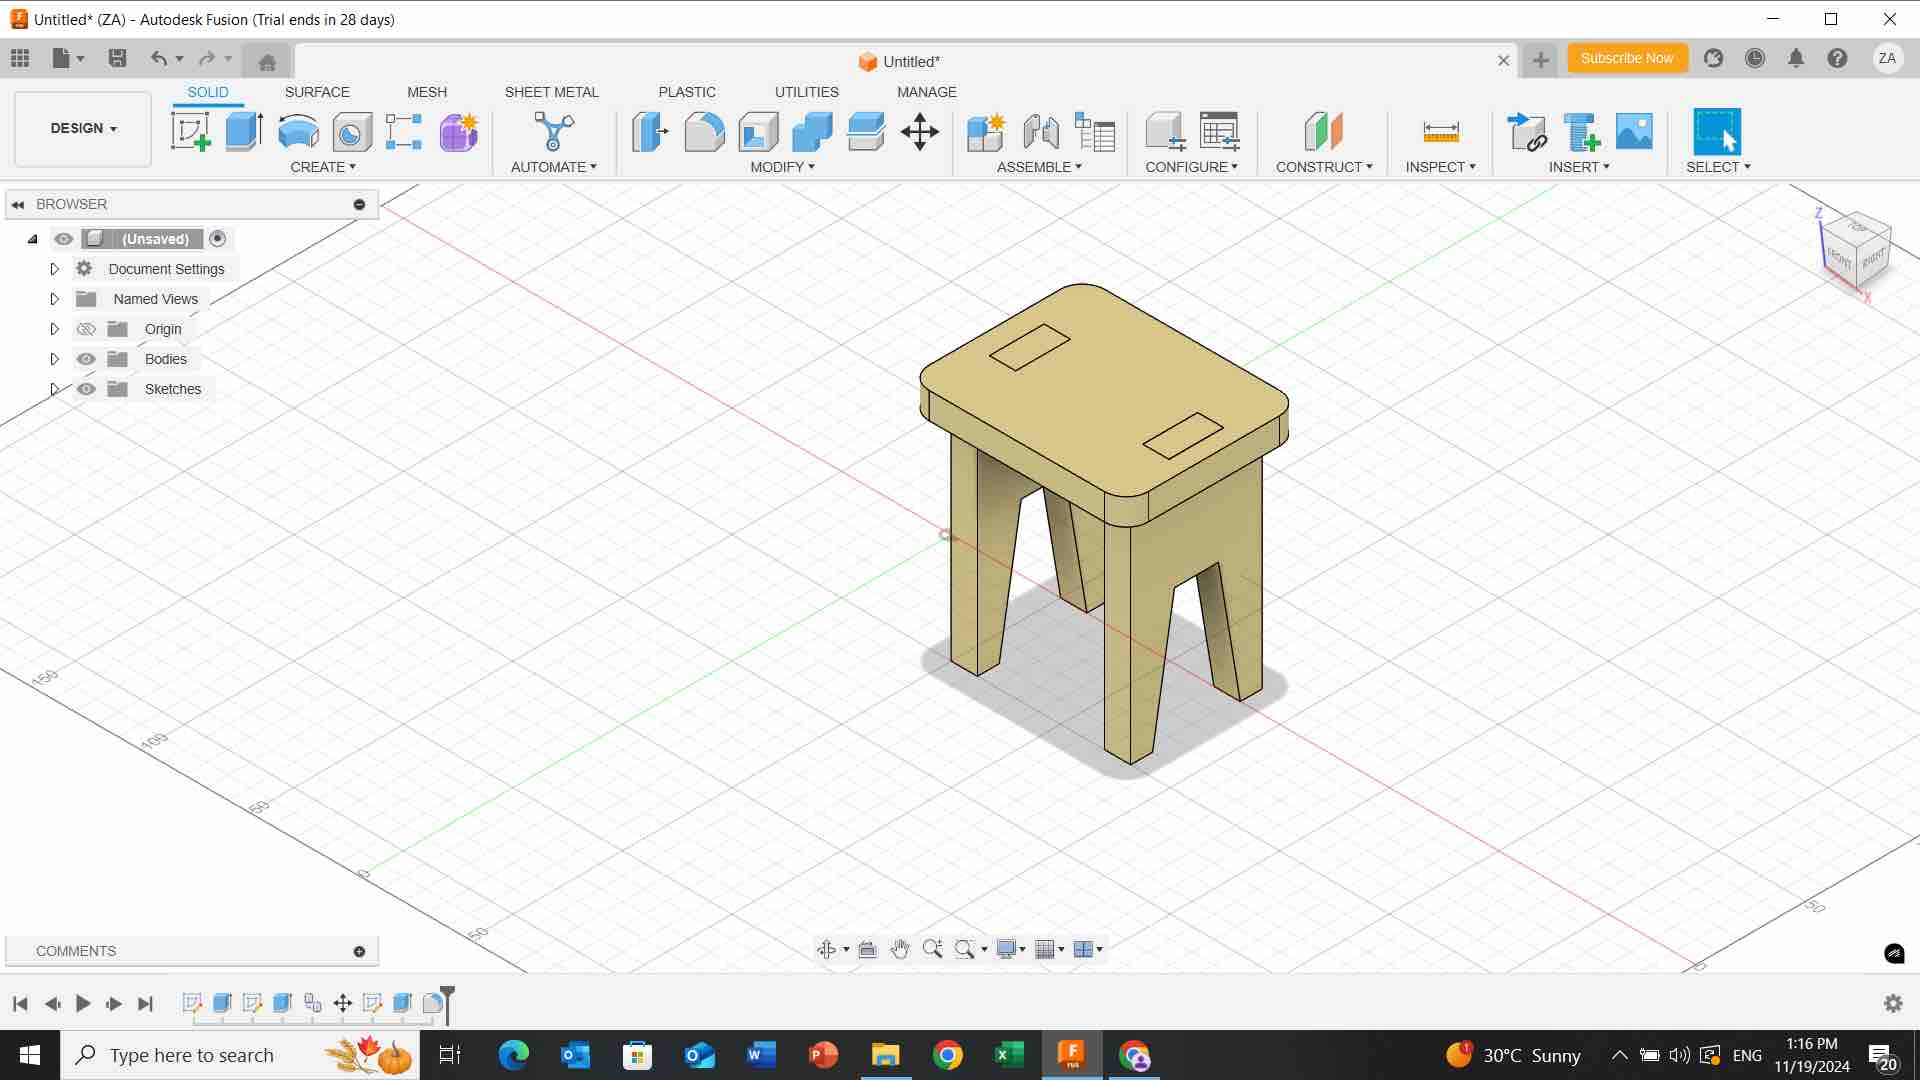
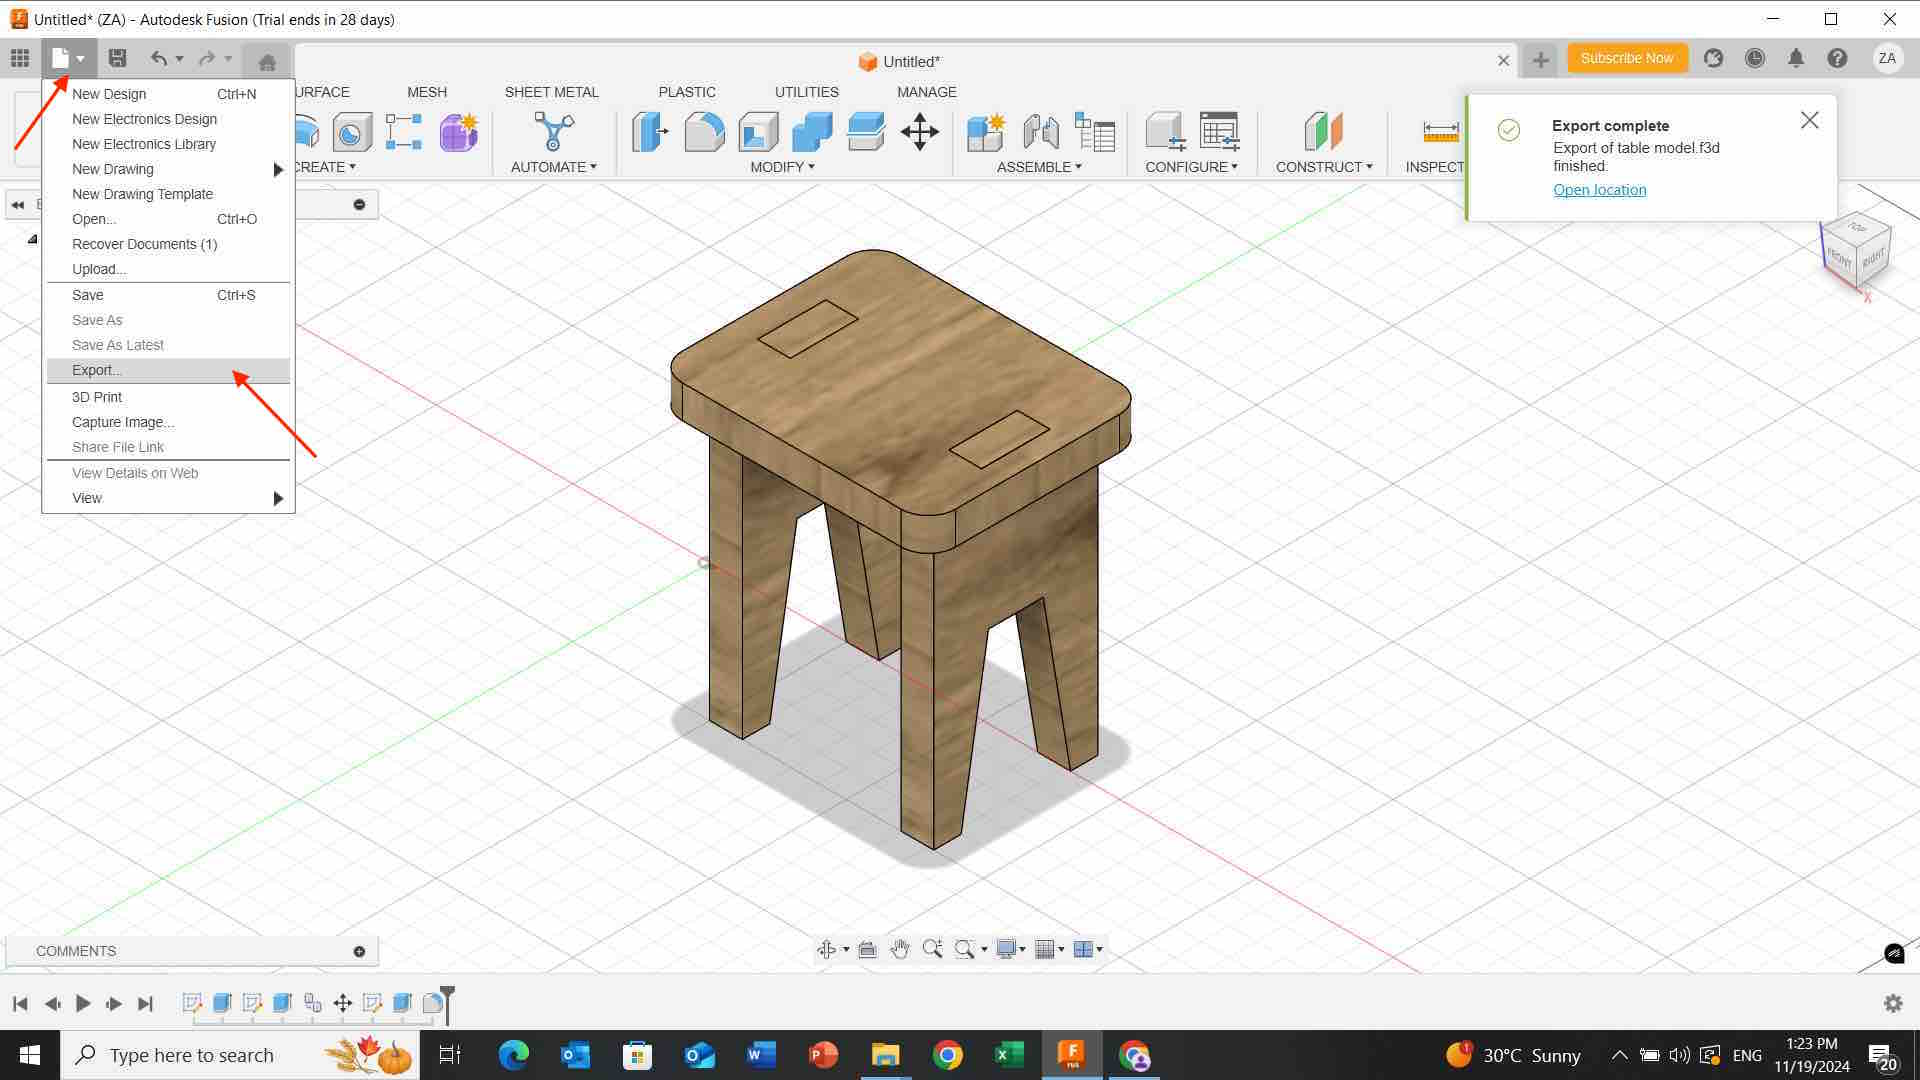
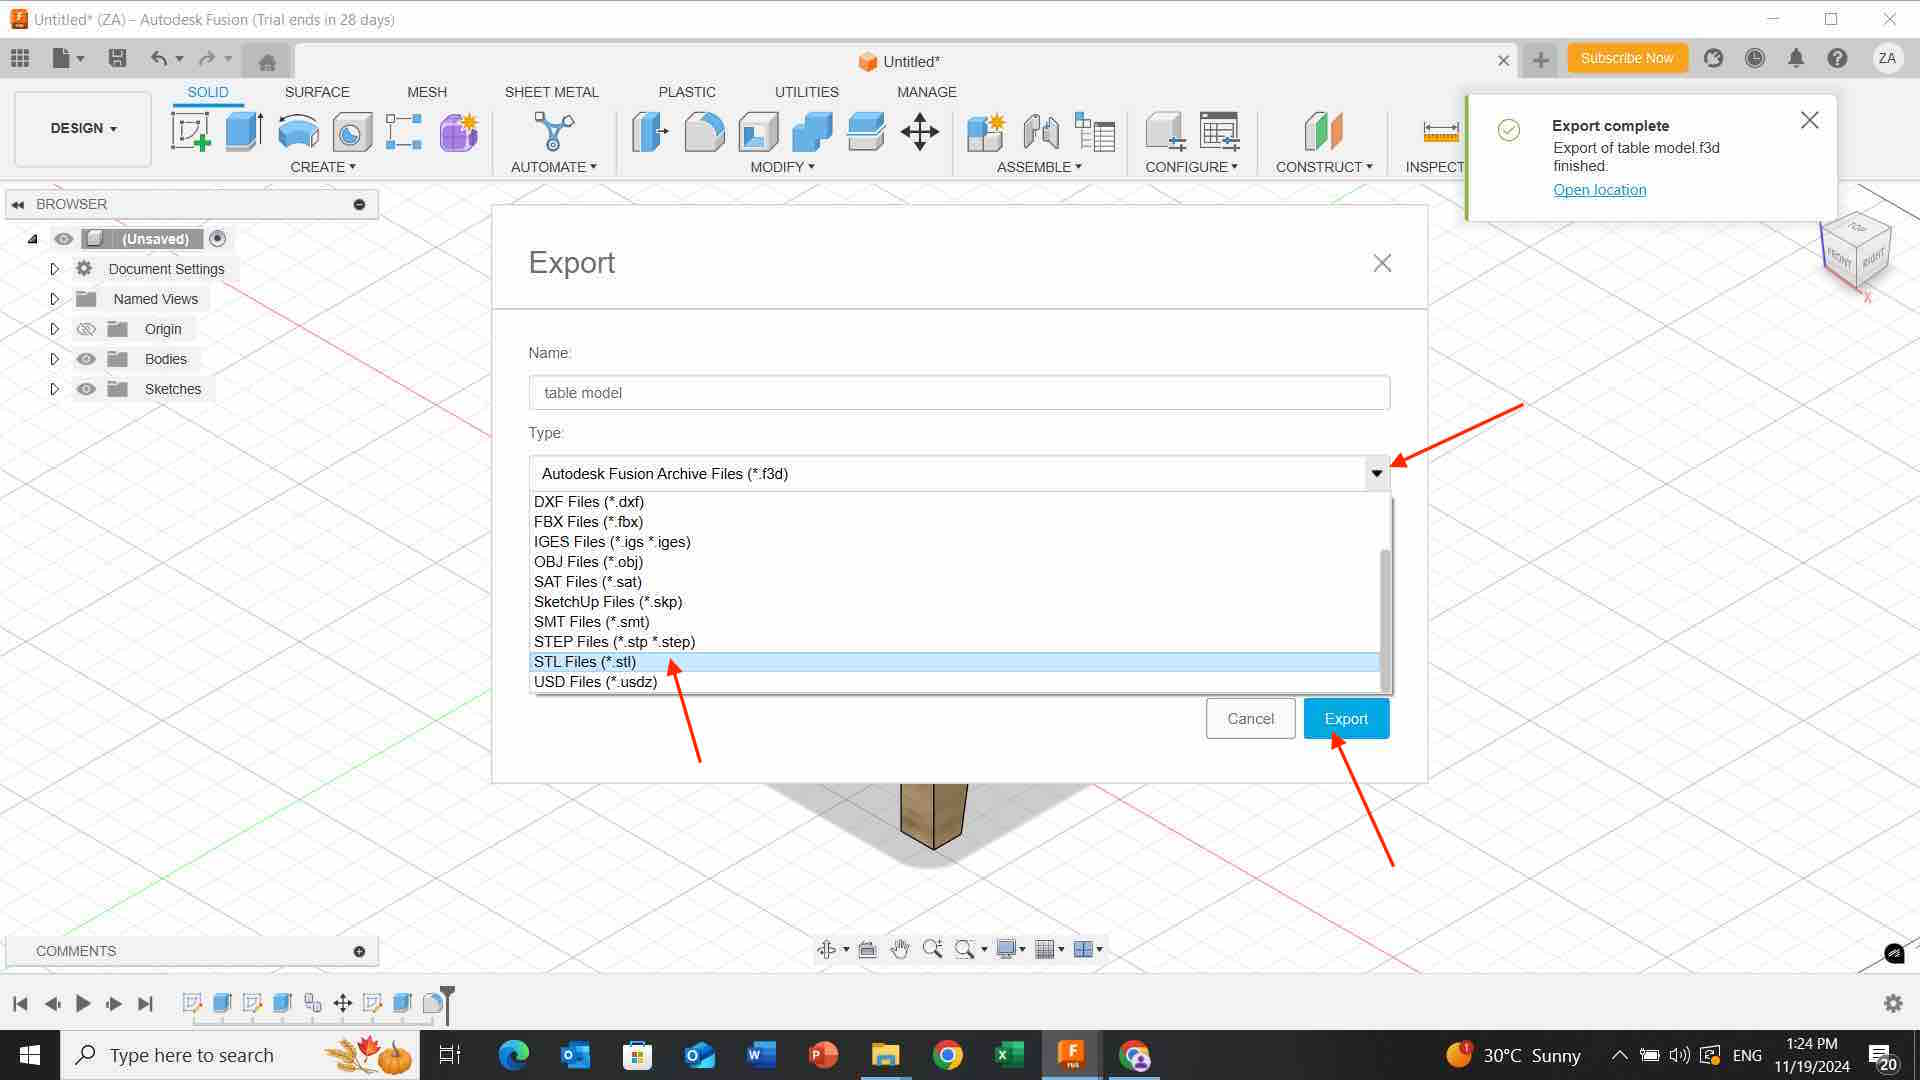
 - At the end, i click on file then “export” button and changed the file format then i saved it.
Phone case design model
Following this tutorial
Steps:
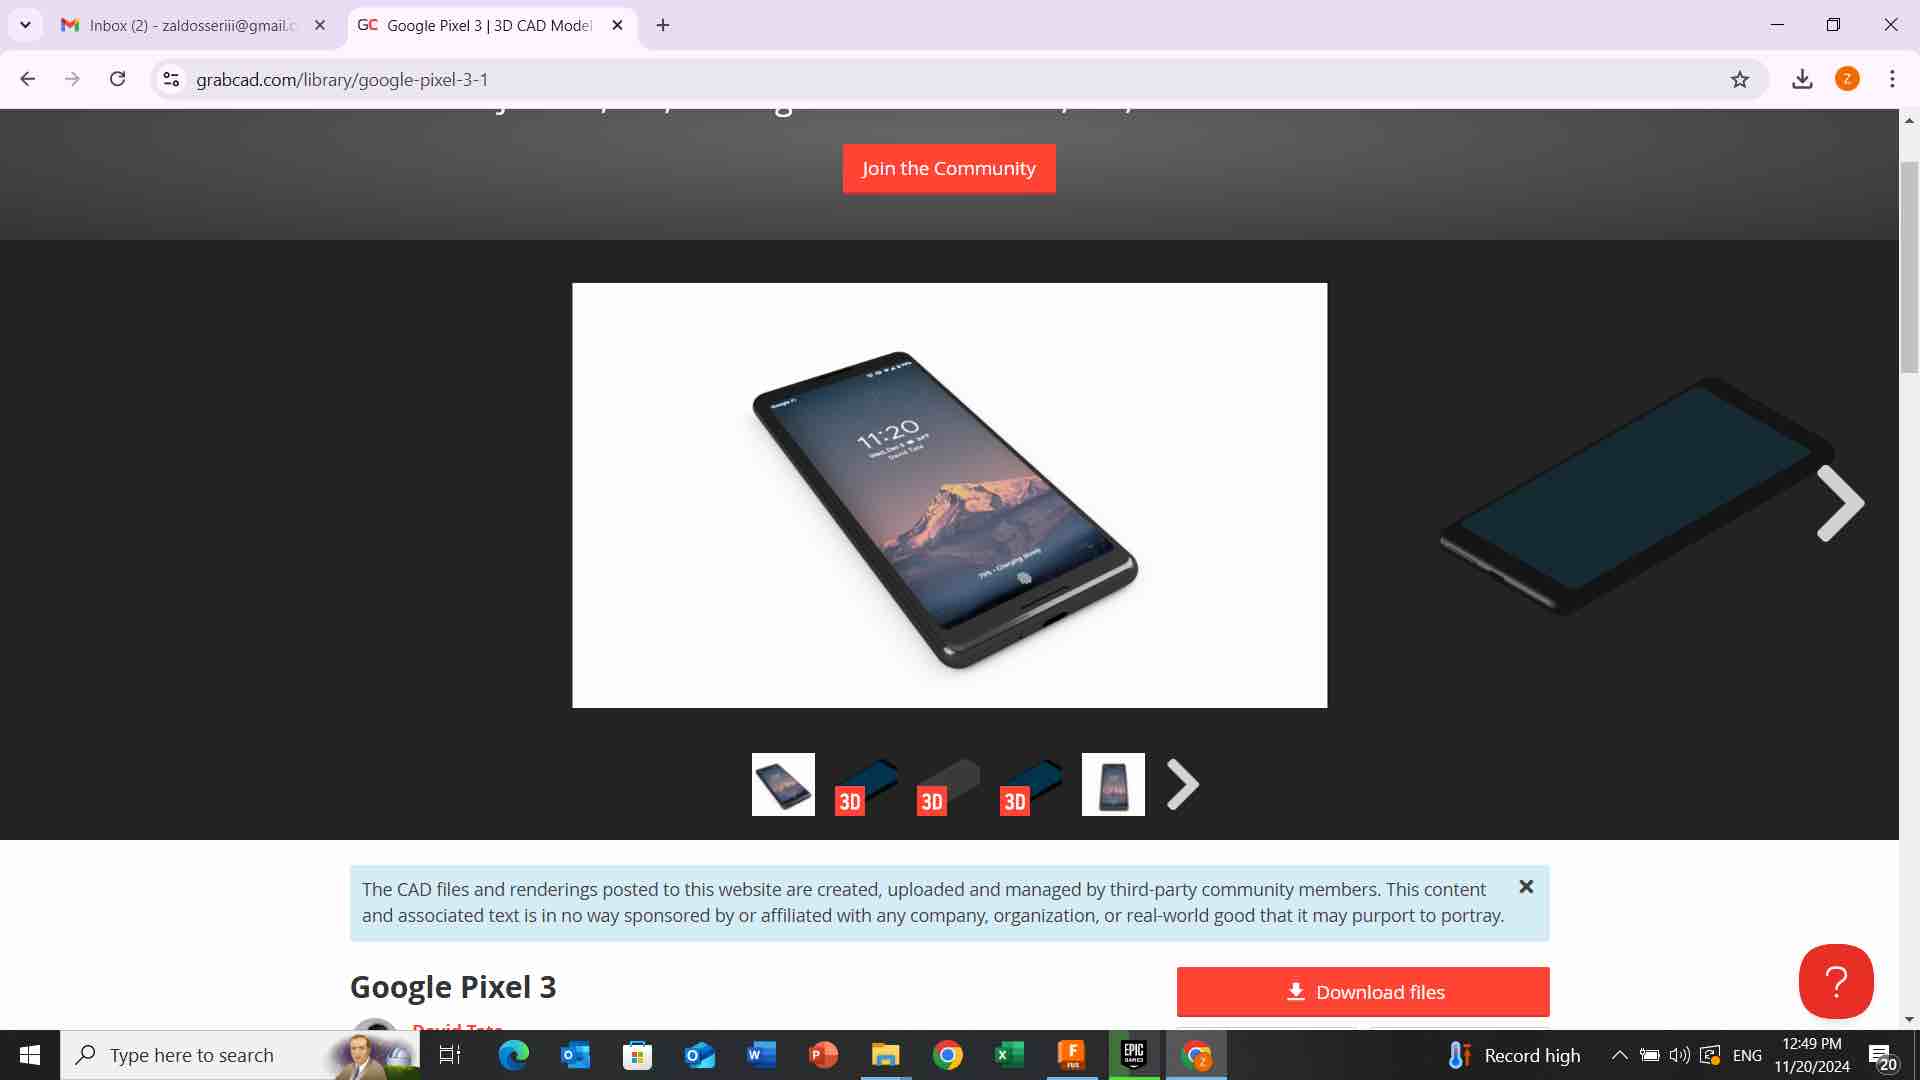
- I go to website and explore a phone case template then i choose and click on it to downloaded on my laptop.
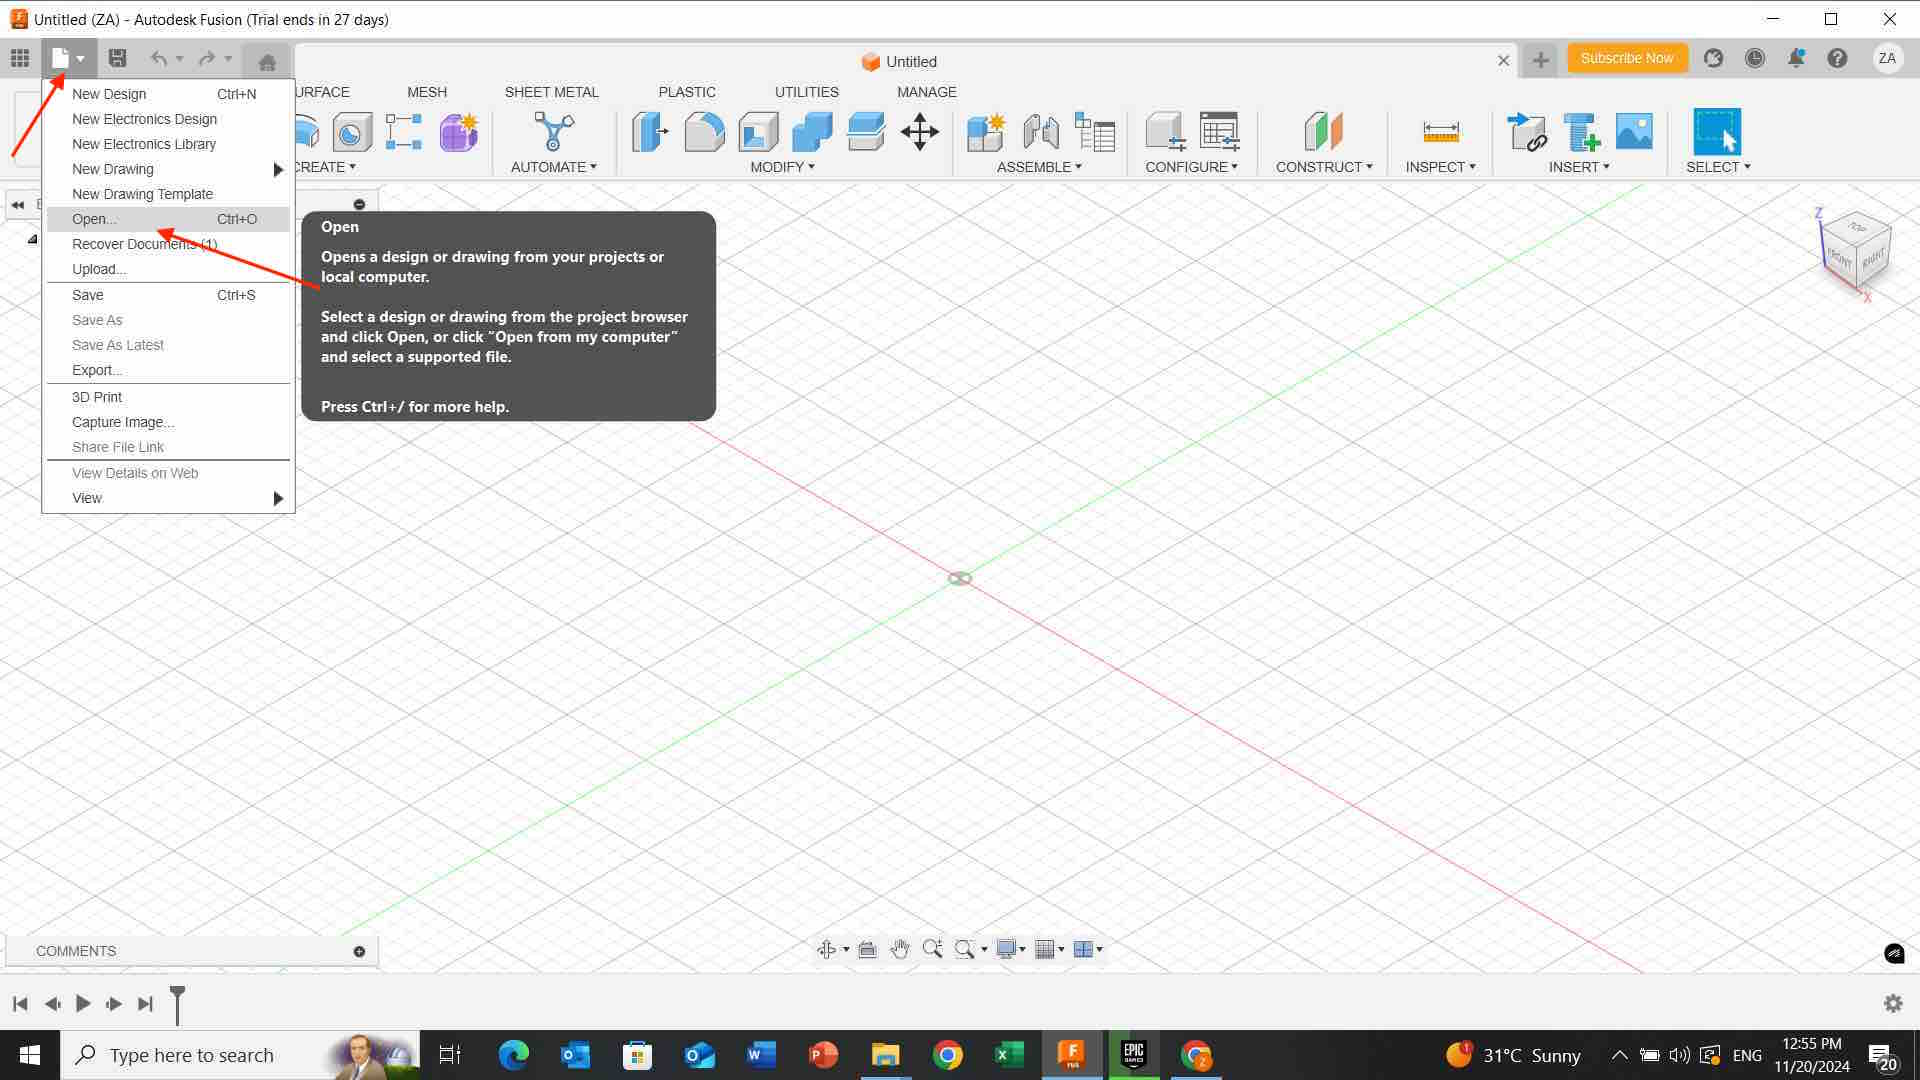
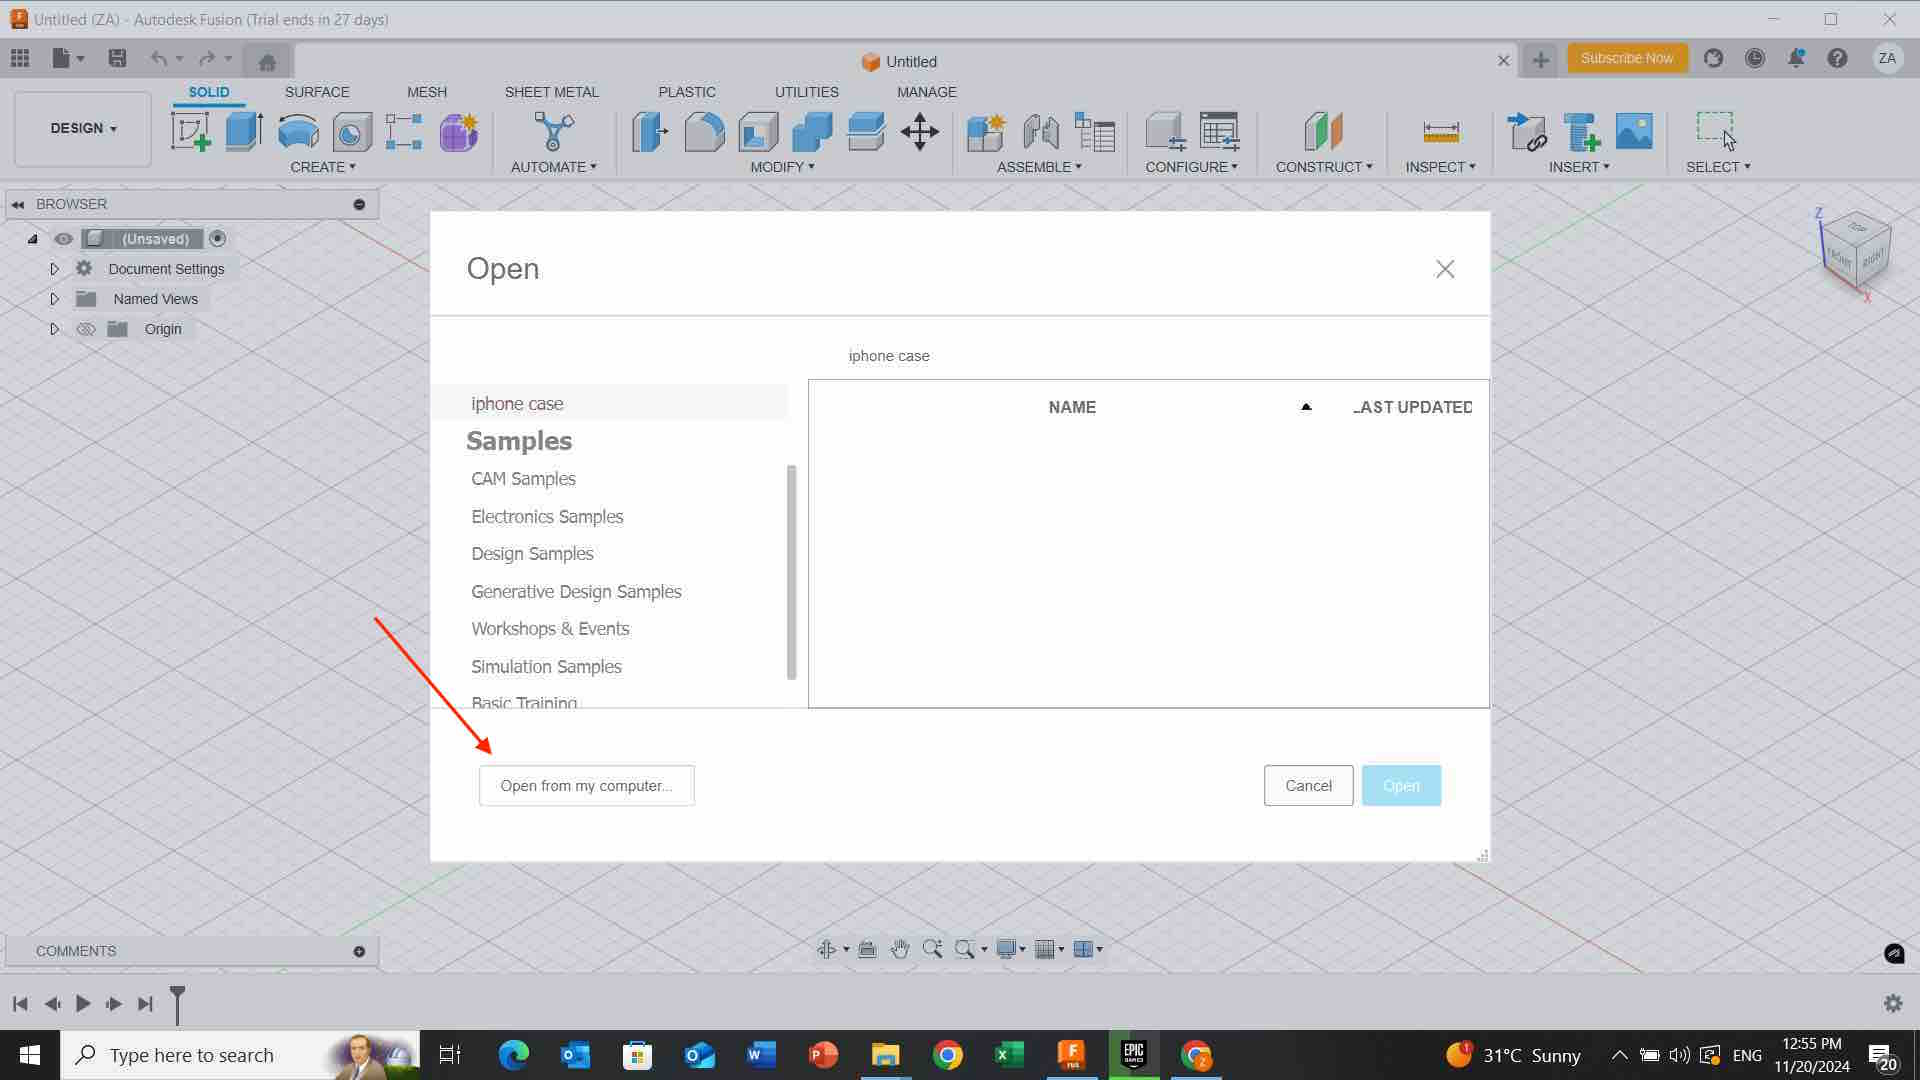
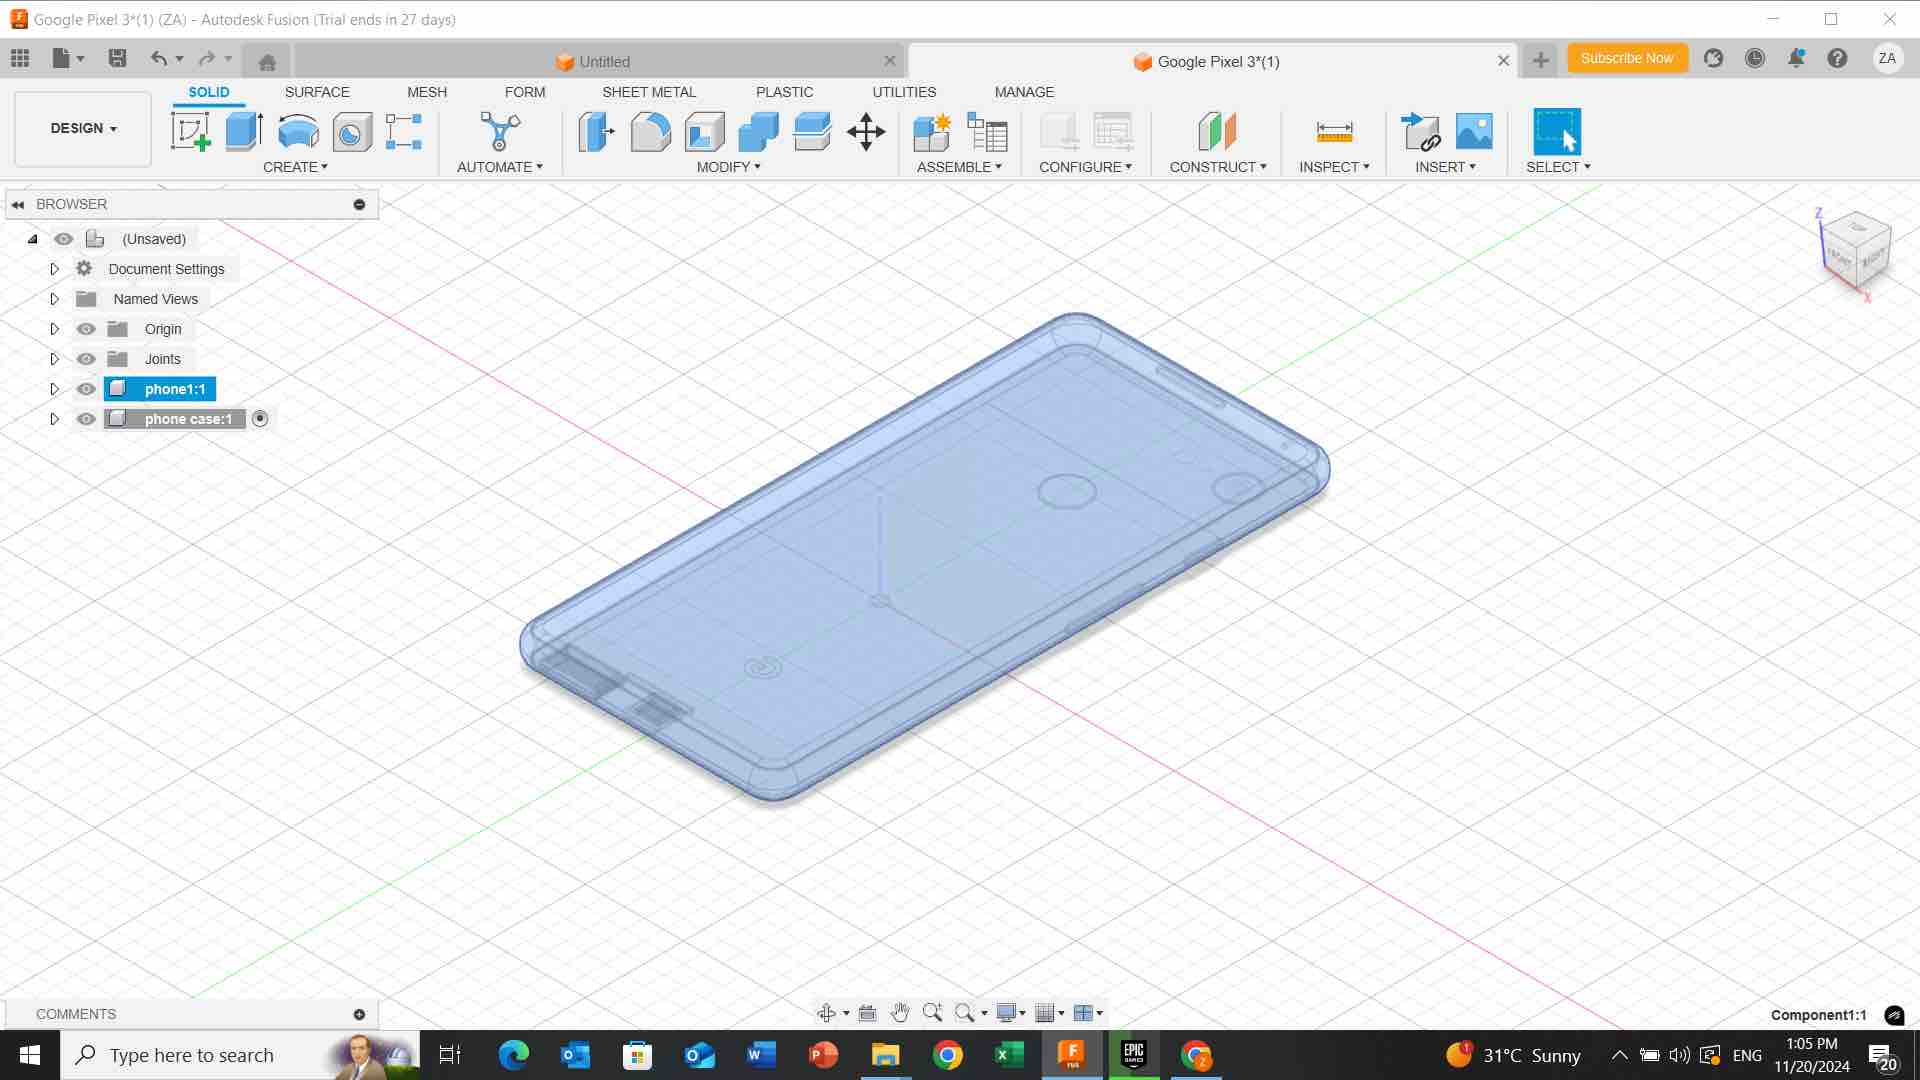
- I open fusion, i click on “file” then “open” then i import the downloaded template of the phone case as shown below:

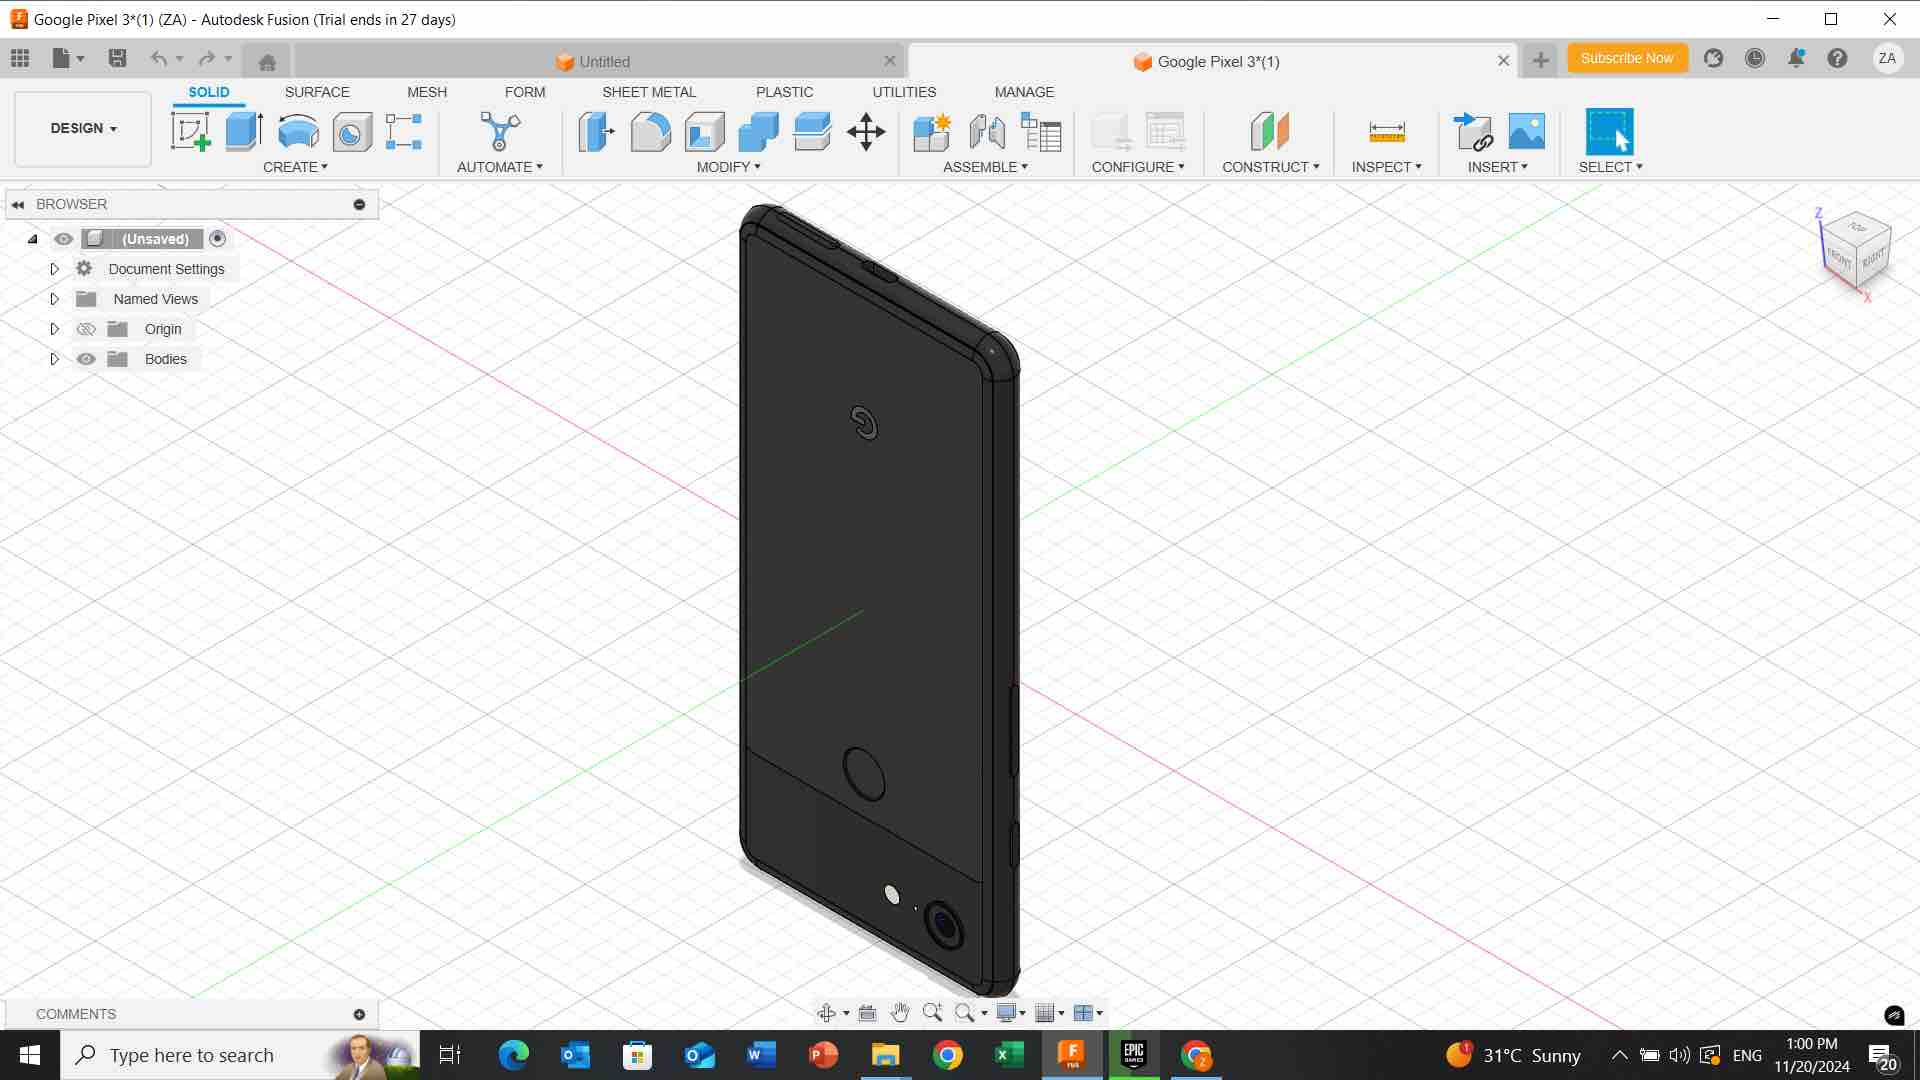
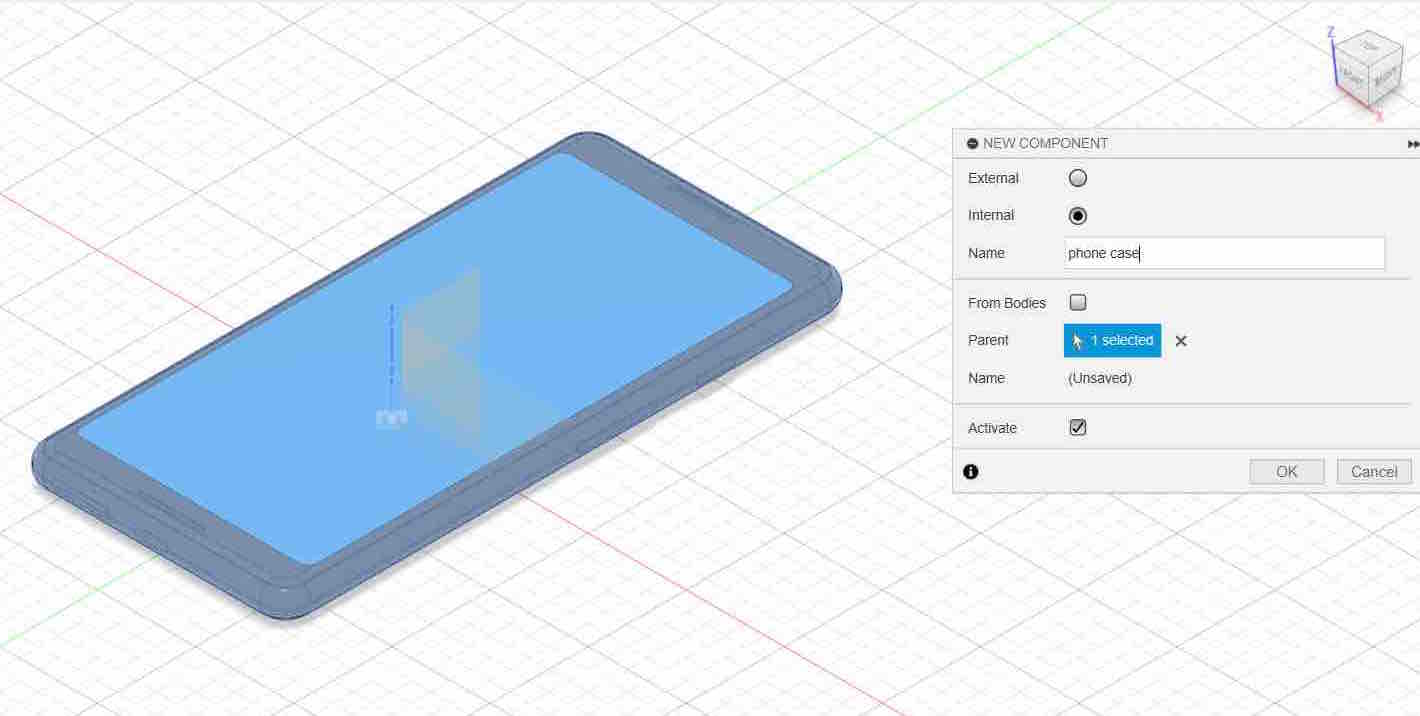
- I click on “body” then i choose ” create component from bodies” .

- Then i did these steps below to make the case transparent as shown:
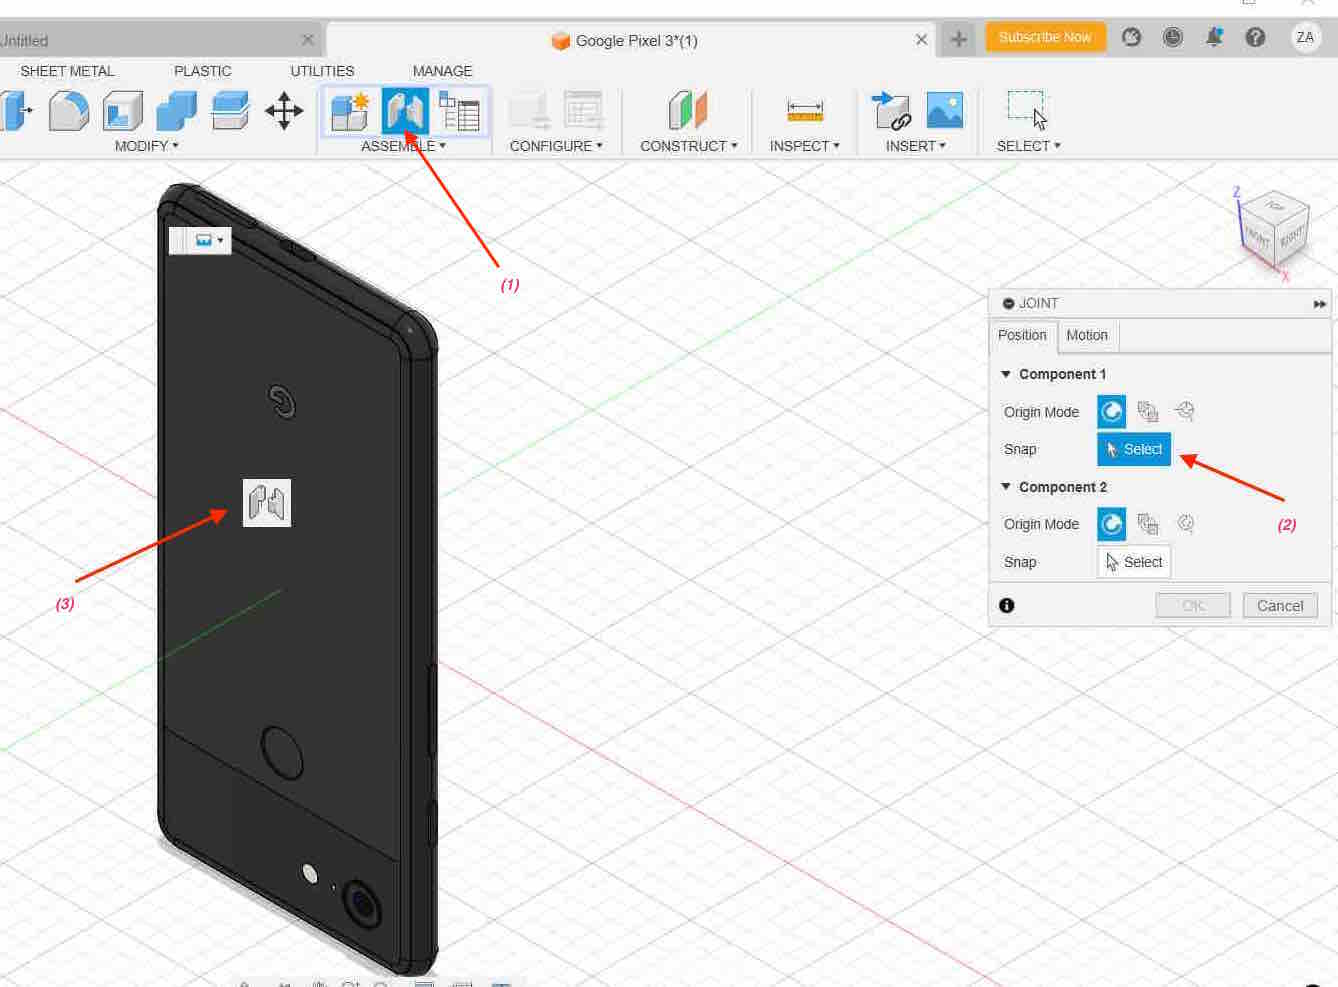
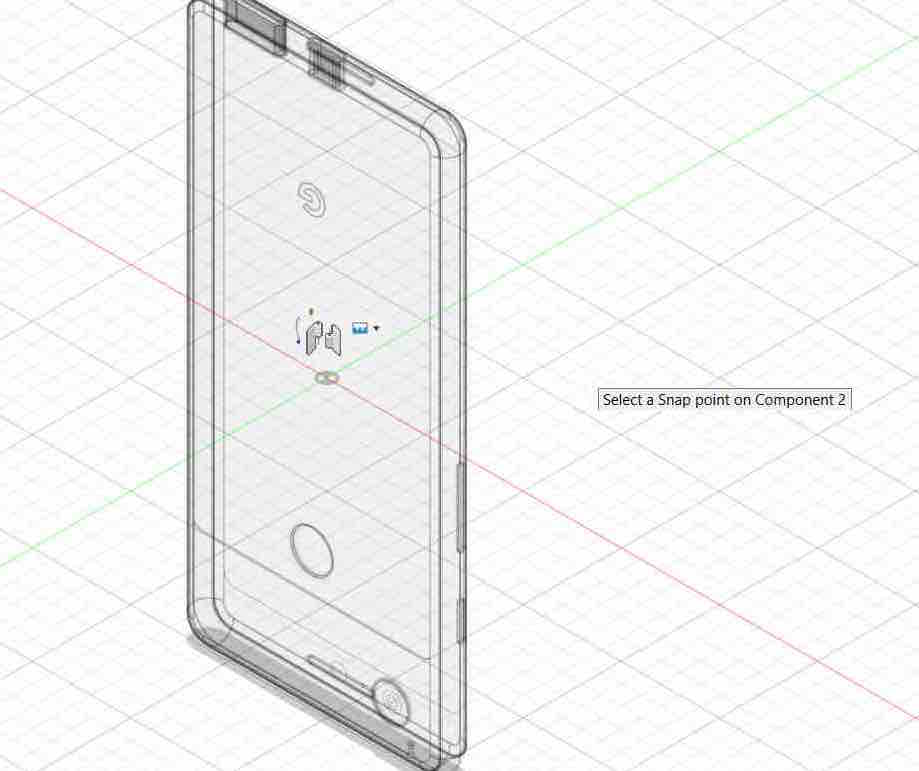
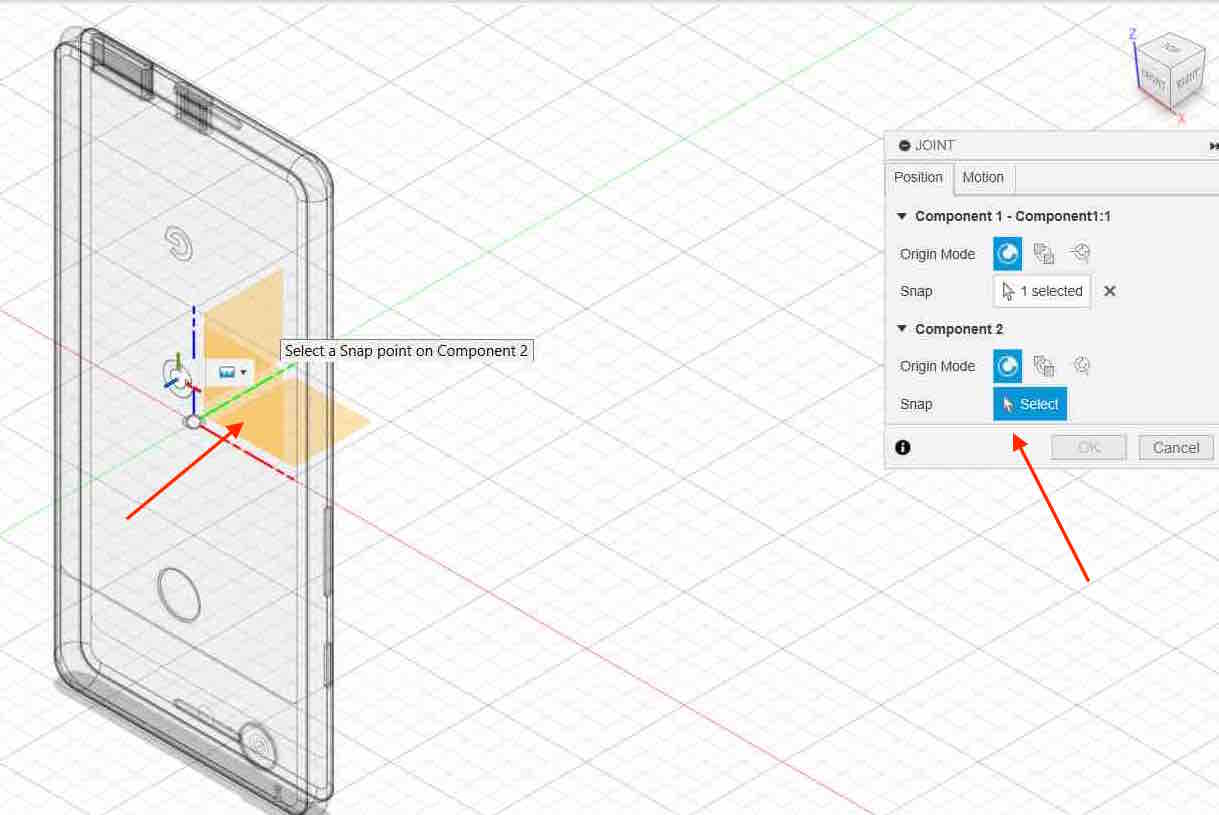
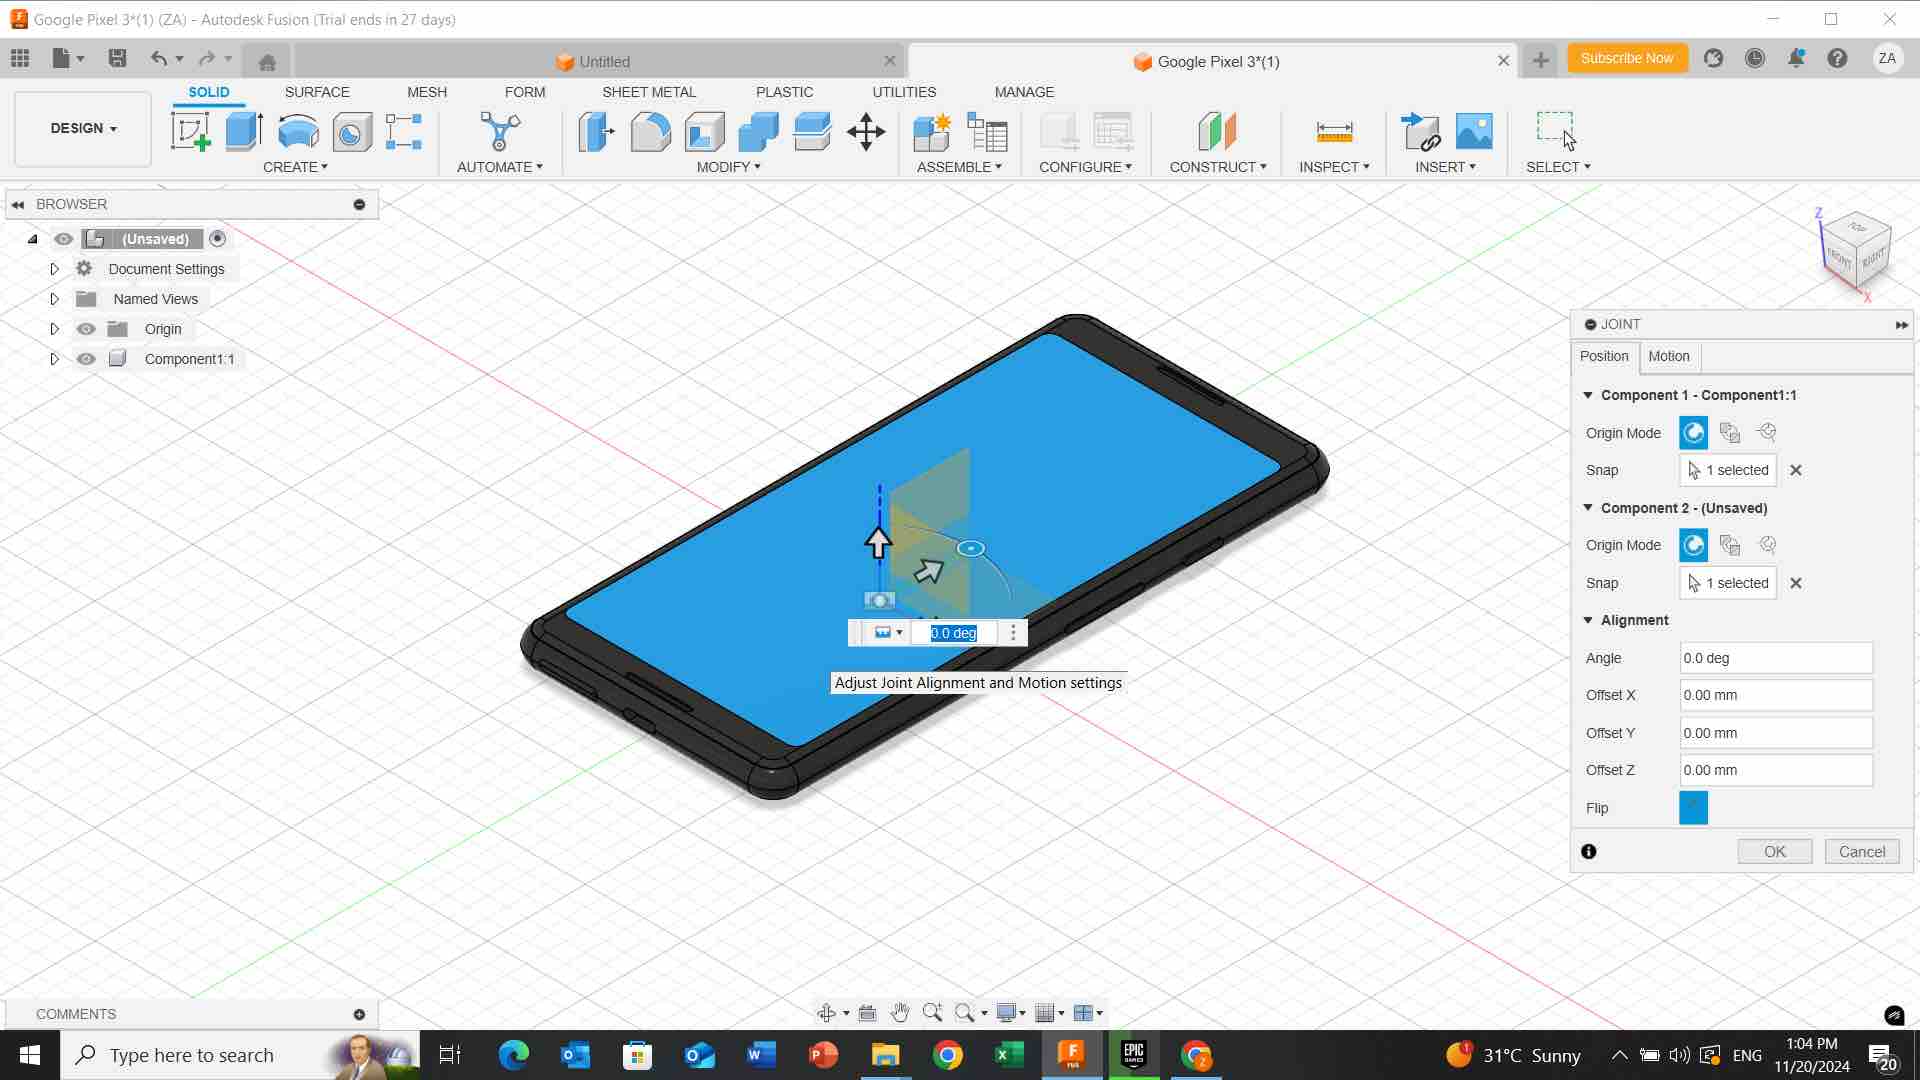
- i adjust joint alignment and motion setting:
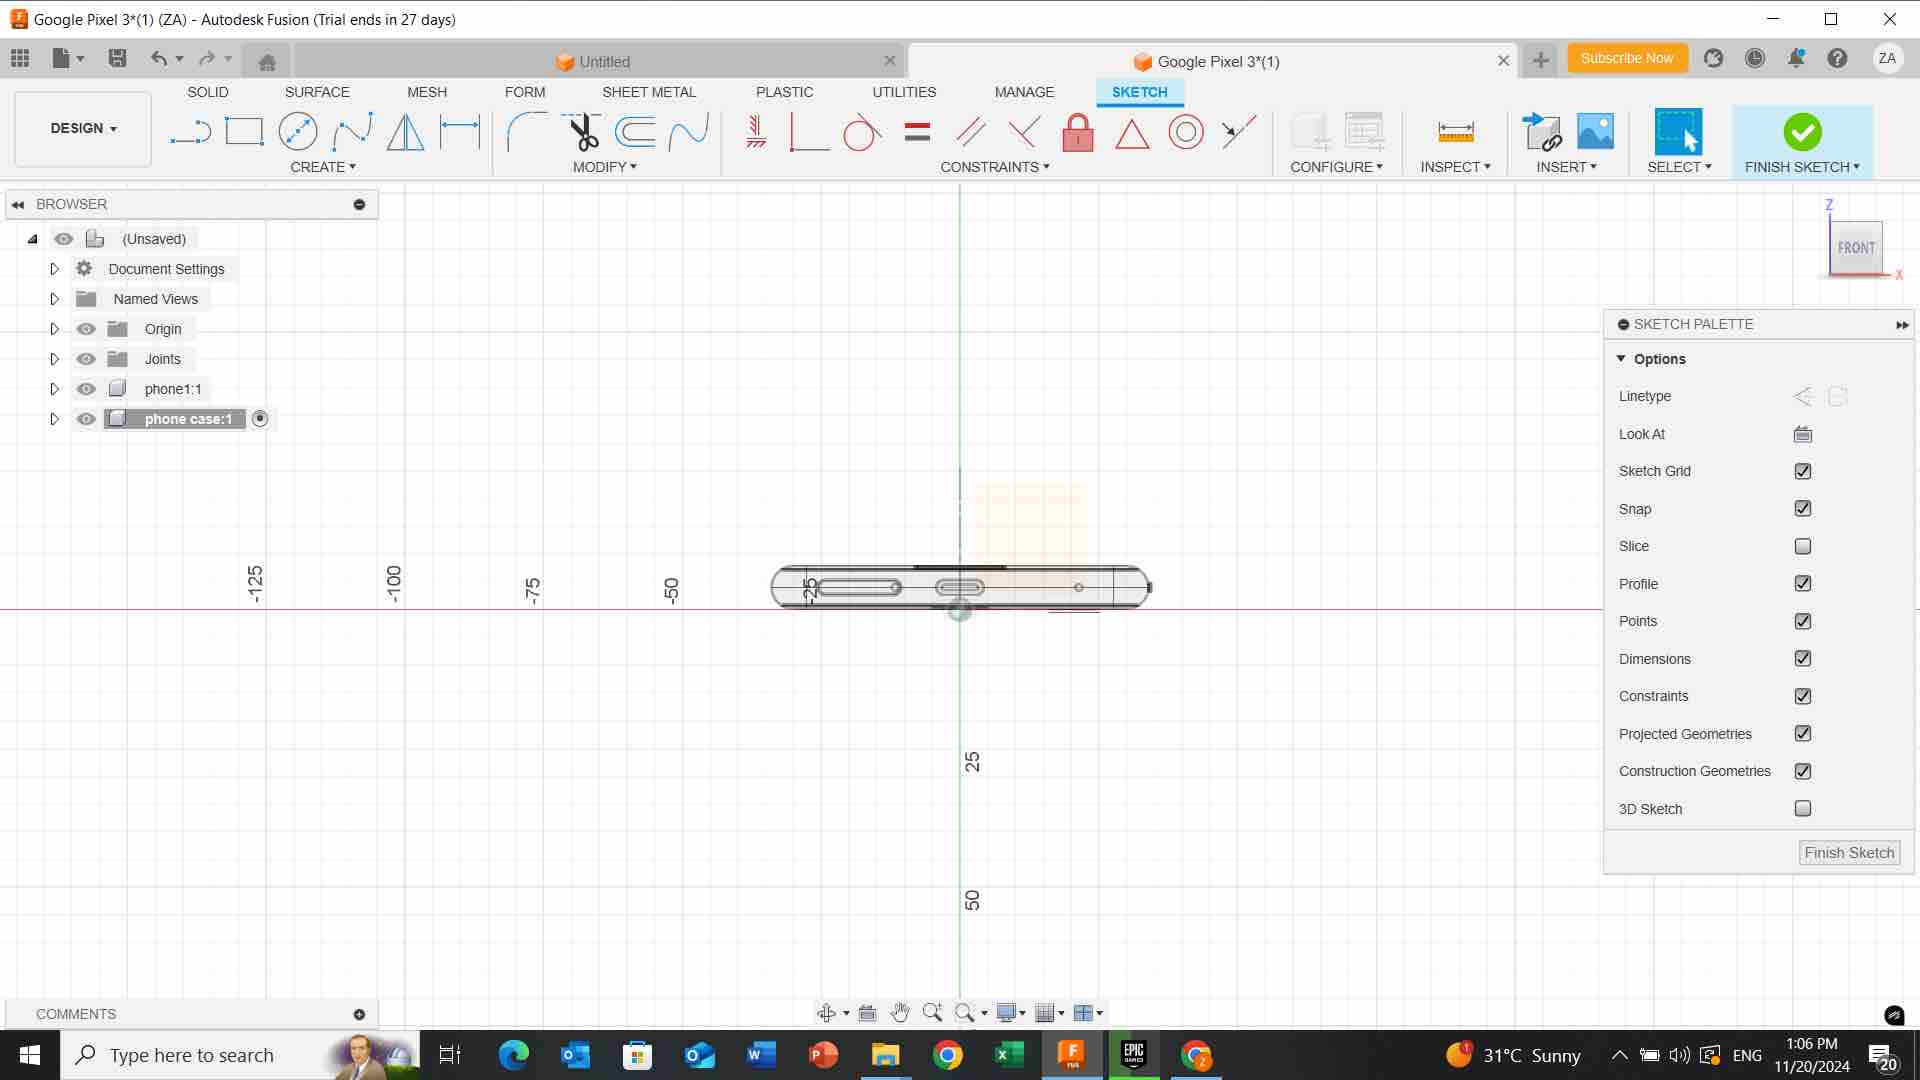
- i click on these lines shown below to adjust them and i click on “eye” to remove other bodies temporary.
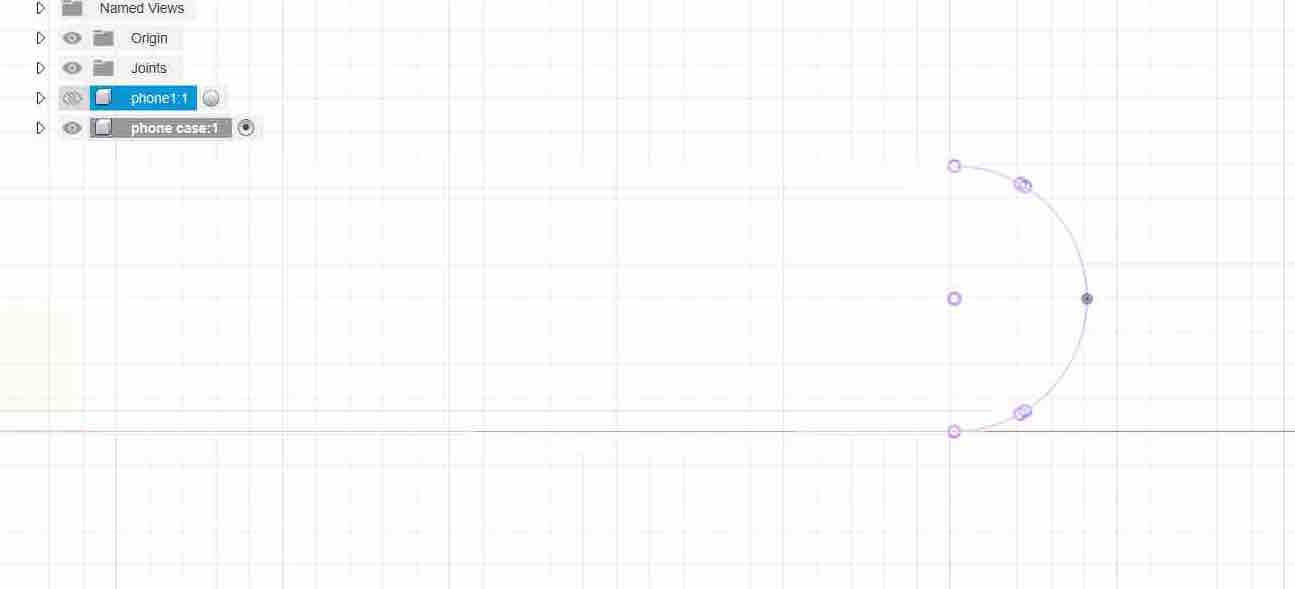
-
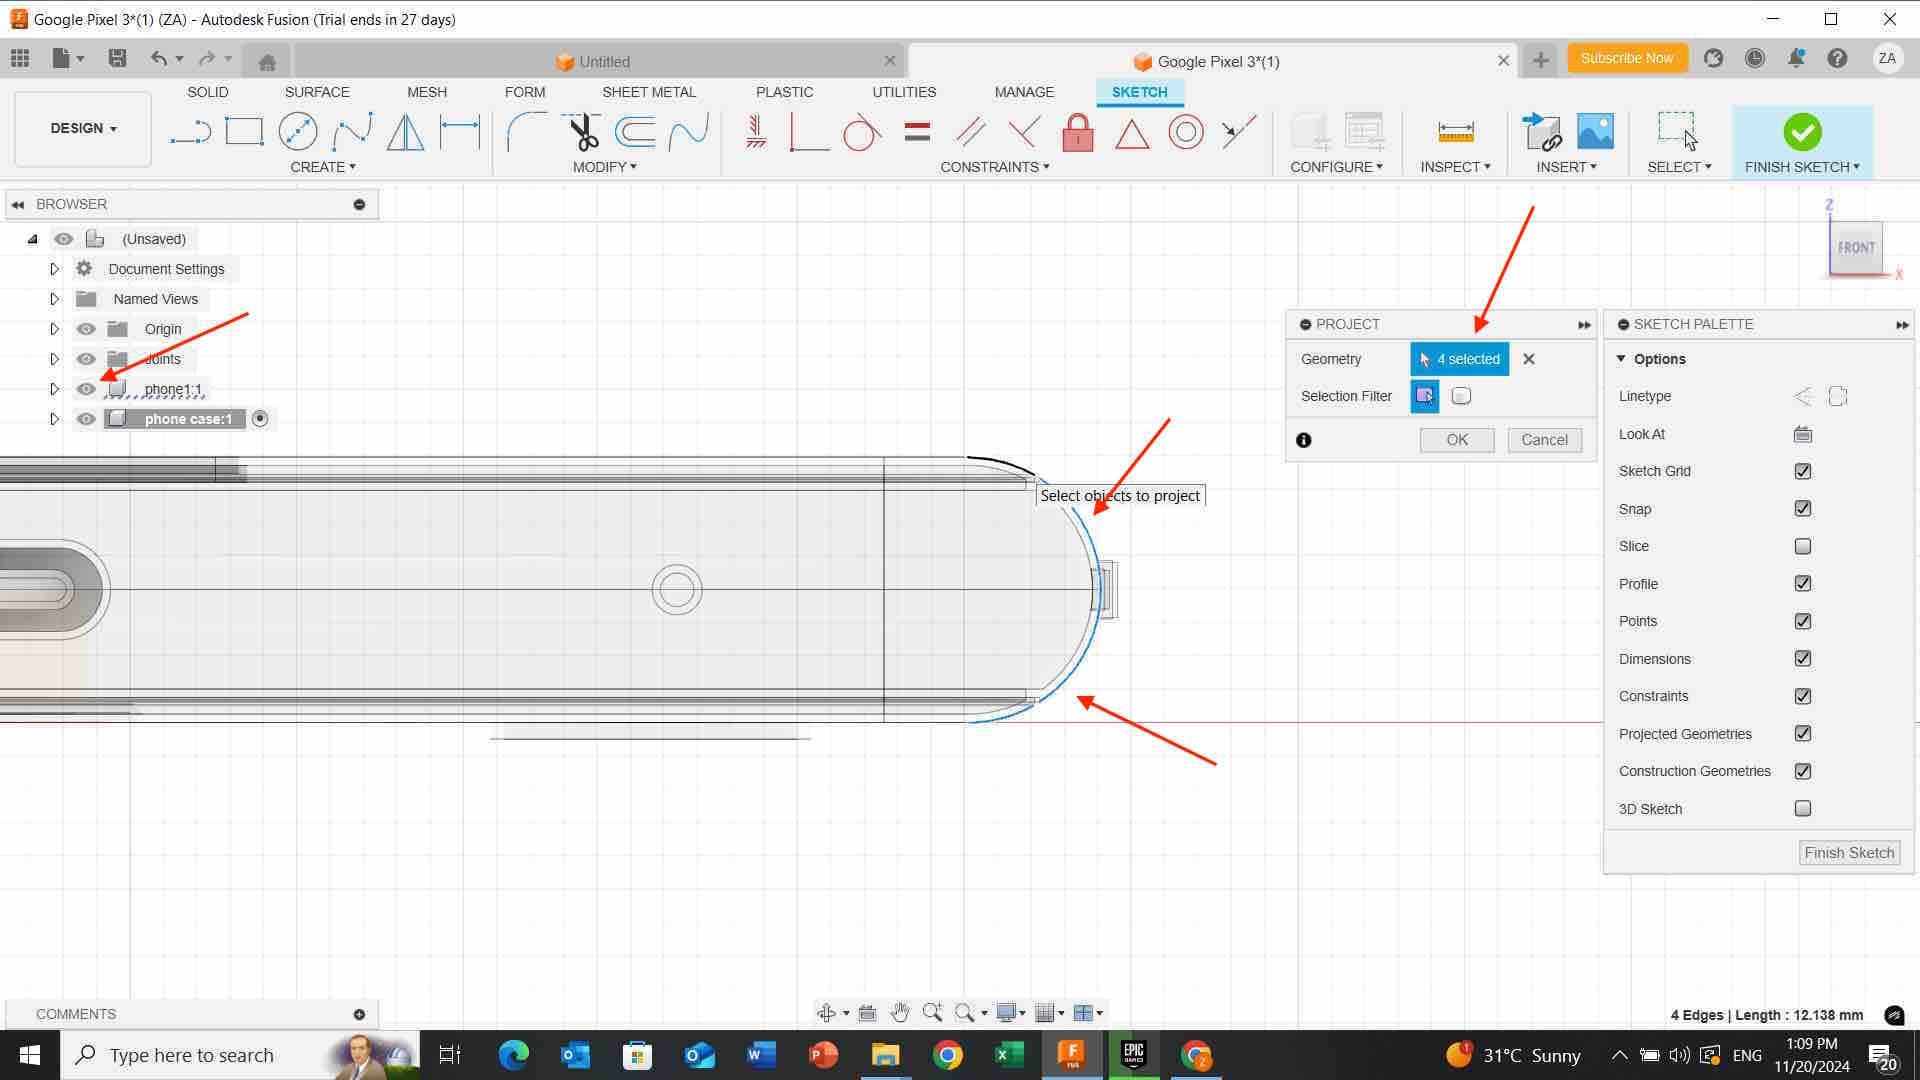
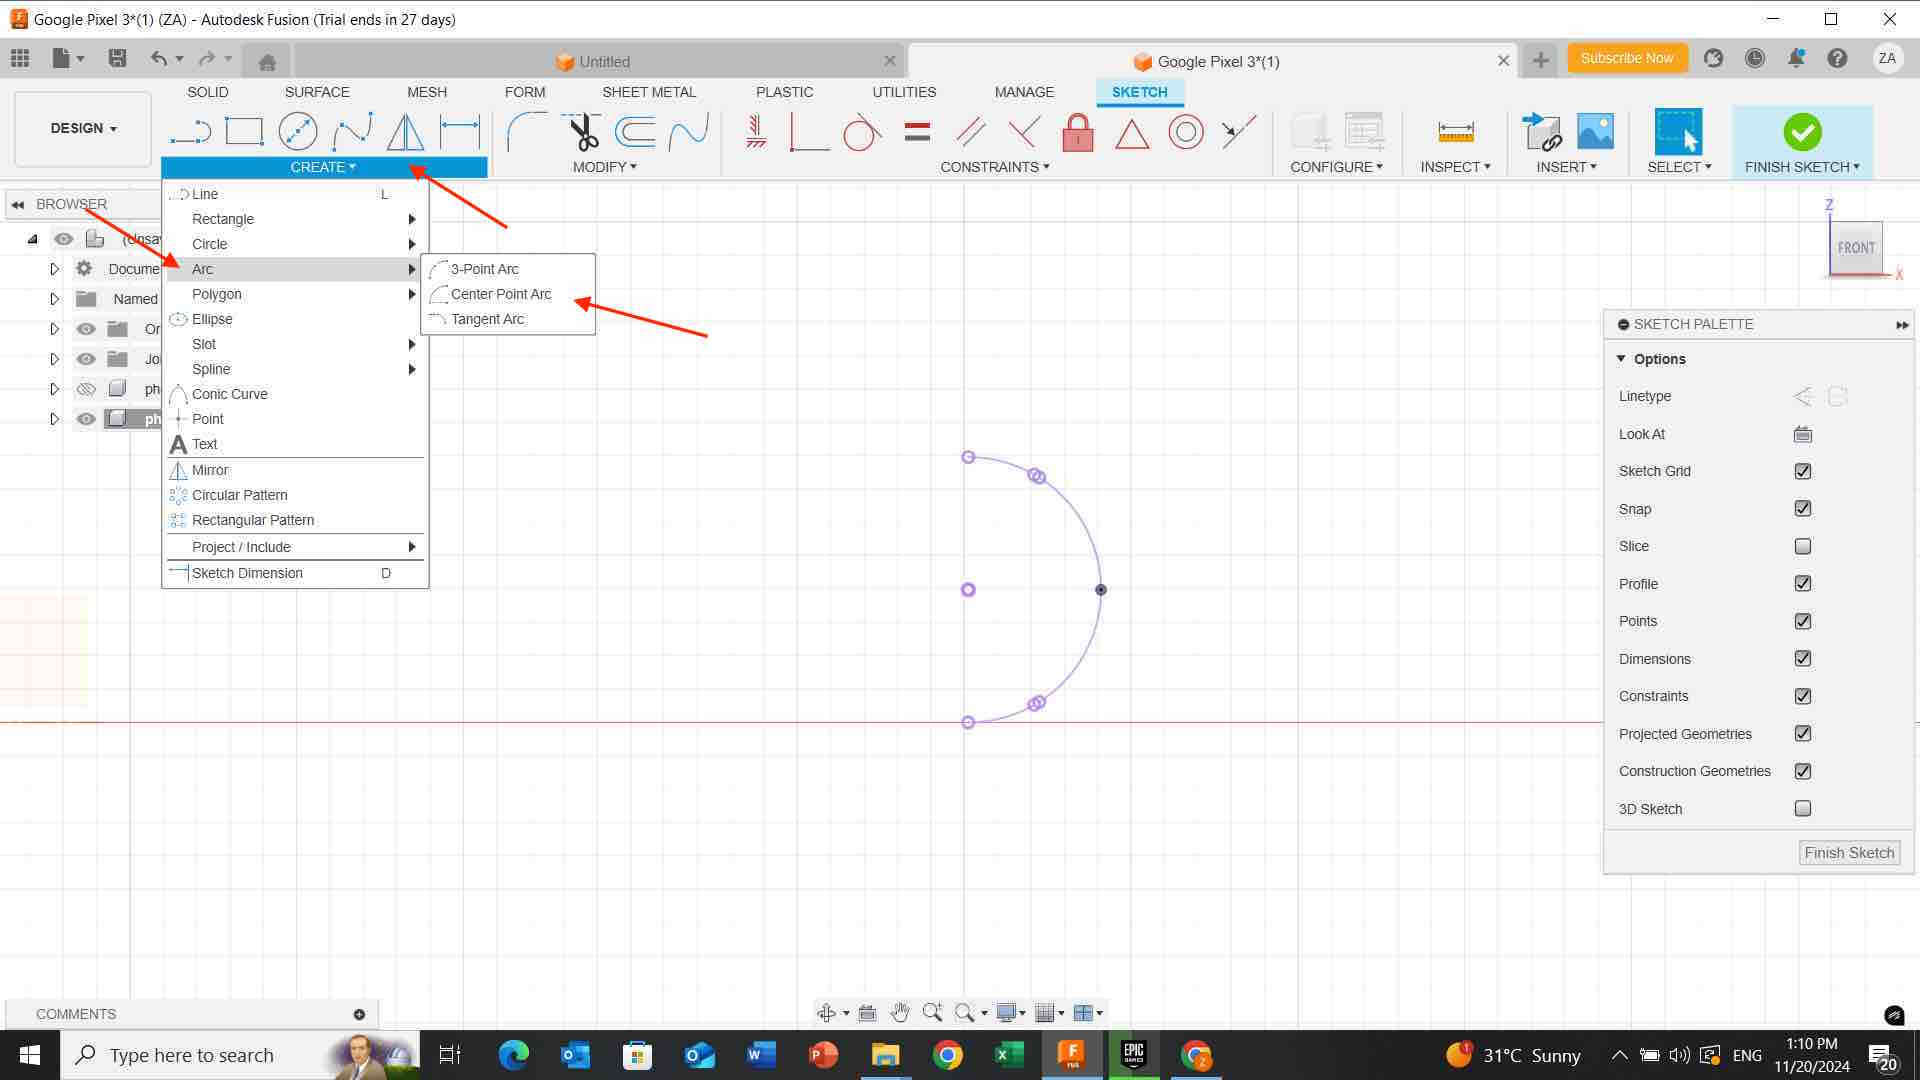
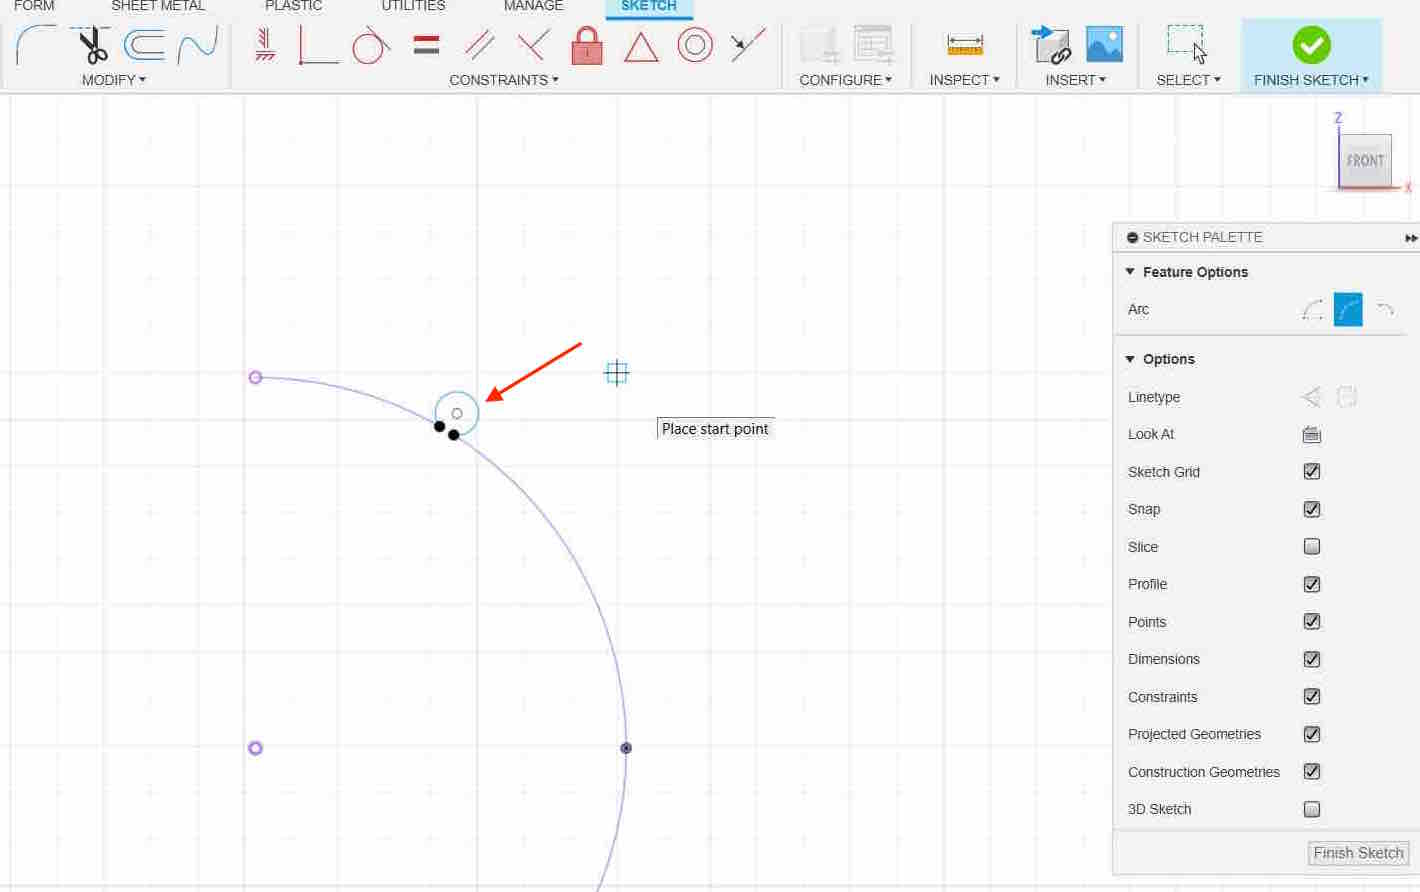
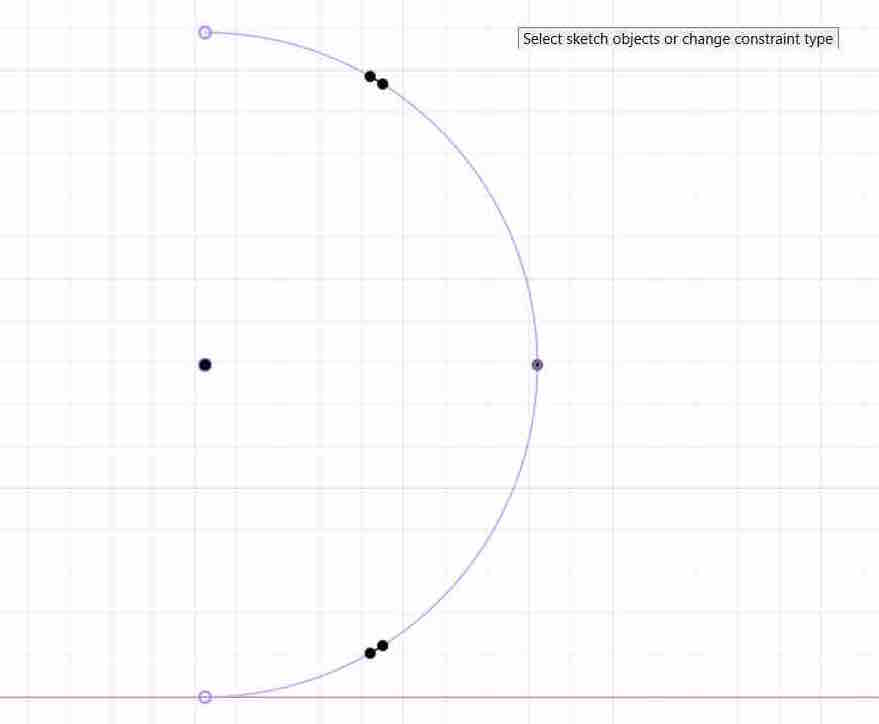
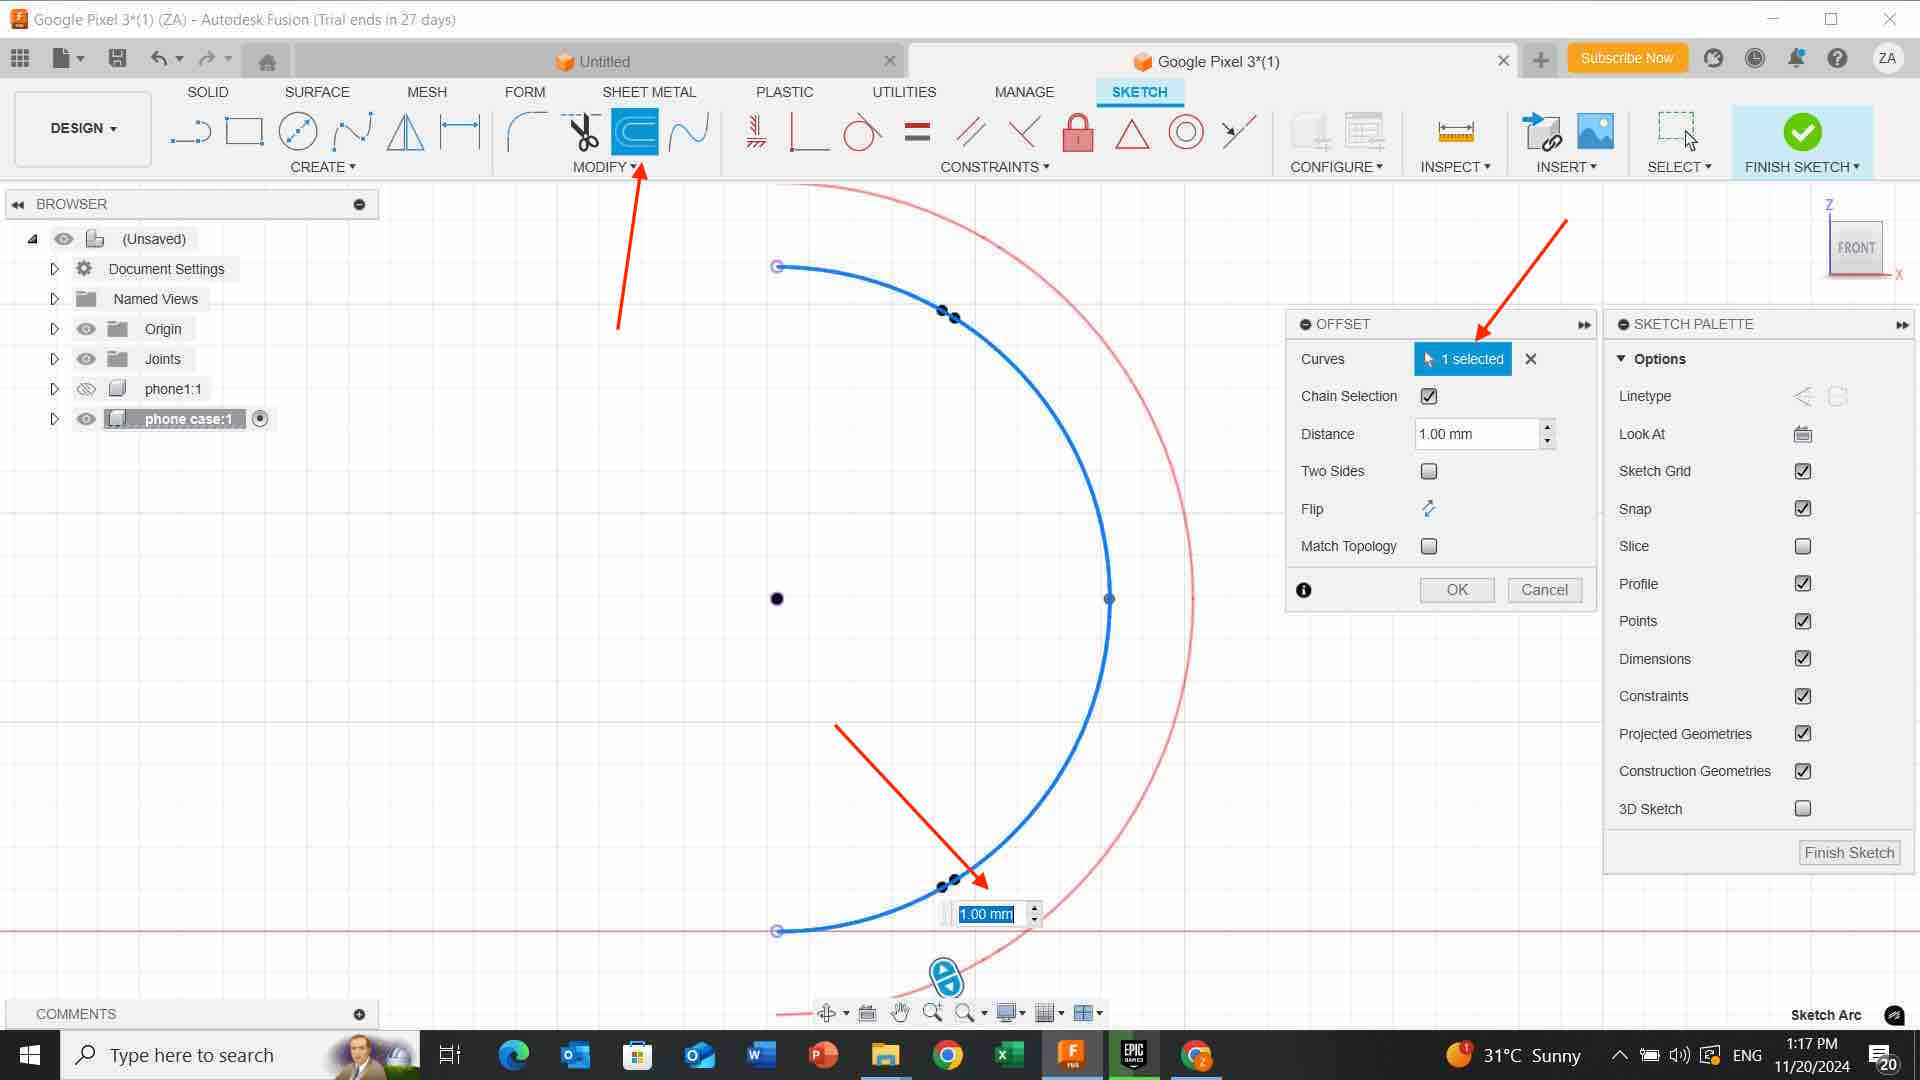
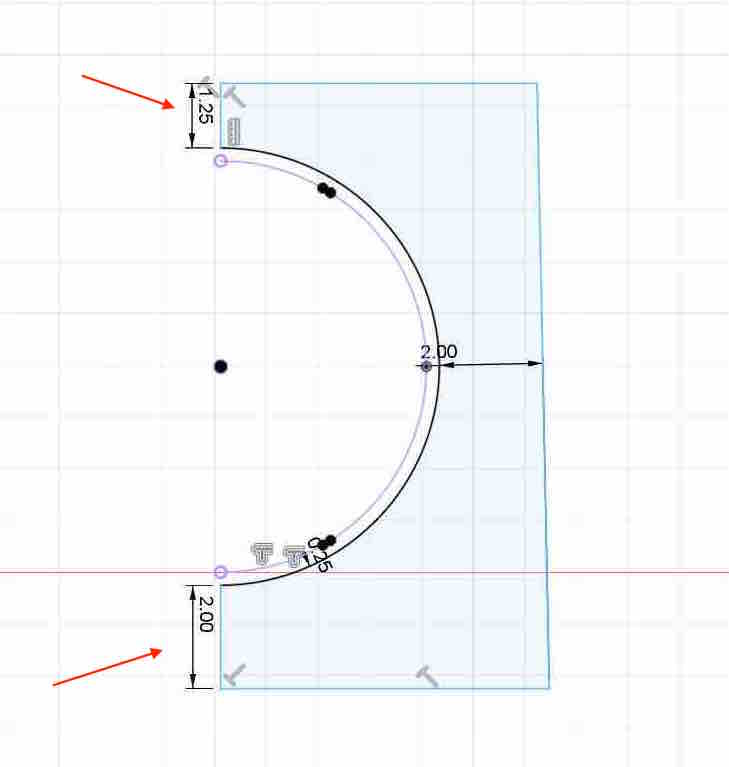
i click on “create” then “arc” to join the lines together.
-
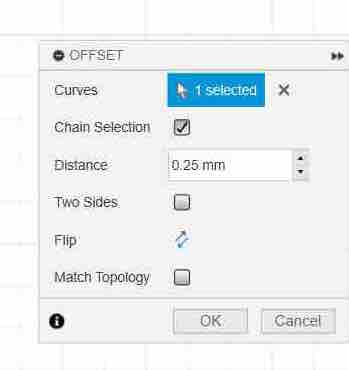
I click on shape below and adjust its distance size then i click on “solid line” and i draw connected lines together.
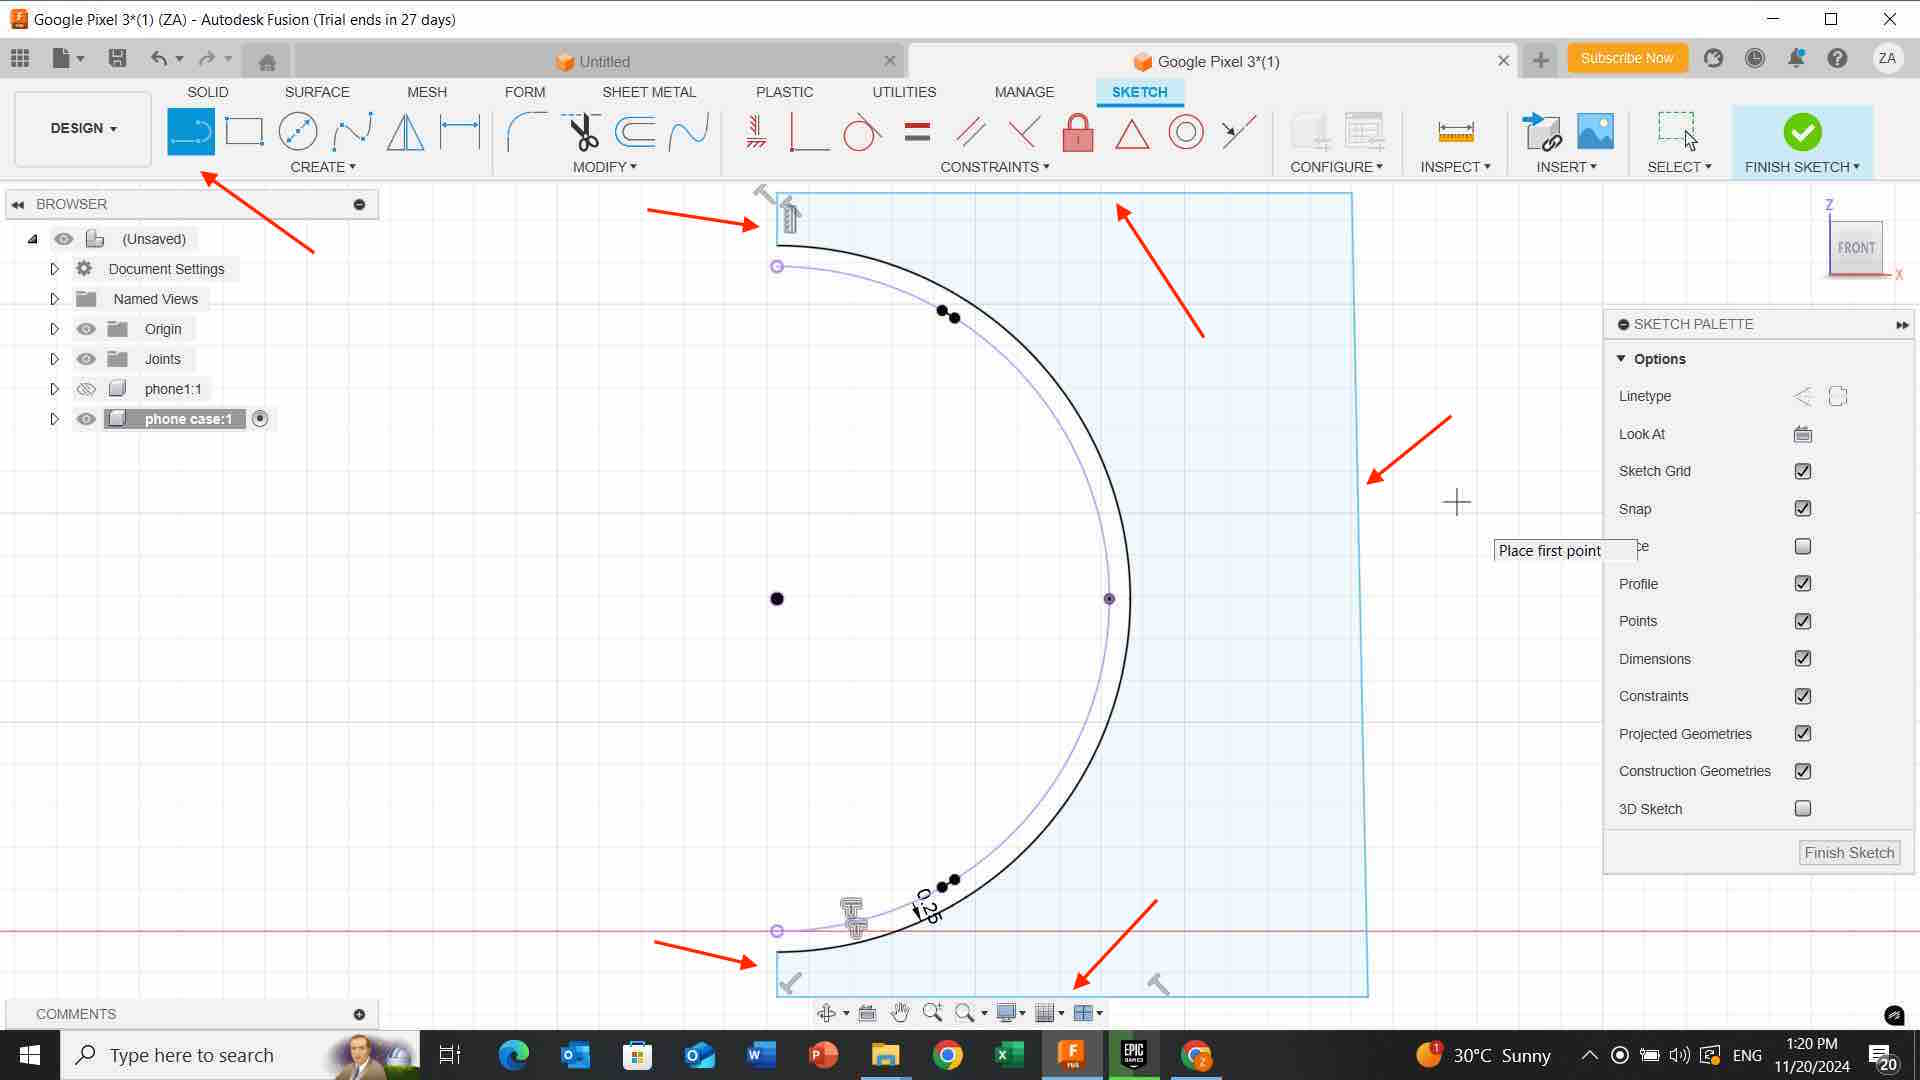
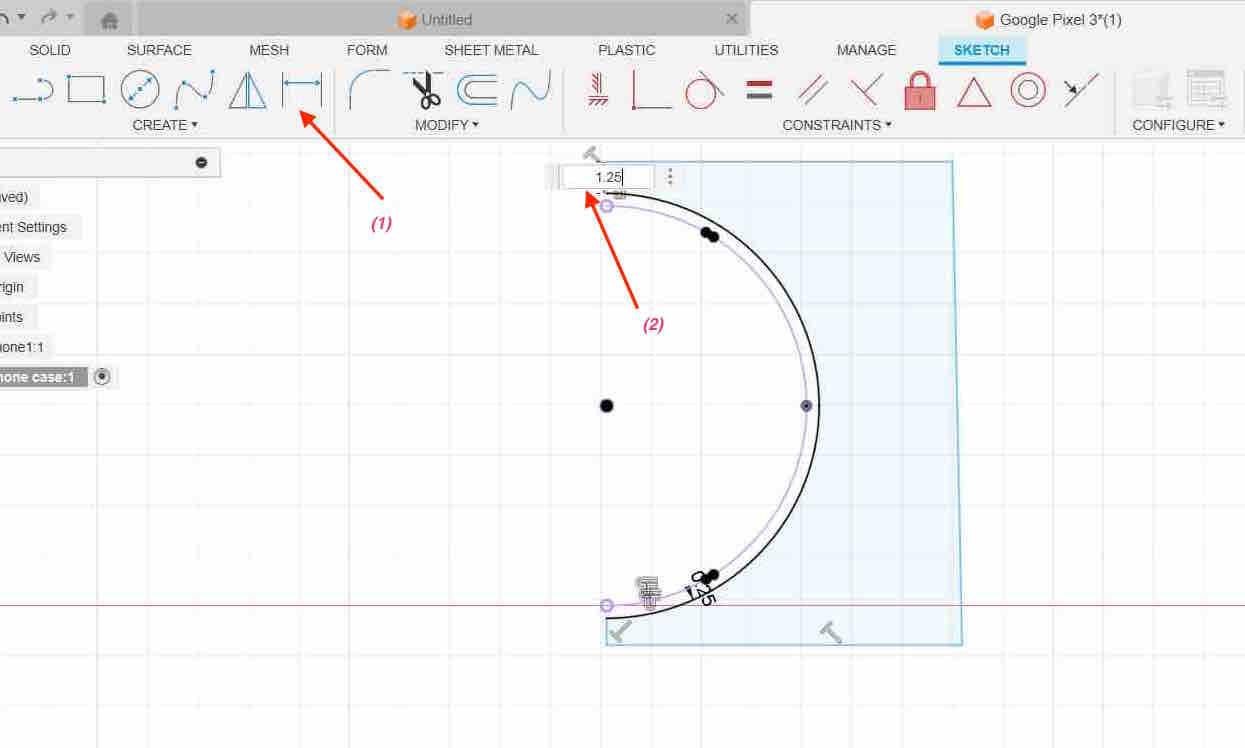
- I click on shape (1) below and adjust the size of the two edges.
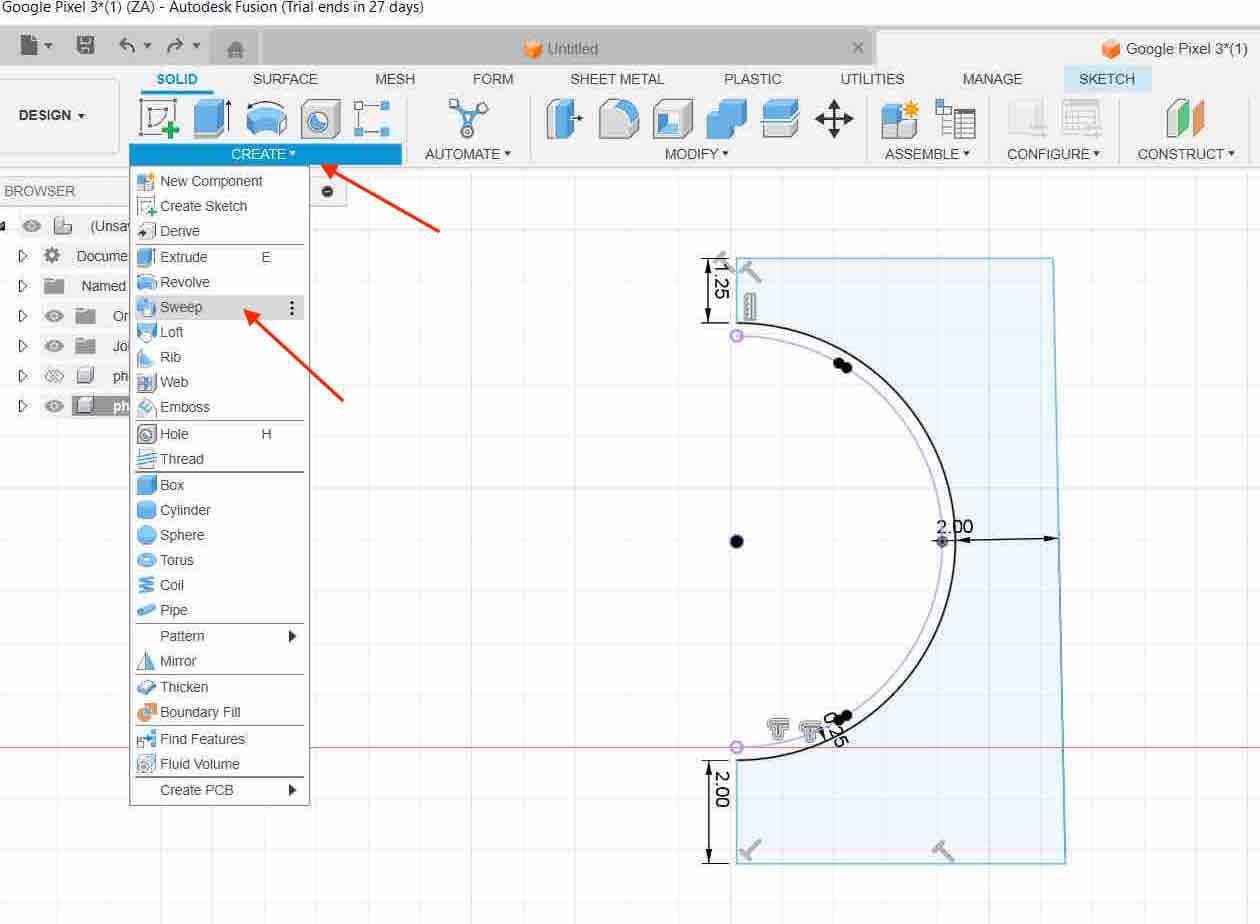
- I click on “create” then “sweep” and i click on “eyes” to appear all the phone case body
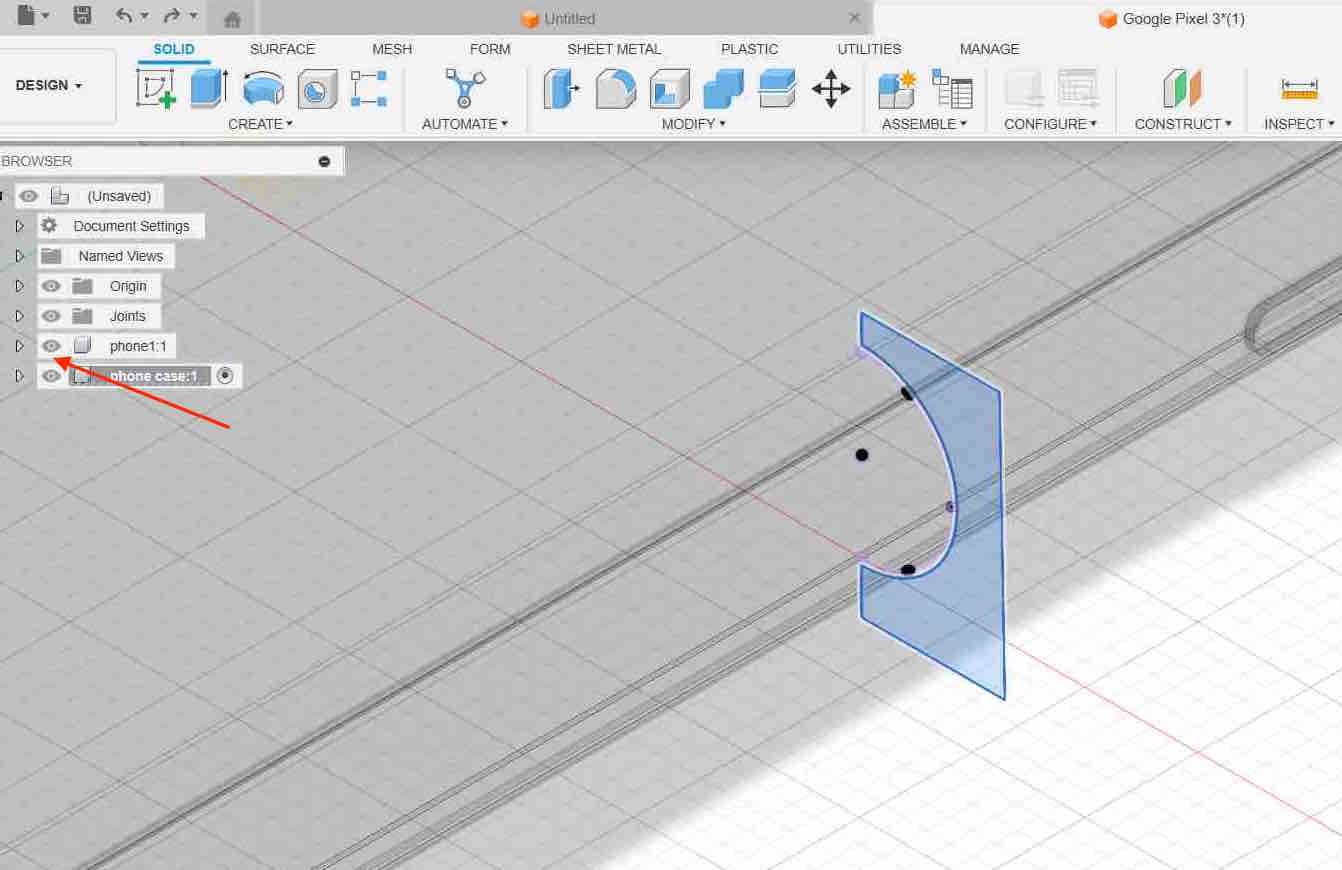

- I changed the edge color then i import my work and download it.